
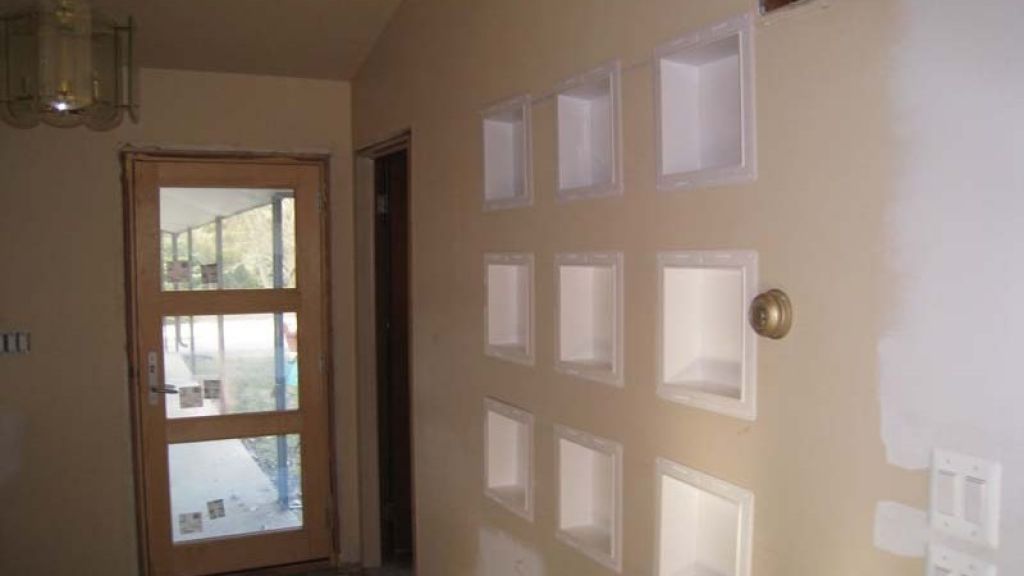

Want to add texture to a wall? Don’t want to use simple wallpaper or paneling? Try embellishing with a wall niche. Display pictures, knick knacks, even the 3rd grade soccer trophy that never got thrown out.
Begin by choosing a wall for the niche, noting that the niche must be installed over one wall stud and between two other wall studs.

After marking out the area, utilize a hammer to knock out the drywall. Once the drywall is removed, level cut of all the wall studs and then nail 2X4 blocks on either side of where the niche box will be.
Now it’s time to create the box. Measure the dimensions of the wall cavity and length and width of where it will be installed. Secure the pieces together with wood glue, making sure to wipe away any remaining glue. After priming the box, paint it in the chosen color and caulk all the joints.
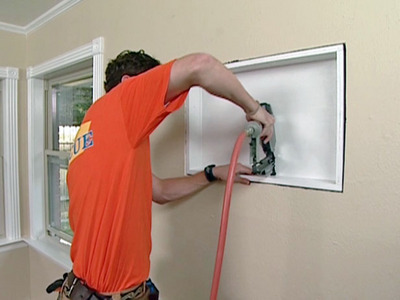
Place the box in the wall and then nail it into the wall with a nail gun. Once it is secure, attach trim and rosettes around the border of the niche. Finally cover up any cracks or joints with caulk.

When completed, this niche adds classic charm to any wall.
For more information on this project, check out DIY network.