May 11, 2015 in Home Improvements, Idea Corner
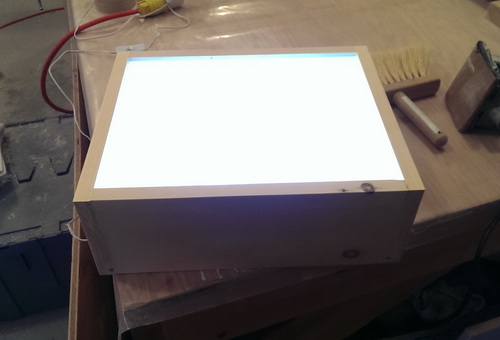
Light Up The Room, Build An LED Light Table!
Happy Monday, Chicago Handyman readers! Ready for a great summer project? Need to light up a room and hate the messy cords of floor lamps or harsh overhead lighting? Well, build an LED Light Table and resolve those problems in just a few hours and $50.
Start by getting together these materials:
- Wood
- 3 or 4 strip LED light kit
- Frosted sheet of plexiglass
- 3M tape
- Wood glue
- Wood clamp
Gather together the wood and make sure each side is notched. Then gut a groove into the top of the wood where the plexiglass will go. Slide the wood sides together and fit in the plexiglass to make sure everything is the correct size.
At the bottom of the box, drill a hole for the power cord to slip through and attach to the wall. Tape down the 4 LED strips using 3M tape. Test the lights to make sure the wiring is working properly.
Finally, glue together all the pieces of the wood box using wood glue and utilize wood clamps so it dries quickly and efficiently.
With this final step, the LED table is complete and ready to be gawked at by guests.
For a complete set of instructions, check out Remove and Replace’s article on building an LED light table.


