-

Stunning Venetian Plaster Mantle Perfectly in chciagoi
Transforming a living space into a design masterpiece is one of the delights we at…
-
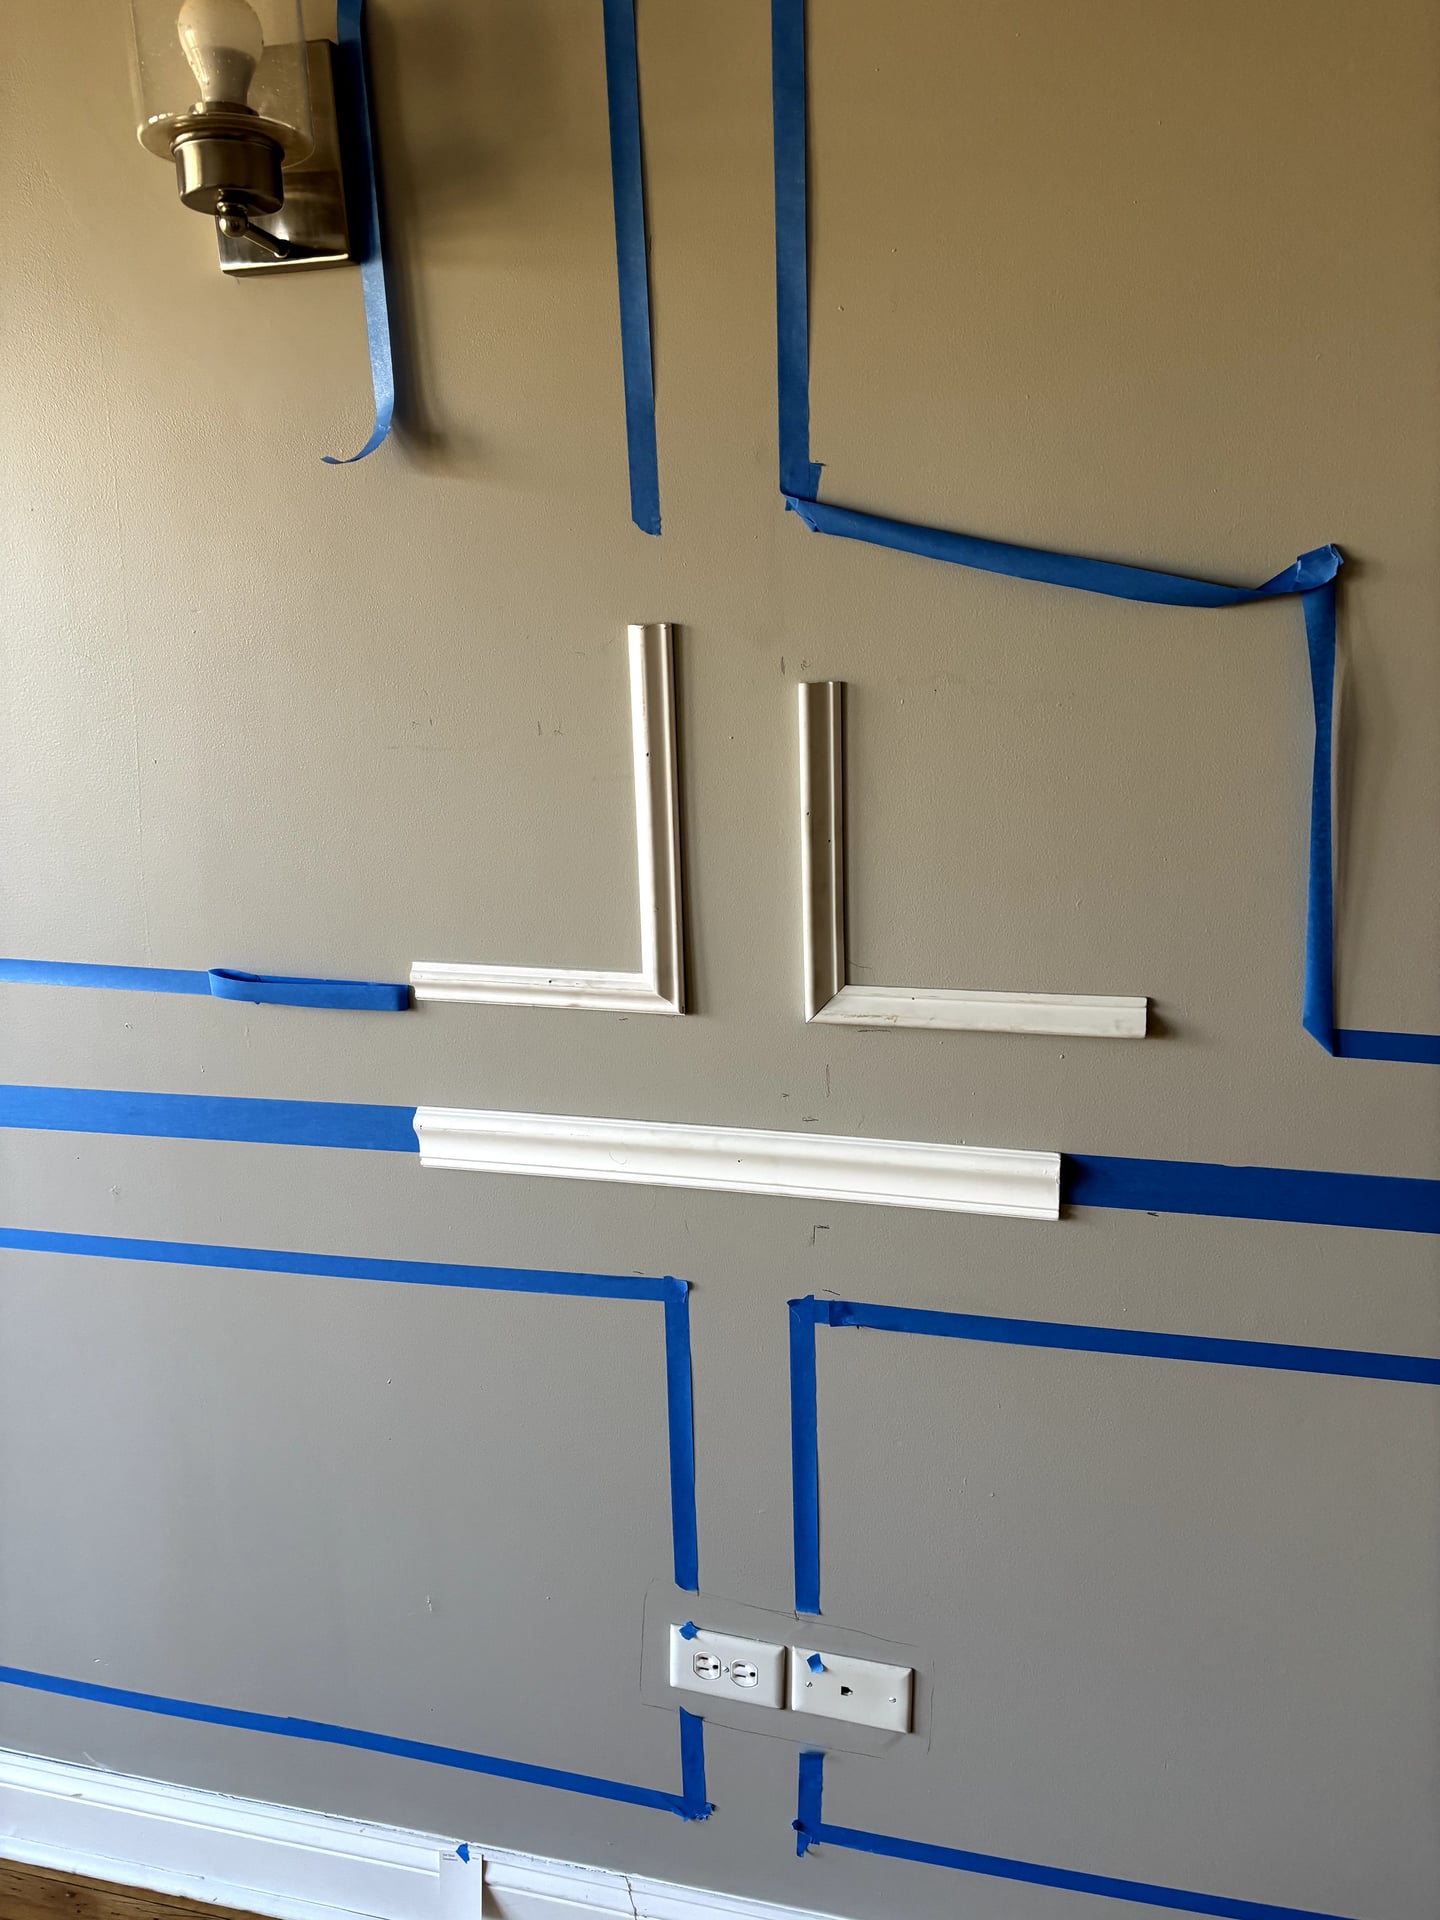
Paint-ready Finish for Picture Frame Wainscoting Installation in hyde
This picture frame wainscoting installation project paired picture-frame wainscoting with careful planning in hyde park.…
-
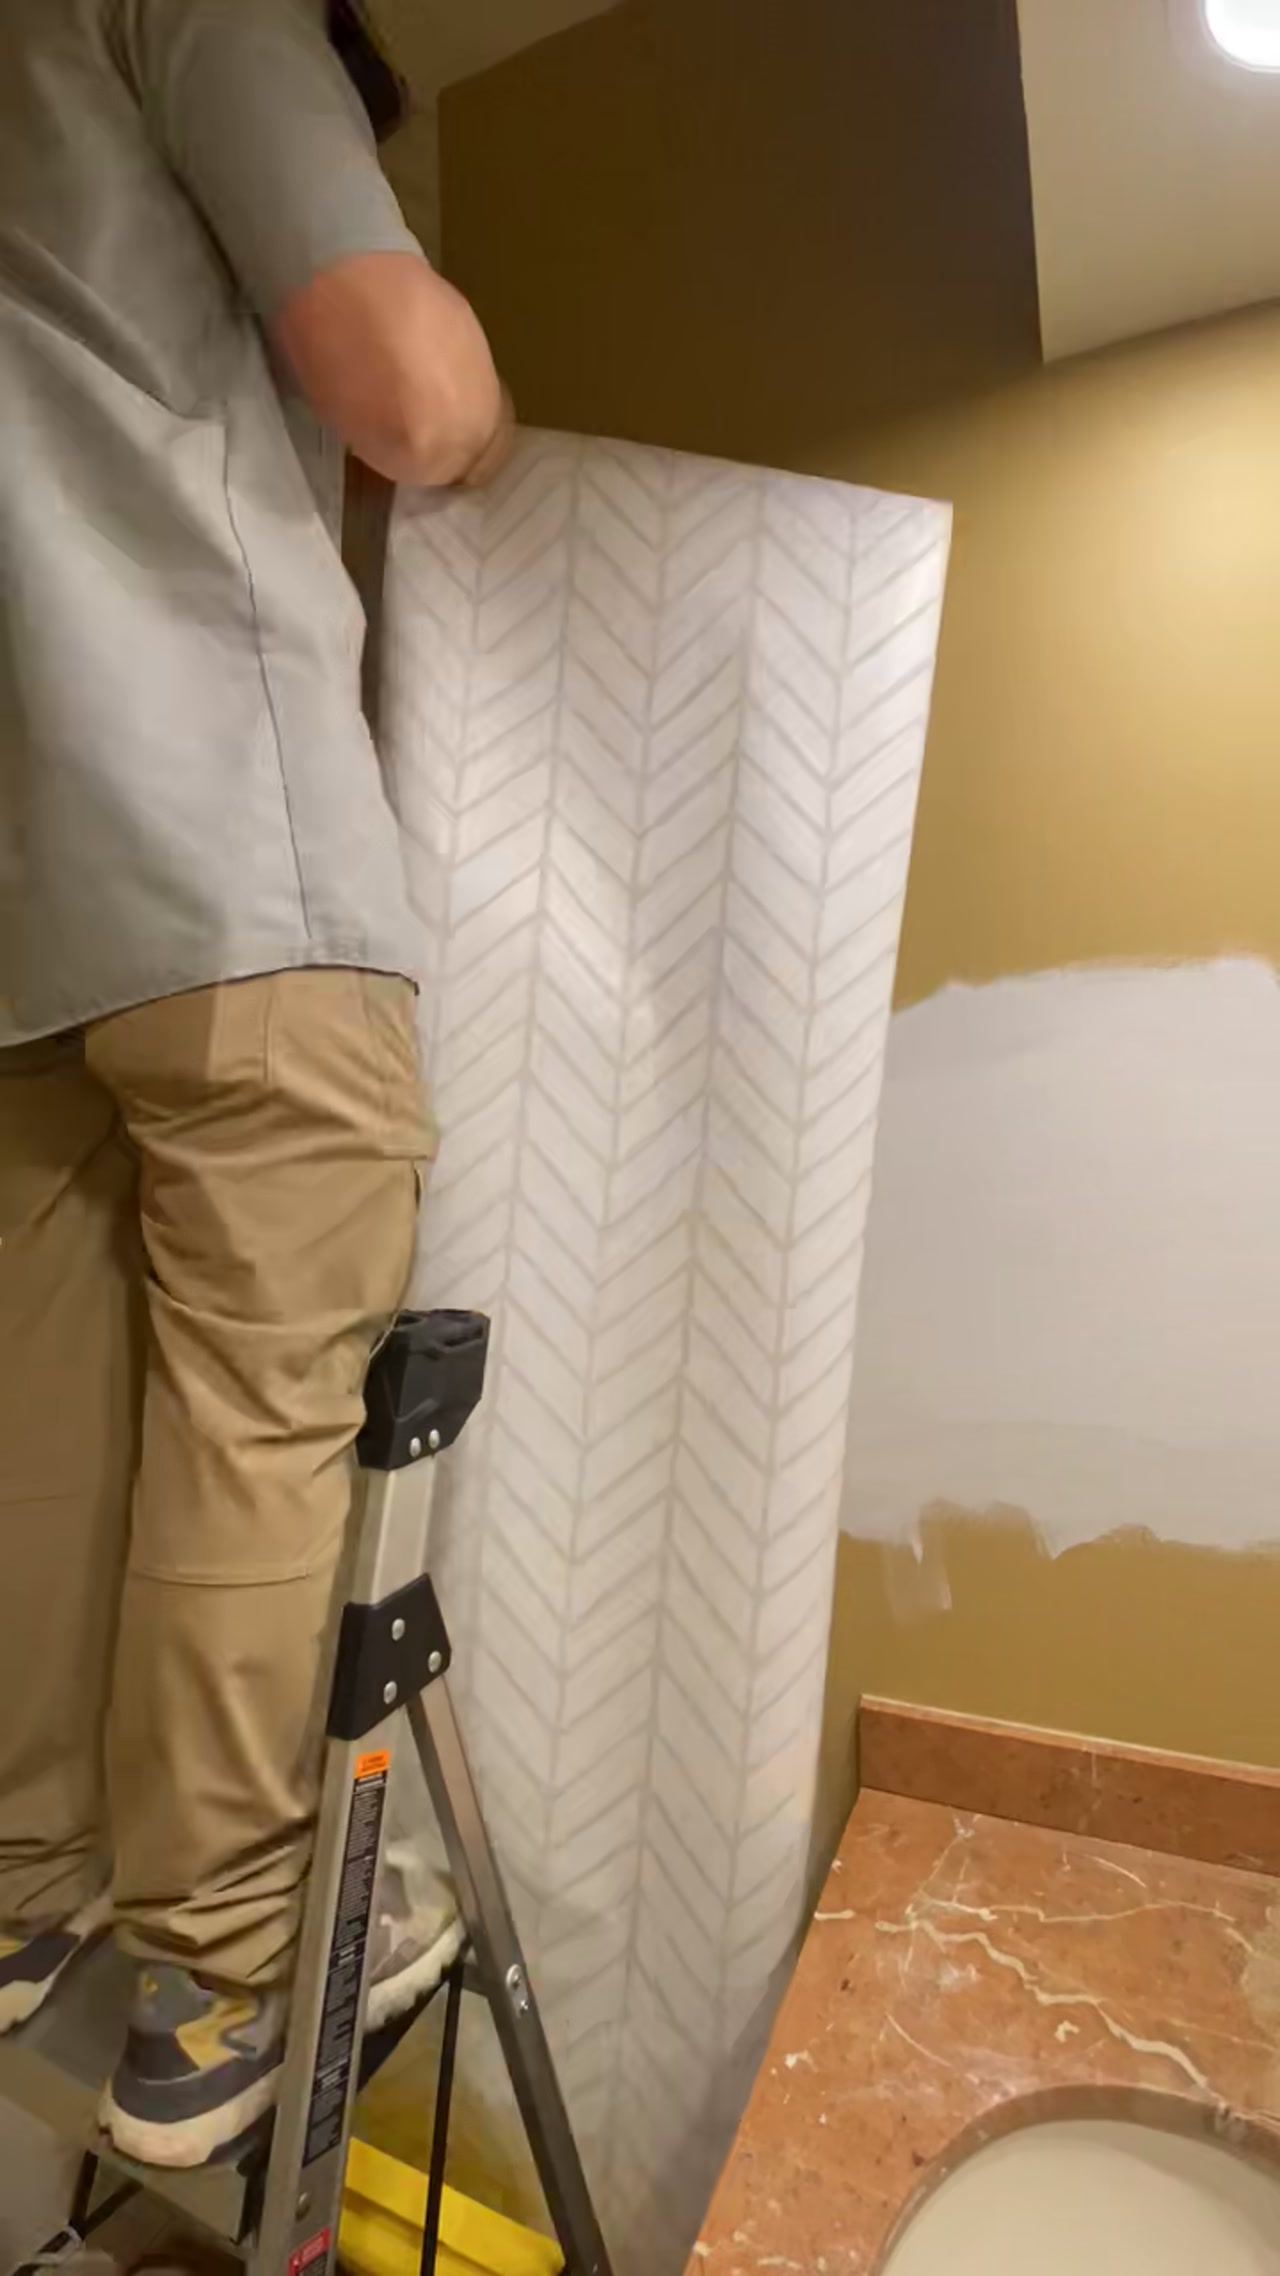
Handyman And Remodeling Repair in Avondale | Chicago Handyman
This Handyman and Remodeling repair project started with a clear goal: Wallpaper installation in Avondale.…
-

Handyman and Remodeling Services in Chicago, IL | Chicago Handyman
oak floor repair where a closet was removed. Our crew focused on clean workmanship, dependable…
-
Handyman and Remodeling Services in Chicago, IL | Chicago Handyman
Roof top deck garden roots infiltrated this roof requiring replacement. | Chicago Handyman – Serving…
1500 North Halsted Av Chicago, IL 60614
info@chicagohandyman.net
(773) 982 – 5500