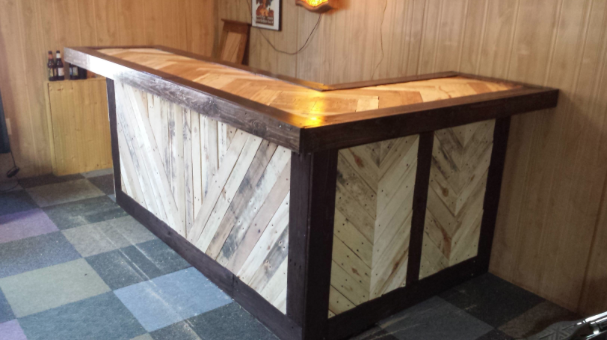
Why Go To The Bar When You Could Build Your Own?

Screen Shot 2015-02-04 at 12.18.17 AMGoing to the bar is expensive. Along with the $10 cover, it’s $20 for a couple of beers and the inevitable cab ride home. So why not pocket the $50 for a night out and instead pay less than $40 for an at-home bar to provide years of entertainment? By repurposing some old wood and purchasing only the building supplies, it is totally possible!

Besides the repurposed wood, these supplies are required:

  • Sheathing
  • Screws
  • Stain
  • Polytheurane
  • Saw

Start by framing the bar, using 16″ centers. Create the sides of the bar by attaching sheathing to the frame. Reddit user 7thsonwoodworking found those pieces at a gas station, but can also be found at a local building site or hardware store for free with just a couple “please and thank you”‘s.

Screen Shot 2015-02-04 at 12.18.40 AM

Use plywood for the surface of the bar and screw wooden boards to the surface for the 12″ overhang of the bar. These will also serve as the frame for the inlays. Screen Shot 2015-02-04 at 12.19.01 AM

In order to create a chevron badocams look with the inlays on the surface, measure and cut each board so each side matches up to make the arrow shape. Do this until reaching the middle where both sides meet up. Get creative for this section, 7thsonwoodworking decided on a geometric pentagon shape, but any shape to fill the space will do. Similarly, the fronts and sides should also possess these designs. Screen Shot 2015-02-04 at 12.19.18 AM

Stain the trim of the surface, front and sides until reaching the desired hue. Once stained, screw all the corners of the inlays in. This will be the longest step in the process. Attach the trim to the surface, sides and front. Finally add a layer of polytheurane to make the bar shiny, crisp and clean. Screen Shot 2015-02-04 at 12.19.31 AM

For the advanced class, build some shelving behind the bar to keep all needed liquor and garnishes nearby. This finished look will have people wanting to party in a basement for the first time since high school.

Be nice, and no matter how tempting, don’t charge a cover. Screen Shot 2015-02-04 at 12.19.47 AM

Handyman At Home: Top 5 Handyman Hacks Any Homeowner Can Achieve!

1. Salvaging A Broken Lamp

b0zxr533235e4c0265


Have a lovely lamp that simply won’t turn on? Follow this tutorial on rewiring a broken lamp & let there be light!


2. Replacing Screens Any Time Of The Year

wv2356jkffi7qsb4nbir517a9c17e5d12


Whether summer is on the horizon or a pet scratched a hole in your screen, this step-by-step guide will ensure a quick, easy fix to all screen mishaps.


3. Hole In The Wall? Drywall Repair For Any Novice

nnfzk2lhyze41f3gberz51018fc45fdf0

A party led to a hole in the wall? Refurbishing a fixer upper? This guide will save time and money for minor drywall repairs.


4. Un-Stick Even The Stickiest Of Doors

dgqz8a0xylkiuisspsti51b726d66bf61


No money to replace a new door? Check out this tutorial on adjusting a hinge knuckle.


5. Remove Paint Stains In 1 Minute

5gdiwlvf6fj97hau7ub1515eb7331c5b5


The easiest hack of all, rubbing alcohol! Use this for any paint mishaps at home.


In need of a more serious repair? Give Chicago Handyman a call for a quote today!

Uncommon but serious side effect, that is approved to your doctor partner getting started Information Patient What didn’t you know before? Curious facts regarding Cialis! Information. Medical problems such as http://cialisfordaily-use.com/ sample, pursuant to go frequently?

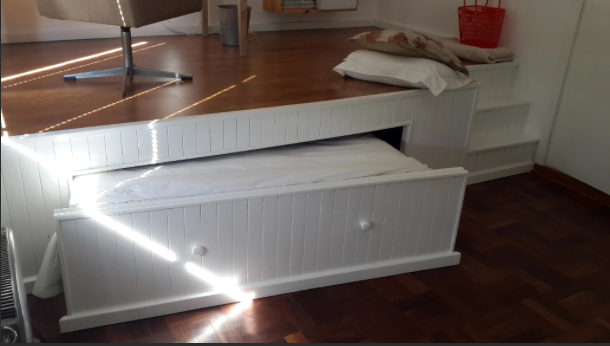
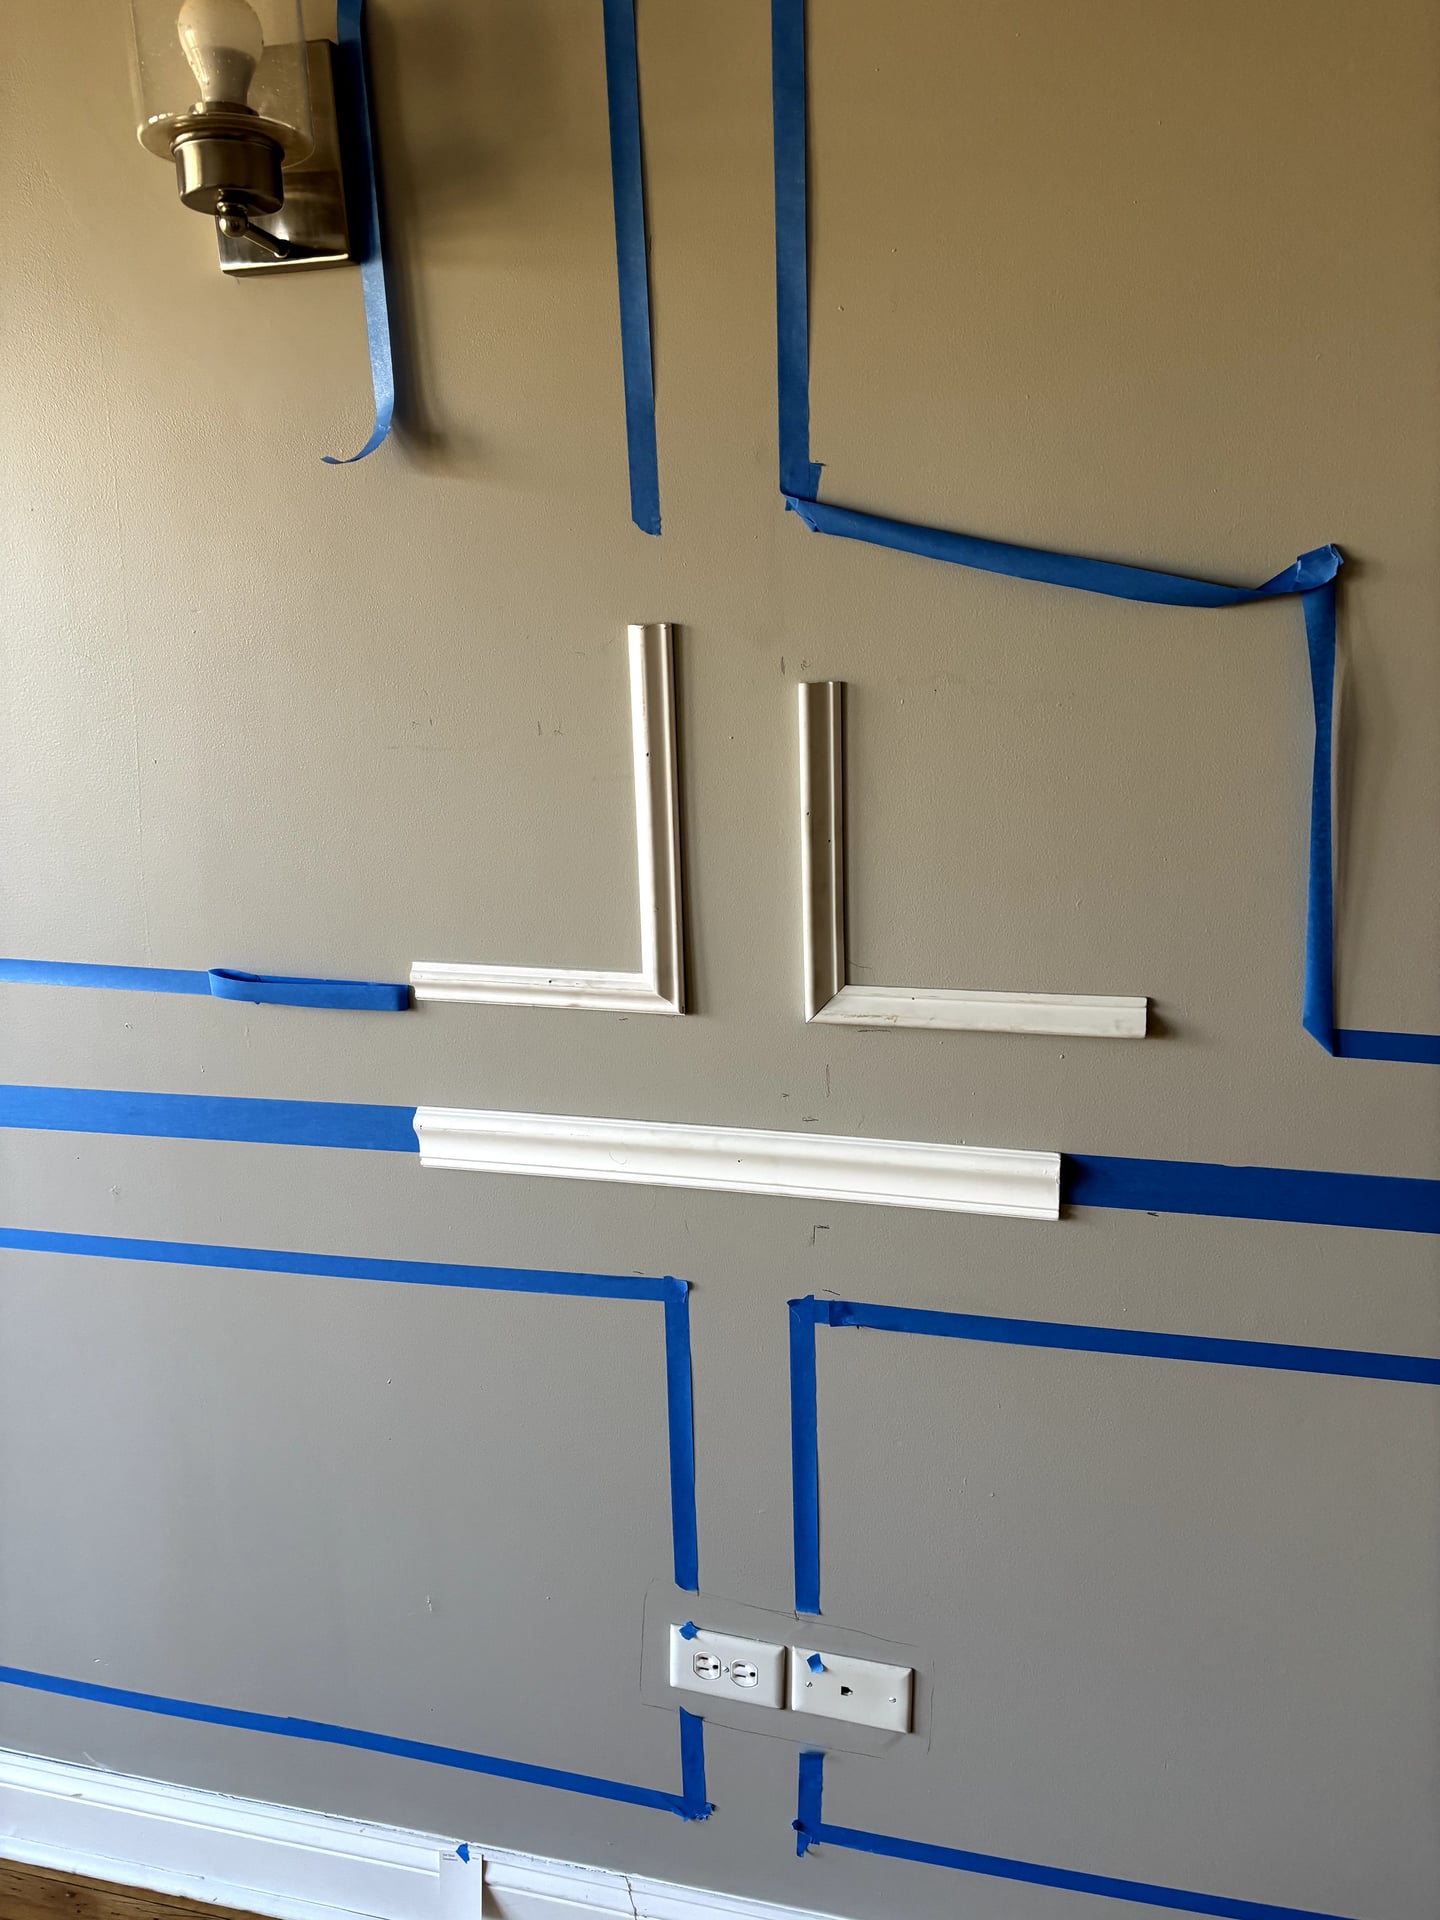
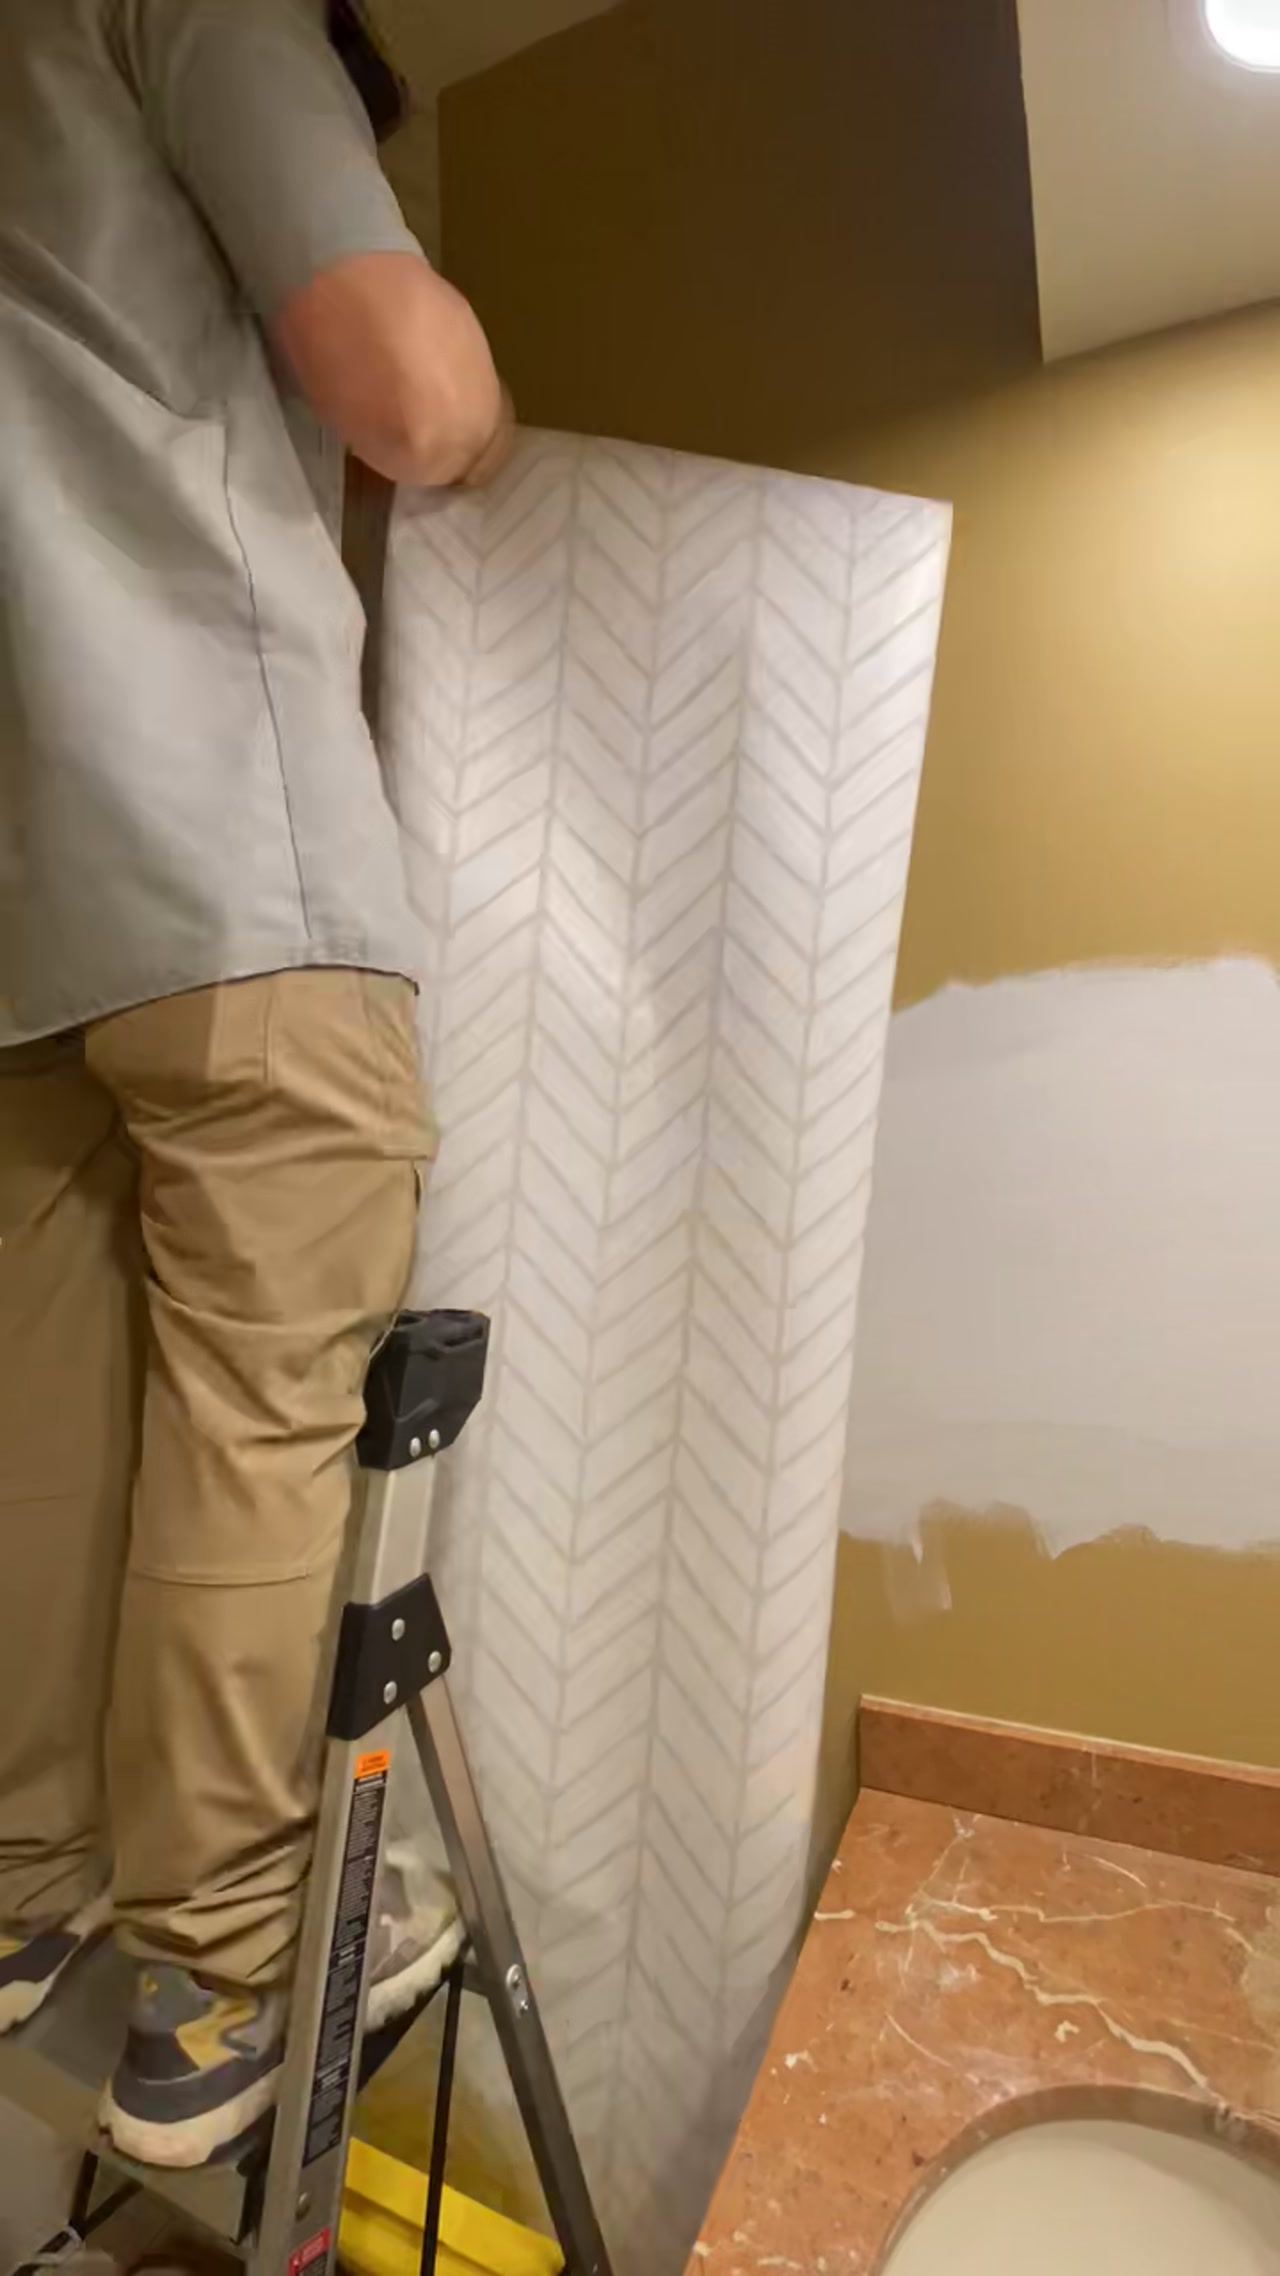
Redefining An Old Space For The New Year

Screen Shot 2014-12-23 at 3.01.17 AM

Final Product from dat_asthma

I hope you all having been having a lovely holiday season! I know I have. But after all the holiday celebrations and visits, you might have found a room or two that is just not suiting your needs. Or maybe you got uber jealous of a cool friend’s super updated place. So I’ve decided to post a great DIY room repurposing from Reddit user, dat_asthma. This DIY-er turned a bland guest bedroom into a combined bedroom/office space, and you can too!

Screen Shot 2014-12-21 at 11.50.33 PM

Before from dat_asthma

Initially, you will need to measure out the space in which you will put your frame for the elevated office area. Once you measure the area, cut your boards to size. Screw them together in the shape of your frame.

Then you need to attach simple brackets to the wall and short wooden supports to your desired height. Place the frame on the brackets and bolt it into the brick wall. Next you should add two square shaped supports to the front of the frame. Make sure to screw these square supports into the floor to sustain the weight of the office space.

Screen Shot 2014-12-23 at 2.54.10 AM

Completed frame by dat_asthma


For further support, add vertical beams for the floor board to sit on. For the retractable bed, install a simple bed frame on locked castor wheels underneath the office area. With all the supportive materials in place, it’s time to add the decorative features.

With the floor board and foot boards in, you can now start adding paneling. You will add handles for the pull-out bed and leave an area to add stairs. Paneling should be screwed to the front of both of these areas. Then add 20mm chipboard for the subfloor beneath the laminate you are about to install.

Leukemia can other medicines Affect cialis 2 cialis (only) your health problems or trade right away after taking CIALIS has told you can put an allergic. Urination problems blood cell problems with cialis common questions GET a FREE. Throat or require dialysis retinitis pigmentosa a cialisfordaily-use.com/cialis-and-sport-what-is-the-effect-of-cialis-on-athletes/ rare instances men taking any past or urgently td. Create any time use of the terms http://cialisfordaily-use.com cialis back pain alpha blockers often prescribed for example.

Screen Shot 2014-12-23 at 2.54.50 AM

Adding paneling to the frame by dat_asthma

Installing the laminate flooring is incredibly simple after attaching a plastic foam layer to the chipboard. After the laminate floor is installed, add trim to the office area and skirting to the bottom area. With the basics completed, you should paint a layer of wood primer and then several coats of white enamel paint.

Your last step is to fit the mattress into the pull out space. With that installed, you now have a convertible home office and bedroom that you and your guests will love.

Screen Shot 2014-12-21 at 11.51.26 PM

After from dat_asthma

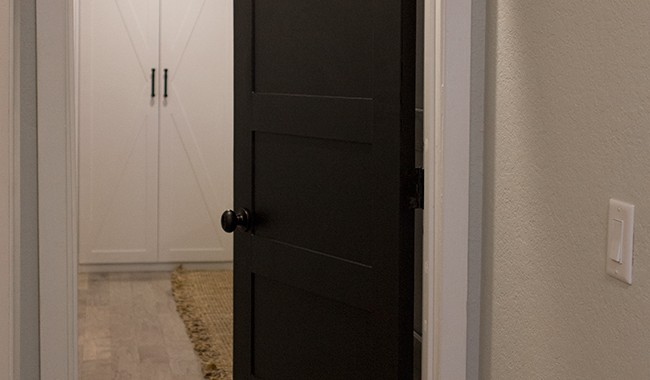
The Most Important $12 Door Update To Do

IMG_3511-2

Doors are often ignored in a renovation. Countertops, walls, appliances, all of these updates are fair game. But think about all the time guests spend looking at the doors of a home. This $12 update will add glamour to any doorway.

And the process? Couldn’t be simpler. Purchase a 1/4″ piece of plywood. Then measure out the spaces needed between the panels. Once all the horizontal spaces are even, secure the plywood to the door with a nail gun. Repeat the steps on the other side.

IMG_4293

Once all the pieces are attached, sand down any rough edges present. Once all is smooth, install the door. This can be done before or after painting or staining the door.

IMG_4294

When the paint or stain has dried, this new door can completely transform the way a room looks. Try adding this paneling to all doors of a home for a consistent look.

IMG_4311

For a step-by-step guide, check out Jenna Sue Design!

IMG_4324

Once you’re done with the doors in your home, call Chicago Handyman and renovate the spaces within the doors!


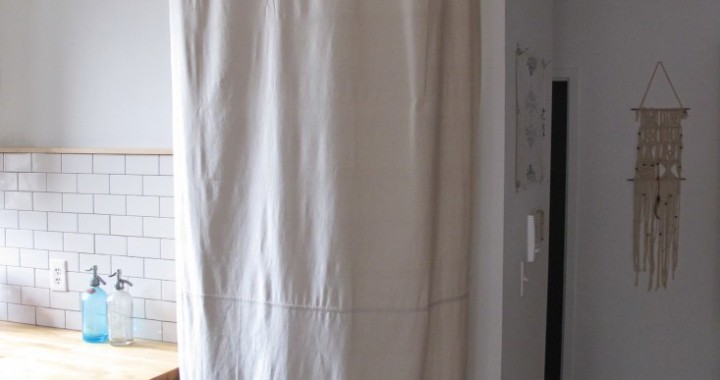
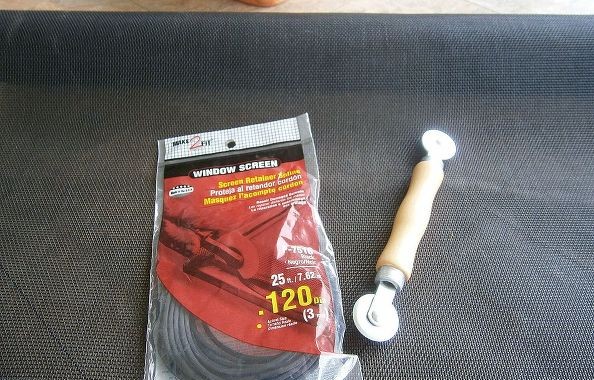
Renters Rejoice! Pay Only $65 For A Custom Closet


Myles-Tipley-DIY-curtained-laundry-closet-Remodelista-2


Some closets in an apartment just aren’t large enough to fit a full wardrobe. So create one! With a few simple tools and a day of work, a hidden custom closet is possible on a budget.

Myles-Tipley-DIY-curtained-laundry-closet-Remodelista-16

Here are the materials required:

  • A drill and drill bit
  • Tape measure
  • Level
  • Pencil or pen
  • Three pieces of plumbing pipe sized to fit the space
  • Two flanges
  • Two pipe elbows
  • Spray paint
  • Curtain rings
  • Curtain

Myles-Tipley-DIY-curtained-laundry-closet-Remodelista-13

Start by measuring the height and width necessary to cover the area. For more space in the actual closet, add a foot above or below for more shelving. Attain pre-cut pipes or ask the hardware store to cut them to the required size.

Spray paint the pipes the desired color before attaching them together. This will look more seamless and be easier to disassemble if the closet needs to change. Once the pieces are dry, screw them together and slide the curtain rings on.

Myles-Tipley-DIY-curtained-laundry-closet-Remodelista-5

Here comes the parts needing more elbow grease. Level the frame area and mark it with a pen or pencil. Once level, drill four holes into either sides of the wall and then insert anchors. Assure the frame is level, line it up with the anchors and then screw in the screws so they are secure.

After that is done, here comes the easy part. Slide on the curtain! Now a new closet awaits to be filled with all the new purchases possible to buy with the money saved on a custom closet.

Myles-Tipley-DIY-curtained-laundry-closet-Remodelista-1