Nicole
-
The Best Way To Bring The Perfect Temperature To Your Summer
Home should be a refuge from the heat. But sometimes, our homes don’t seem to…
-

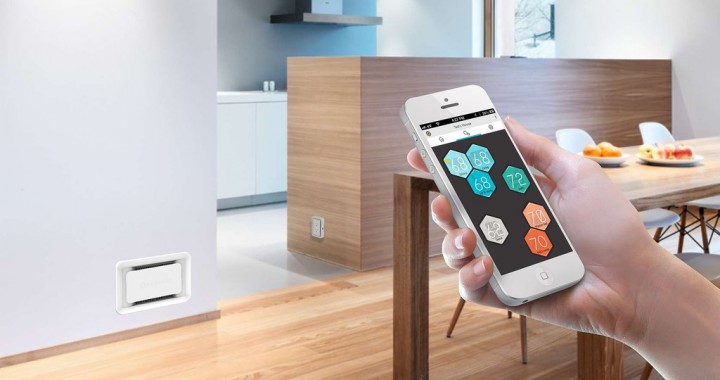
The Modern Security Solution: Scout Wi-Fi Alarm System
It used to be that home security was the luxury of homeowners. Renters remained susceptible…
-

$15 For A Large Scale Dry Erase Board
Whether there’s a burgeoning artist in a home or a person who really cannot remember…
-

Want Ideas On What Home Projects To Do? Check Out This Graphic Below!
Ready to renovate a home? Well, check out Fixr’s graphic on what Americans spend their…
-

Extend Outdoor Space With Simple Paver Stone Installation!
Some decks just do not suffice for large family gatherings or even quiet nightly dinners…