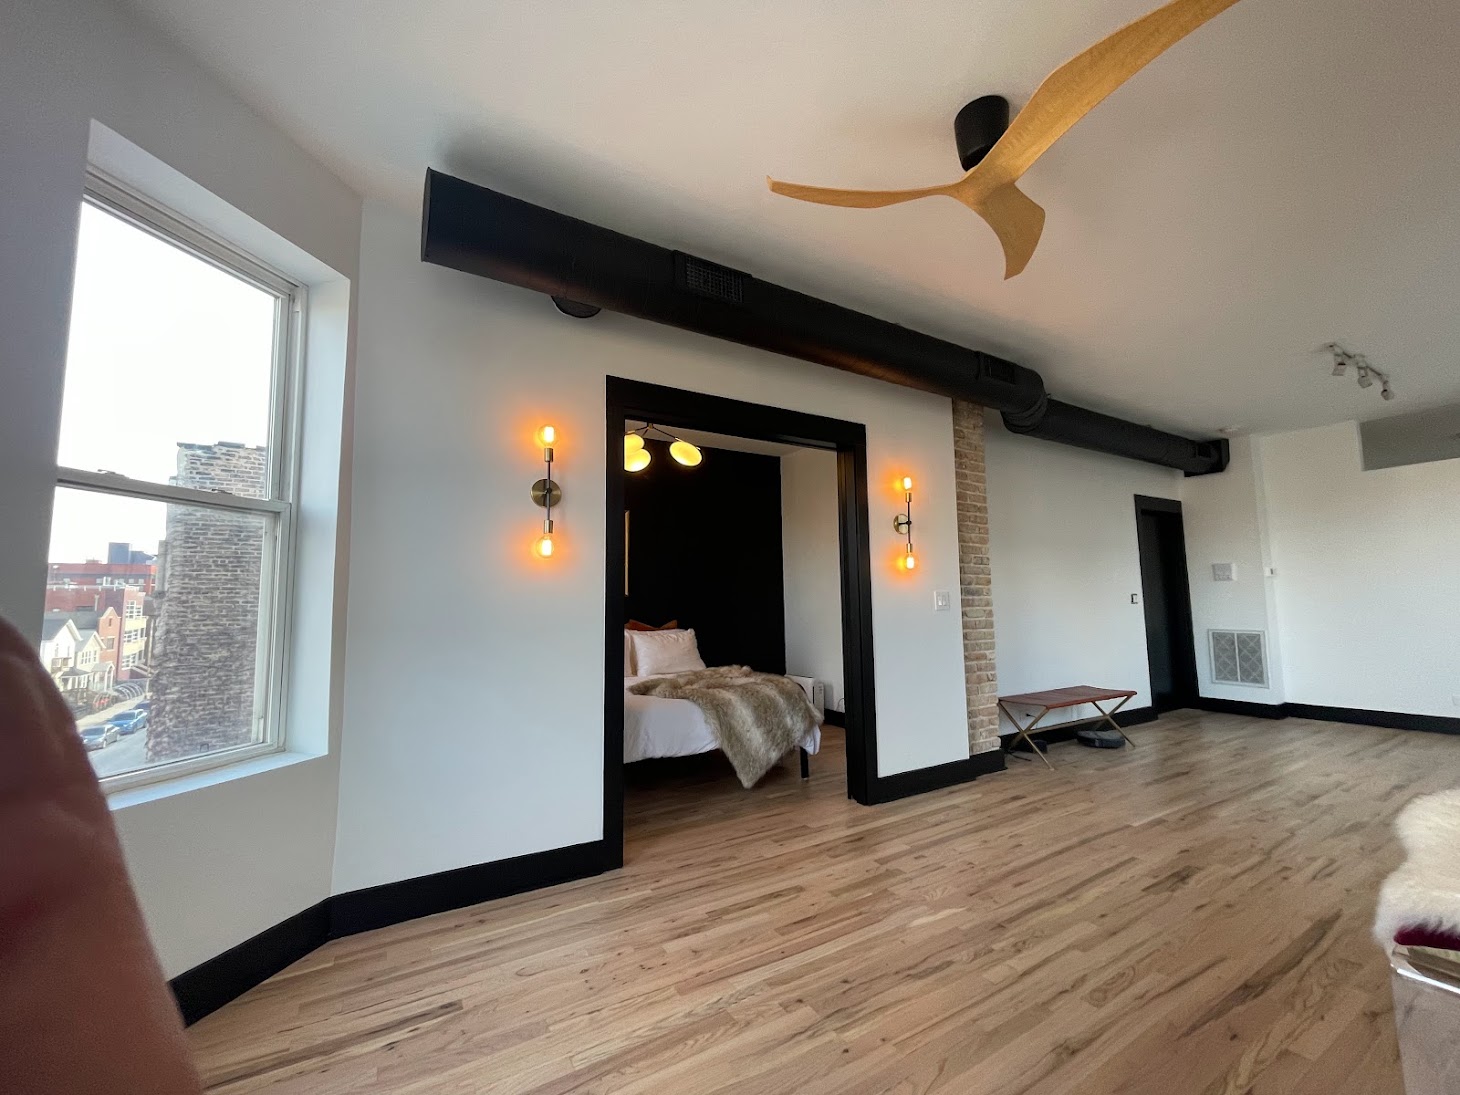
There are many reasons why people are opting for laminate over hardwood flooring these days. Setting aside cost, laminate has more durability over most hardwood options. And it doesn’t hurt that laminate is as easy on the eyes as it is to install. And for the simplest installation of floating laminate flooring, look no further than this tutorial from One Project Closer.
Here’s what’s needed to get this project done:
- Laminate flooring
- Plastic Underlayment
- Shoe molding
- Molding adhesive
- Thresholds
- Miter saw
- Table saw
- Jig saw
- Coping saw
- Utility knife
- Level
- Hammer or rubber mallet
- Pry bar
- Multitool or flush-cut saw
- Finish nail gun
- Compressor
This may seem like a long list, but don’t let the length fool you, this project can be done by most novice home improvers. Let’s get started!
Begin by preparing the subfloor, making sure that the surface is level and acclimated to the climate of the room. Then plan out how the boards will lay in the room, making sure the planks will be uniform and equal.
 Now it’s time to lay the plastic sheeting. These sheets should be running tight along the walls and secured with the adhesive on the bottom of each sheet.
Time to lay the boards! Make sure to leave a 1/4″ gap around the perimeter for any expanding or contracting that might occur in the wood. It’s important to have tools on hand to cut the pieces to size, especially when it comes to door jambs and doorways.
Once all the locking tongue and groove floor boards are in place, focus on the shoe molding and threshold pieces.
For the shoe molding, use a nail gun, making sure to nail into the baseboard. For the threshold pieces, only gluing with molding adhesive is necessary.
When complete, marvel not only at the time and money saved, but the sophisticated look achieved! Are you in need of Flooring installation in Chicago for laminate, hardwood or LVP, Give us a call or scroll to the top to fill out out estimate form.


