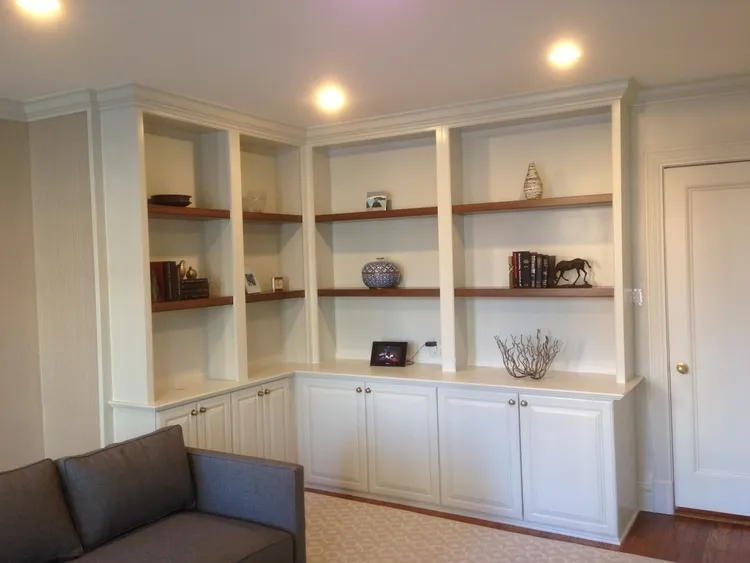
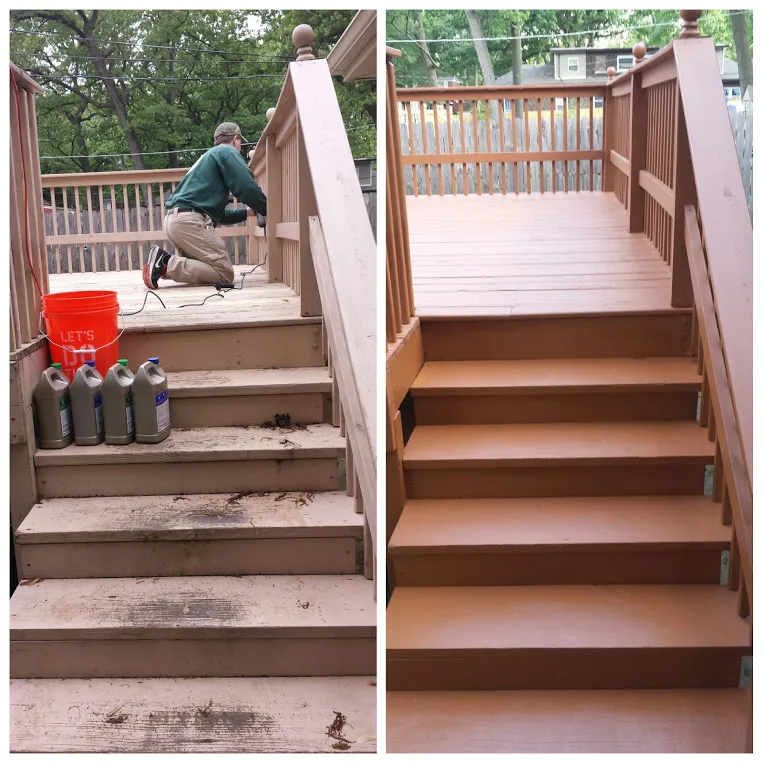
Drywall Repair
-
Tile Grout Repair: Easy DIY Fixes for a Fresh Look
Cracked or missing grout can make even the nicest tile floors and walls look shabby.…
-
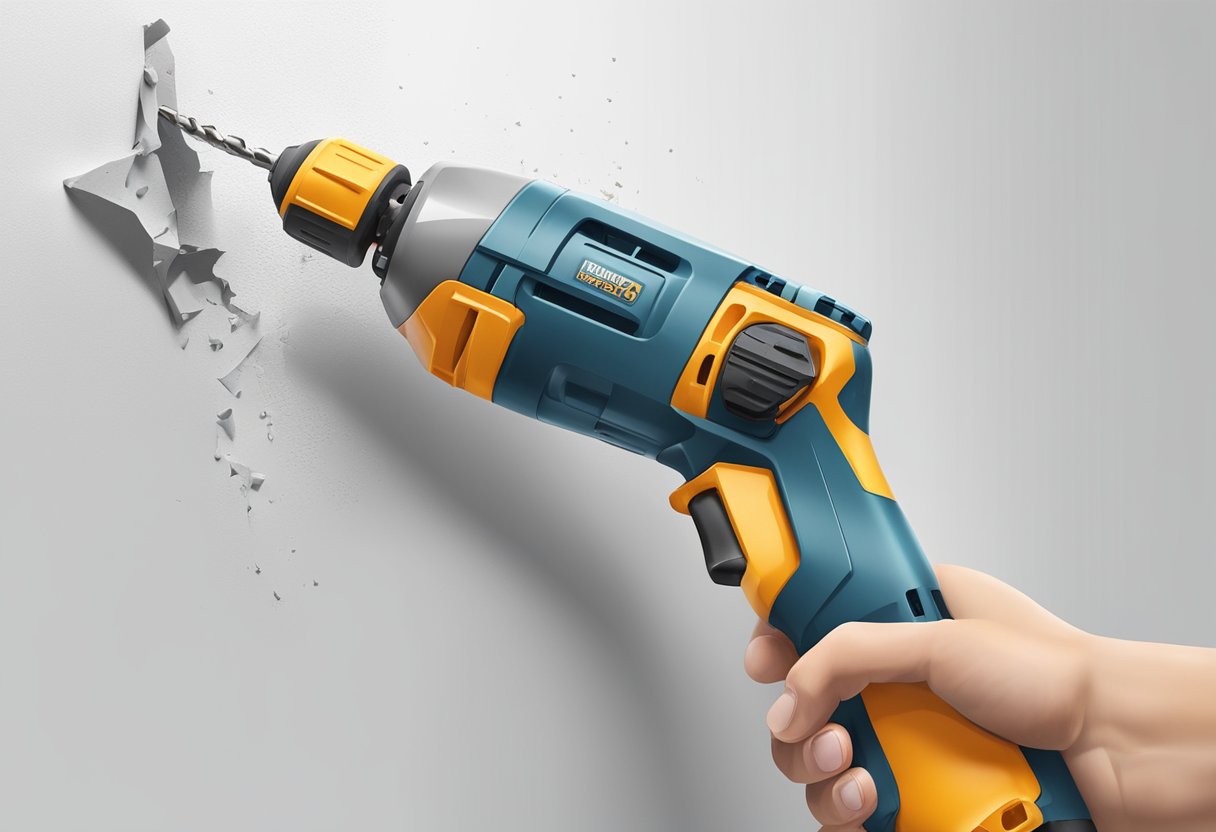
How to Remove Drywall Anchors: Quick and Easy Tips for DIY Home Repair
For as much as we all use them, you might think everyone knows how to…
-
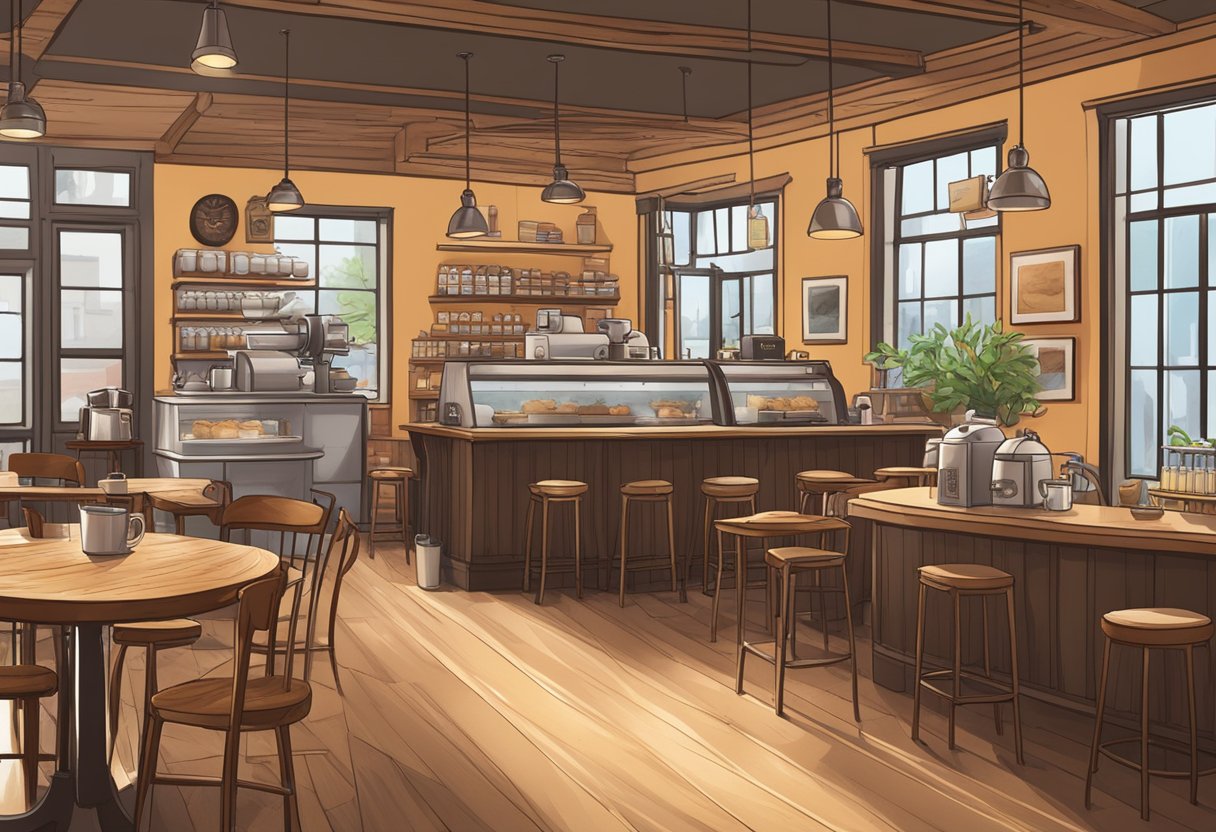
Best Coffee Shops in Chicago: Cool Spots for Every Caffeine Lover
While you’re upgrading your home, don’t forget the walls — Chicago Handyman provides professional drywall…
-

4 Best Smart Home Security Systems to Keep Your Home Safe in 2025
While you’re upgrading your home, don’t forget the walls — Chicago Handyman provides professional drywall…
-
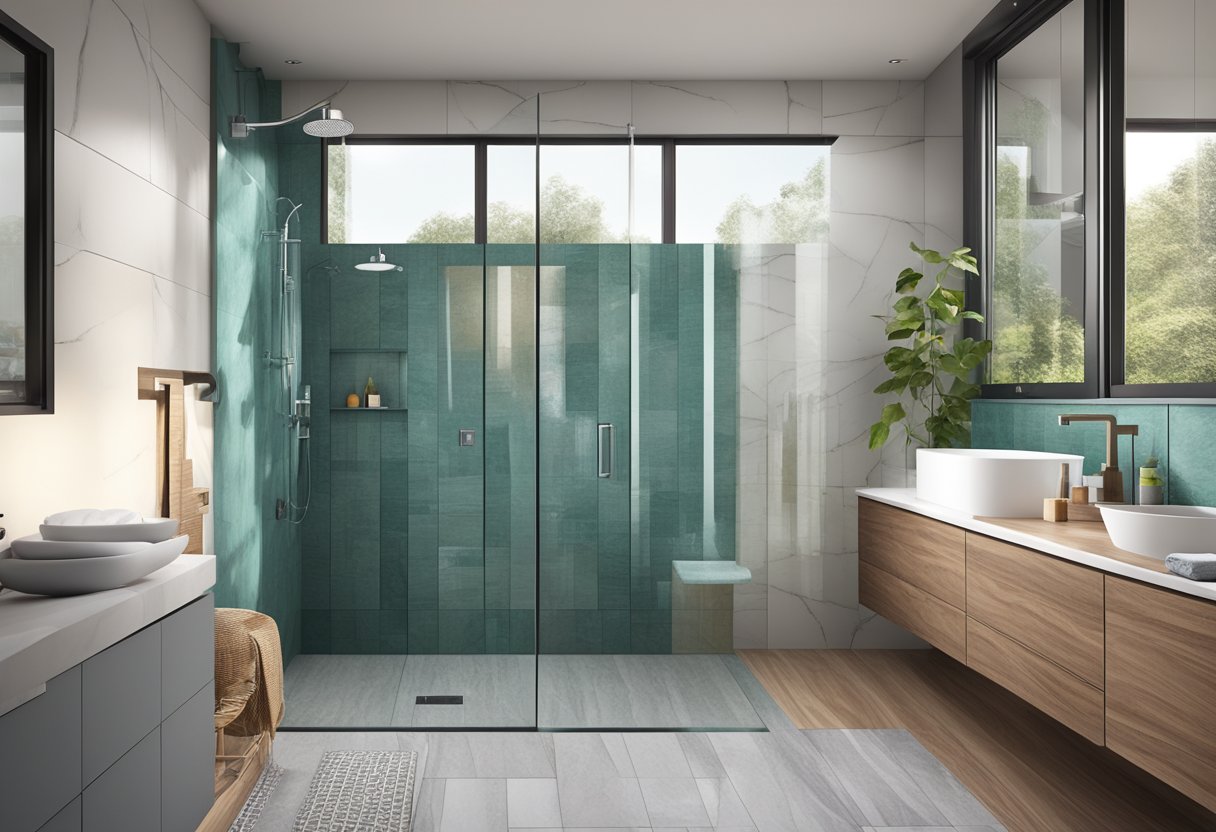
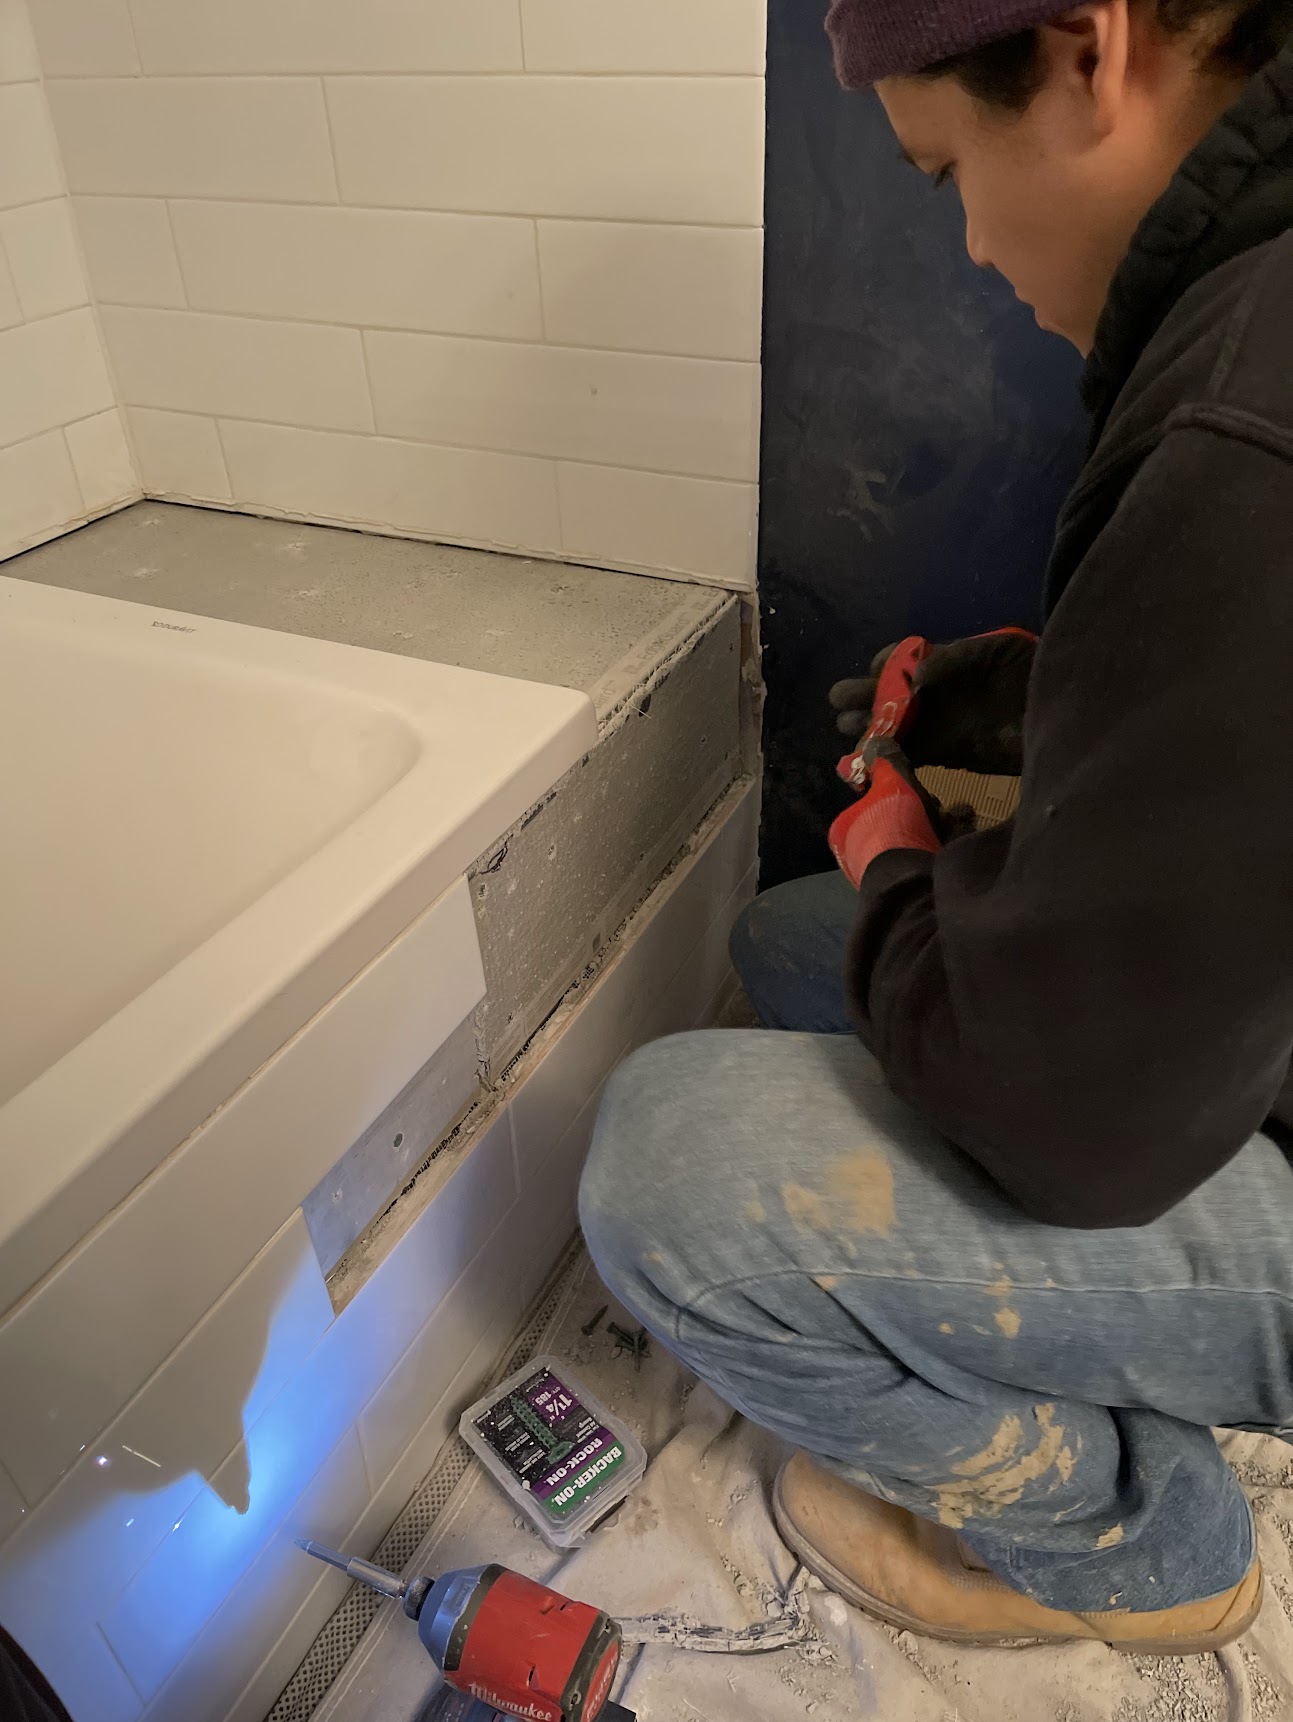
How to Remodel a Bathroom With a Window in the Shower: Smart Solutions for Waterproofing and Privacy
A window in a shower is a common feature in Chicago bathroom remodeling – waterproofing…