
Drywall
-
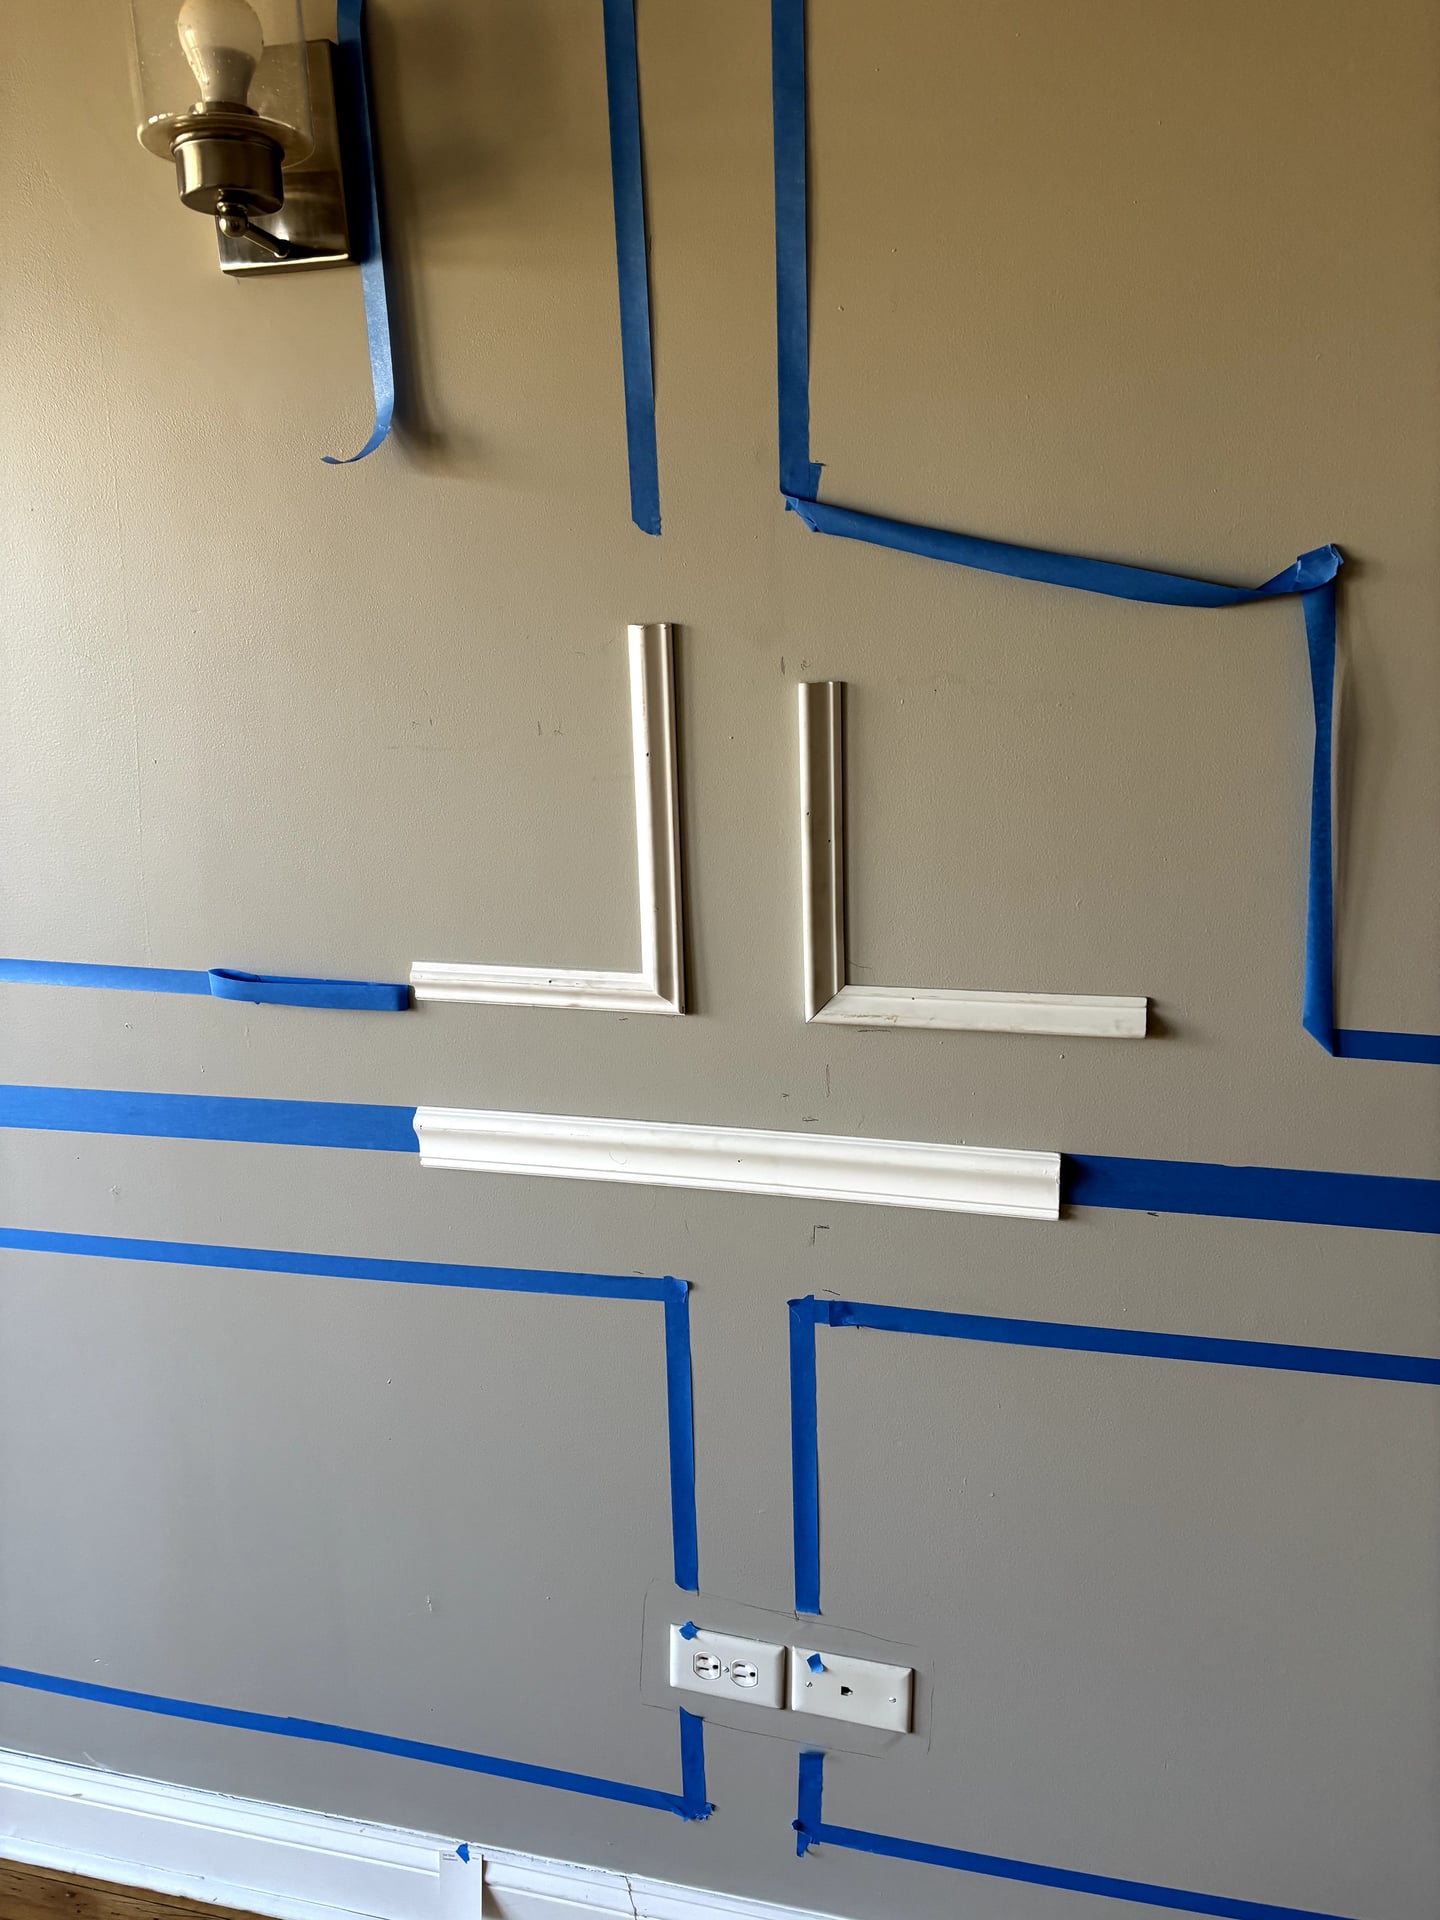
Paint-ready Finish for Picture Frame Wainscoting Installation in hyde
This picture frame wainscoting installation project paired picture-frame wainscoting with careful planning in hyde park.…
-
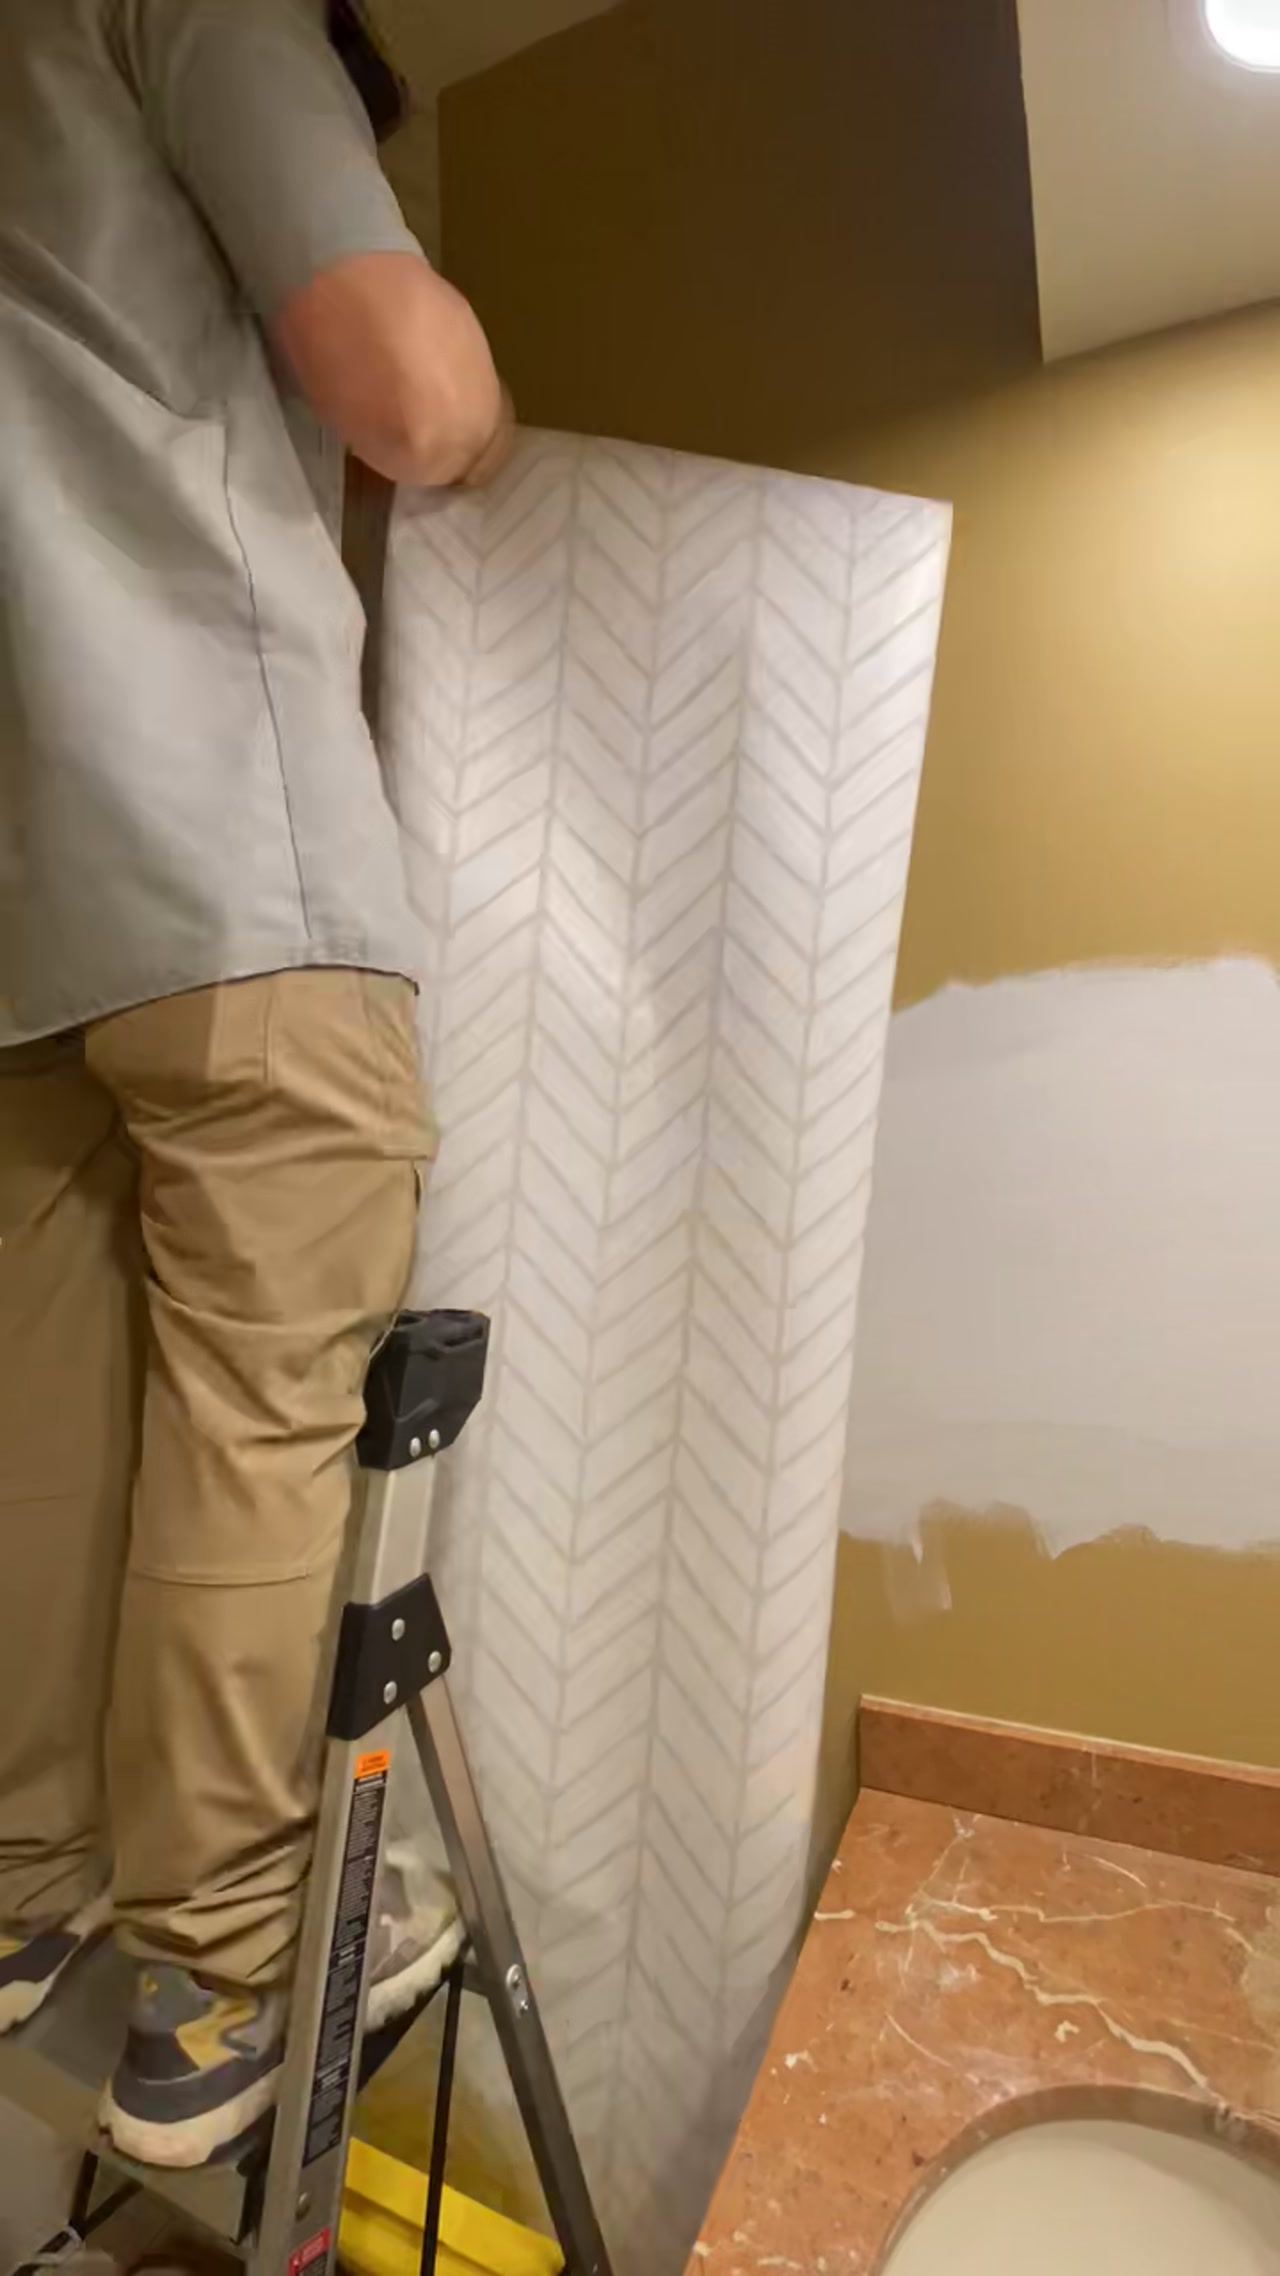
Handyman And Remodeling Repair in Avondale | Chicago Handyman
This Handyman and Remodeling repair project started with a clear goal: Wallpaper installation in Avondale.…
-

Venetian Plaster Fireplace in Wicker Park | Chicago Handyman
Elevate the style of your home with a stunning Venetian plaster fireplace. We recently completed…
-

Board and Batten Wainscoting in Jefferson Park
Breathing new life into a powder room can be as simple as adding board and…
-

How to Remove Drywall Anchors: Quick and Easy Tips for DIY Home Repair
For as much as we all use them, you might think everyone knows how to…

