-

Hardwood Floor Repair: Quick Fixes for Everyday Scuffs and Scratches
Its always worth it to try minor hardwood floor repair before calling in a pro.…
-
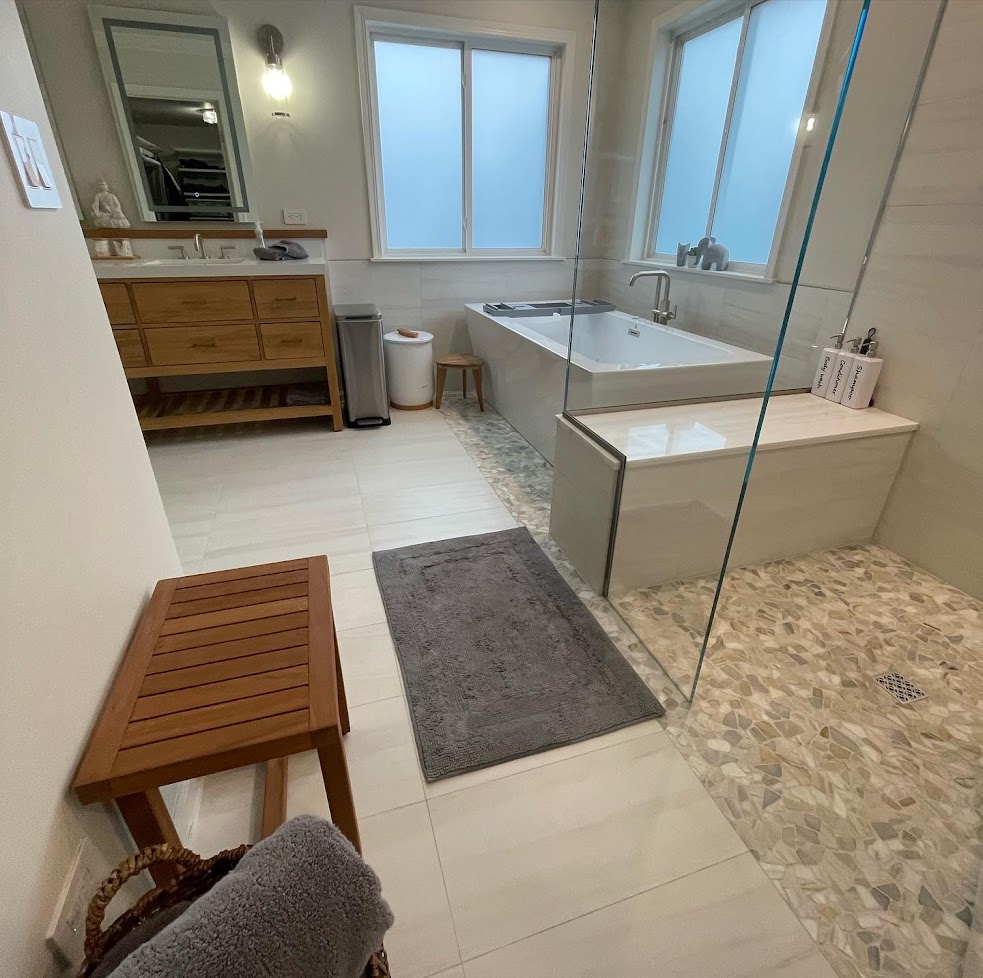
Curbless Shower: The Ultimate Bathroom Upgrade You Need Now
Curbless showers add a modern look and make bathrooms feel bigger. Reduce slip and fall…
-
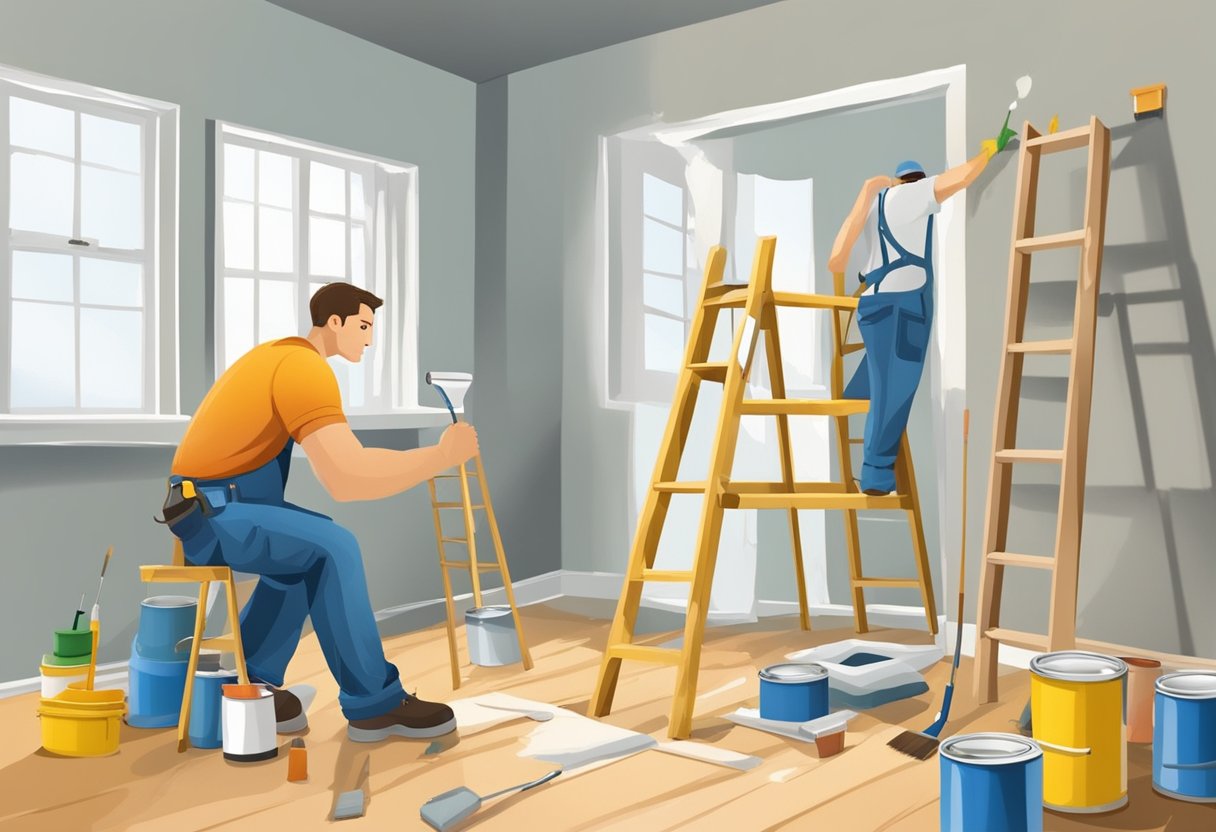
What Does a Handyman Charge to Paint a Room?
The cost to paint an Unfurnished small bedroom $450 includes drop cloths, sand walls, patch…
-

Popcorn Ceiling Repair: When Your concrete Ceiling Decides to Crack Up
Matching popcorn texture is trickier than finding parking during a cubs home game.
-
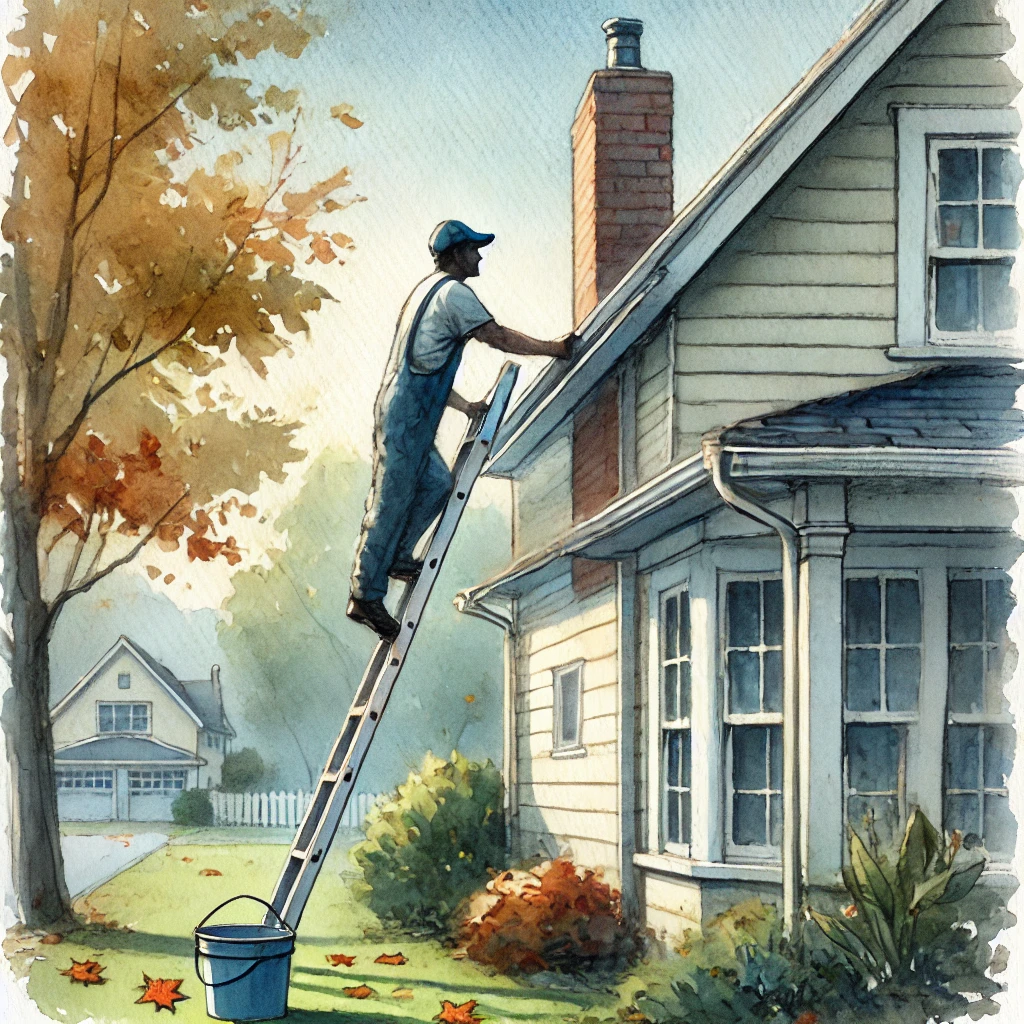
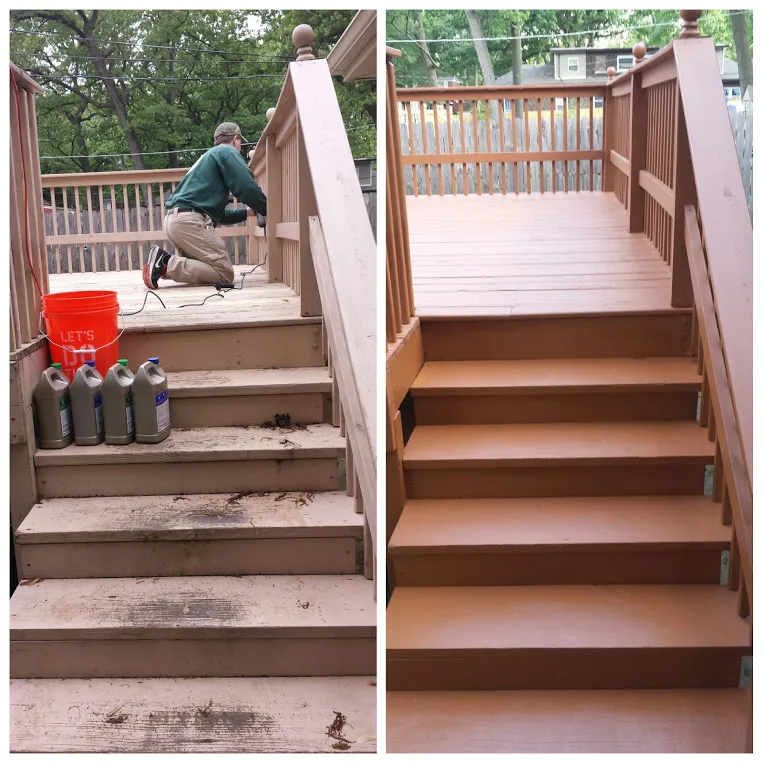
End of Summer in Chicago: Home Maintenance Task List
As the summer sun packs its bags and makes way for Chicago’s infamous chill, it’s…
1500 North Halsted Av Chicago, IL 60614
info@chicagohandyman.net
(773) 982 – 5500