-

Board and Batten Wainscoting in Jefferson Park | Chicago Handyman
Breathing new life into a powder room can be as simple as adding board and…
-
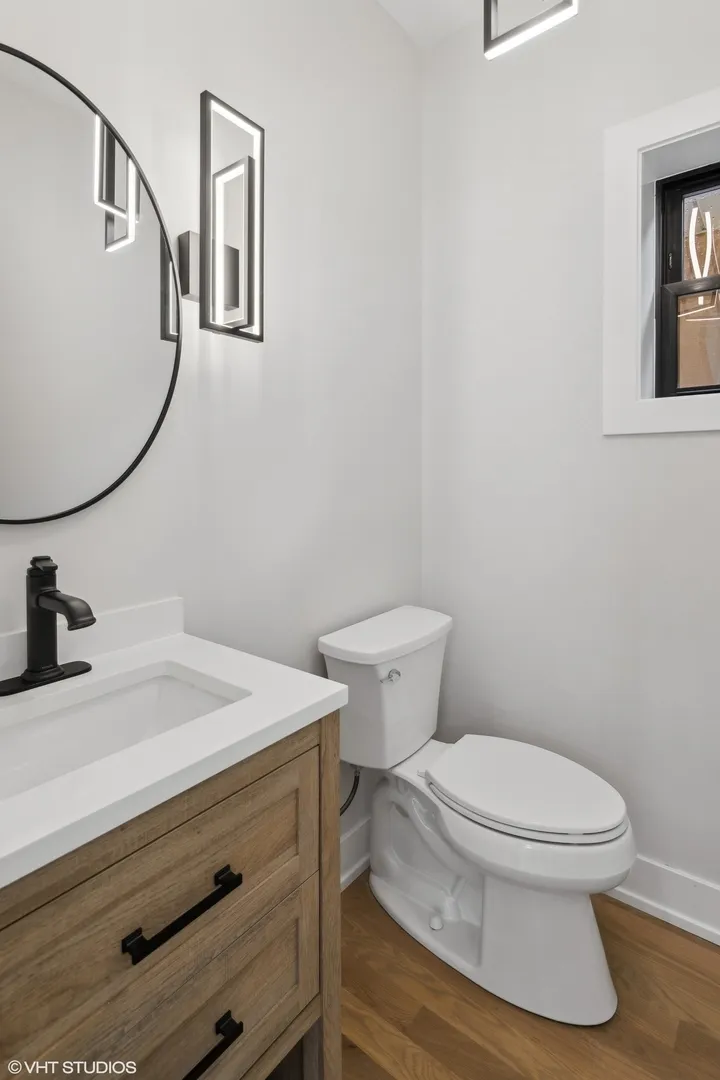
Board and Batten Wainscoting in Jefferson Park | Chicago Handyman
Breathing new life into a powder room can be as simple as adding board and…
-
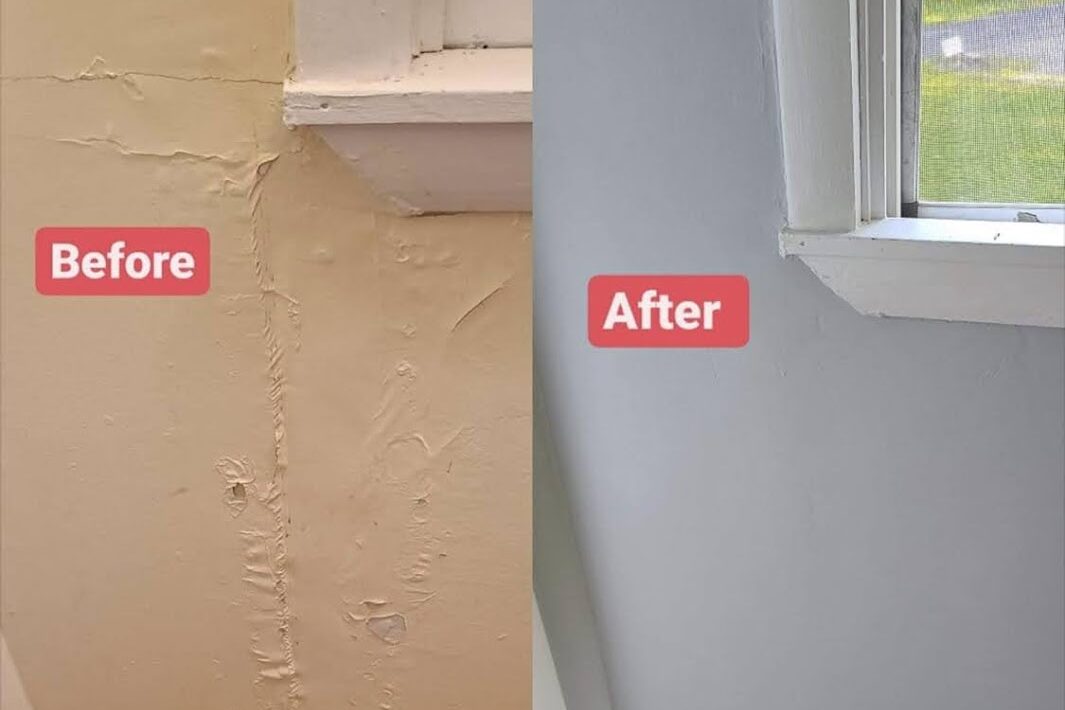
Sheetrock Repair: Every Method, Every Damage Type — Chicago Guide
Sheetrock is simply USG Corporation’s brand name for gypsum drywall — one of the most…
-
Dryer Vent Repair and Cleaning Chicago: Signs, Costs & When to Call a Pro
A clogged or damaged dryer vent is one of the most overlooked home hazards. The…
-
Chicago Home Maintenance Checklist: Every Season, Every Task
Chicago’s extreme seasons — polar vortex winters, humid summers, and freeze-thaw springs — make home…
1500 North Halsted Av Chicago, IL 60614
info@chicagohandyman.net
(773) 982 – 5500