-
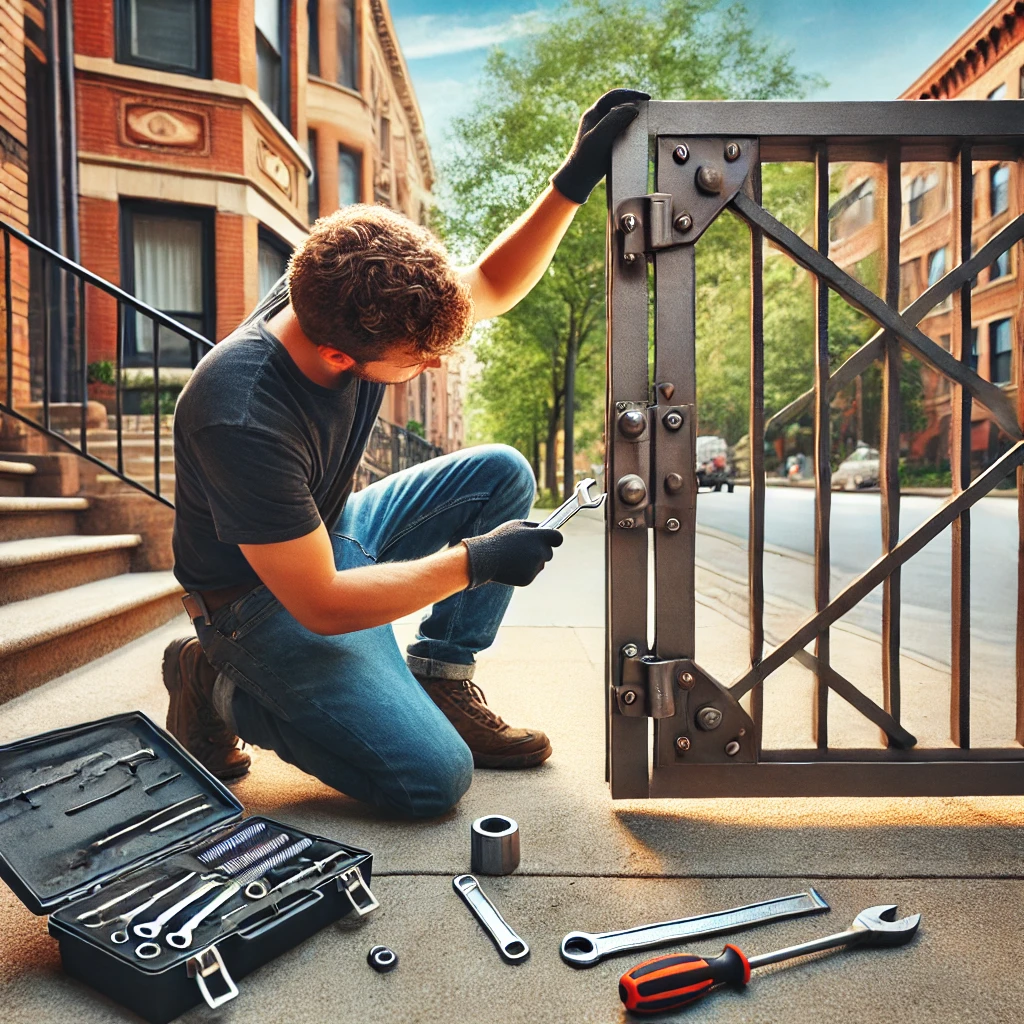
Gate Repair: Why Your Fence is Laughing at You
Ah, the wonderful world of gate repair – where dreams of smooth openings and closings…
-
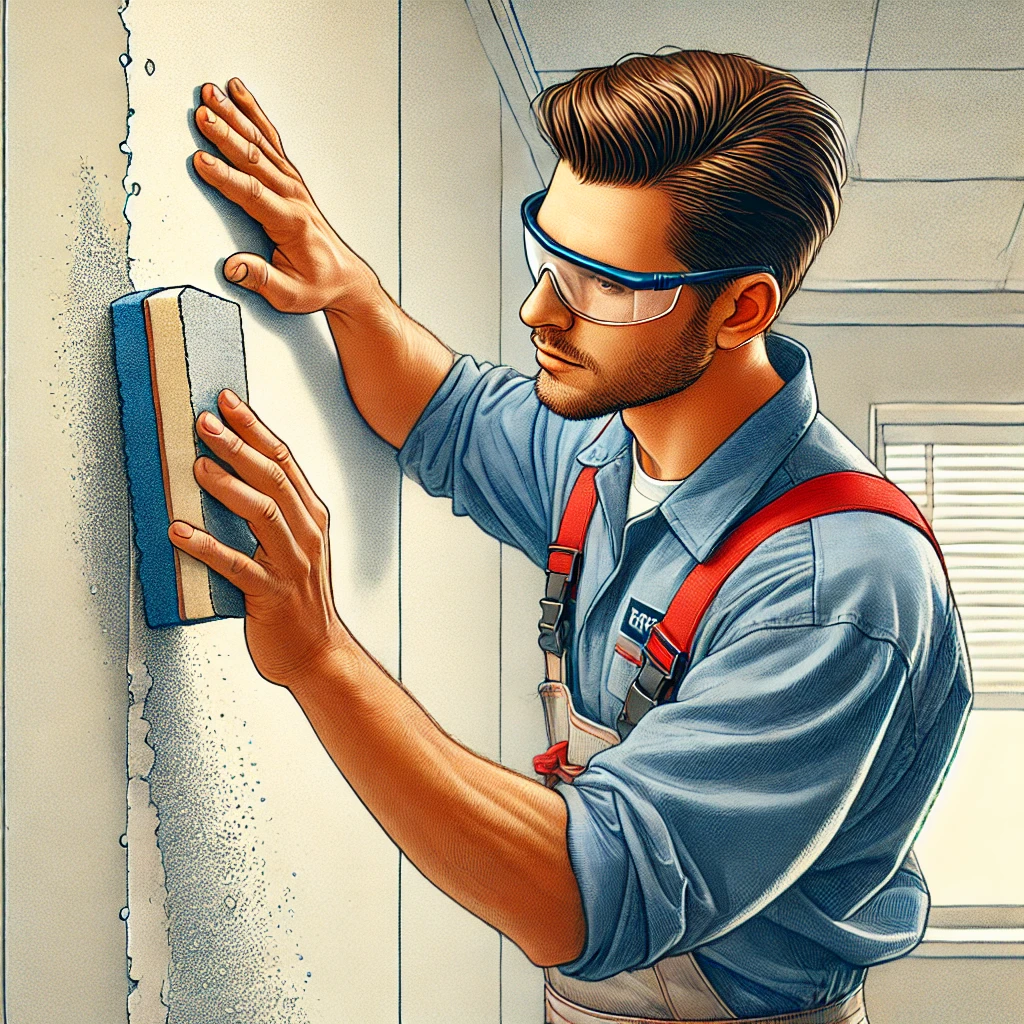
How to Wet Sand Drywall: Quick Tips for a Smooth Finish
Fixing up walls doesn’t have to be a dusty mess. Wet sanding drywall is a…
-

Fence Post Repair: When Your Yard’s Backbone Needs a Chiropractor
Ah, fence post repair – the thrilling hobby that keeps homeowners on their toes and…
-

Bathroom Remodel Financing: Easy Ways to Upgrade Your Space
Thinking about giving your bathroom a makeover? The cost can add up fast. But don’t…
-

Sliding Glass Door Repair: When Your View Becomes a Sticky Situation
Is your sliding glass door acting more like a stubborn mule than a smooth operator?…
1500 North Halsted Av Chicago, IL 60614
info@chicagohandyman.net
(773) 982 – 5500