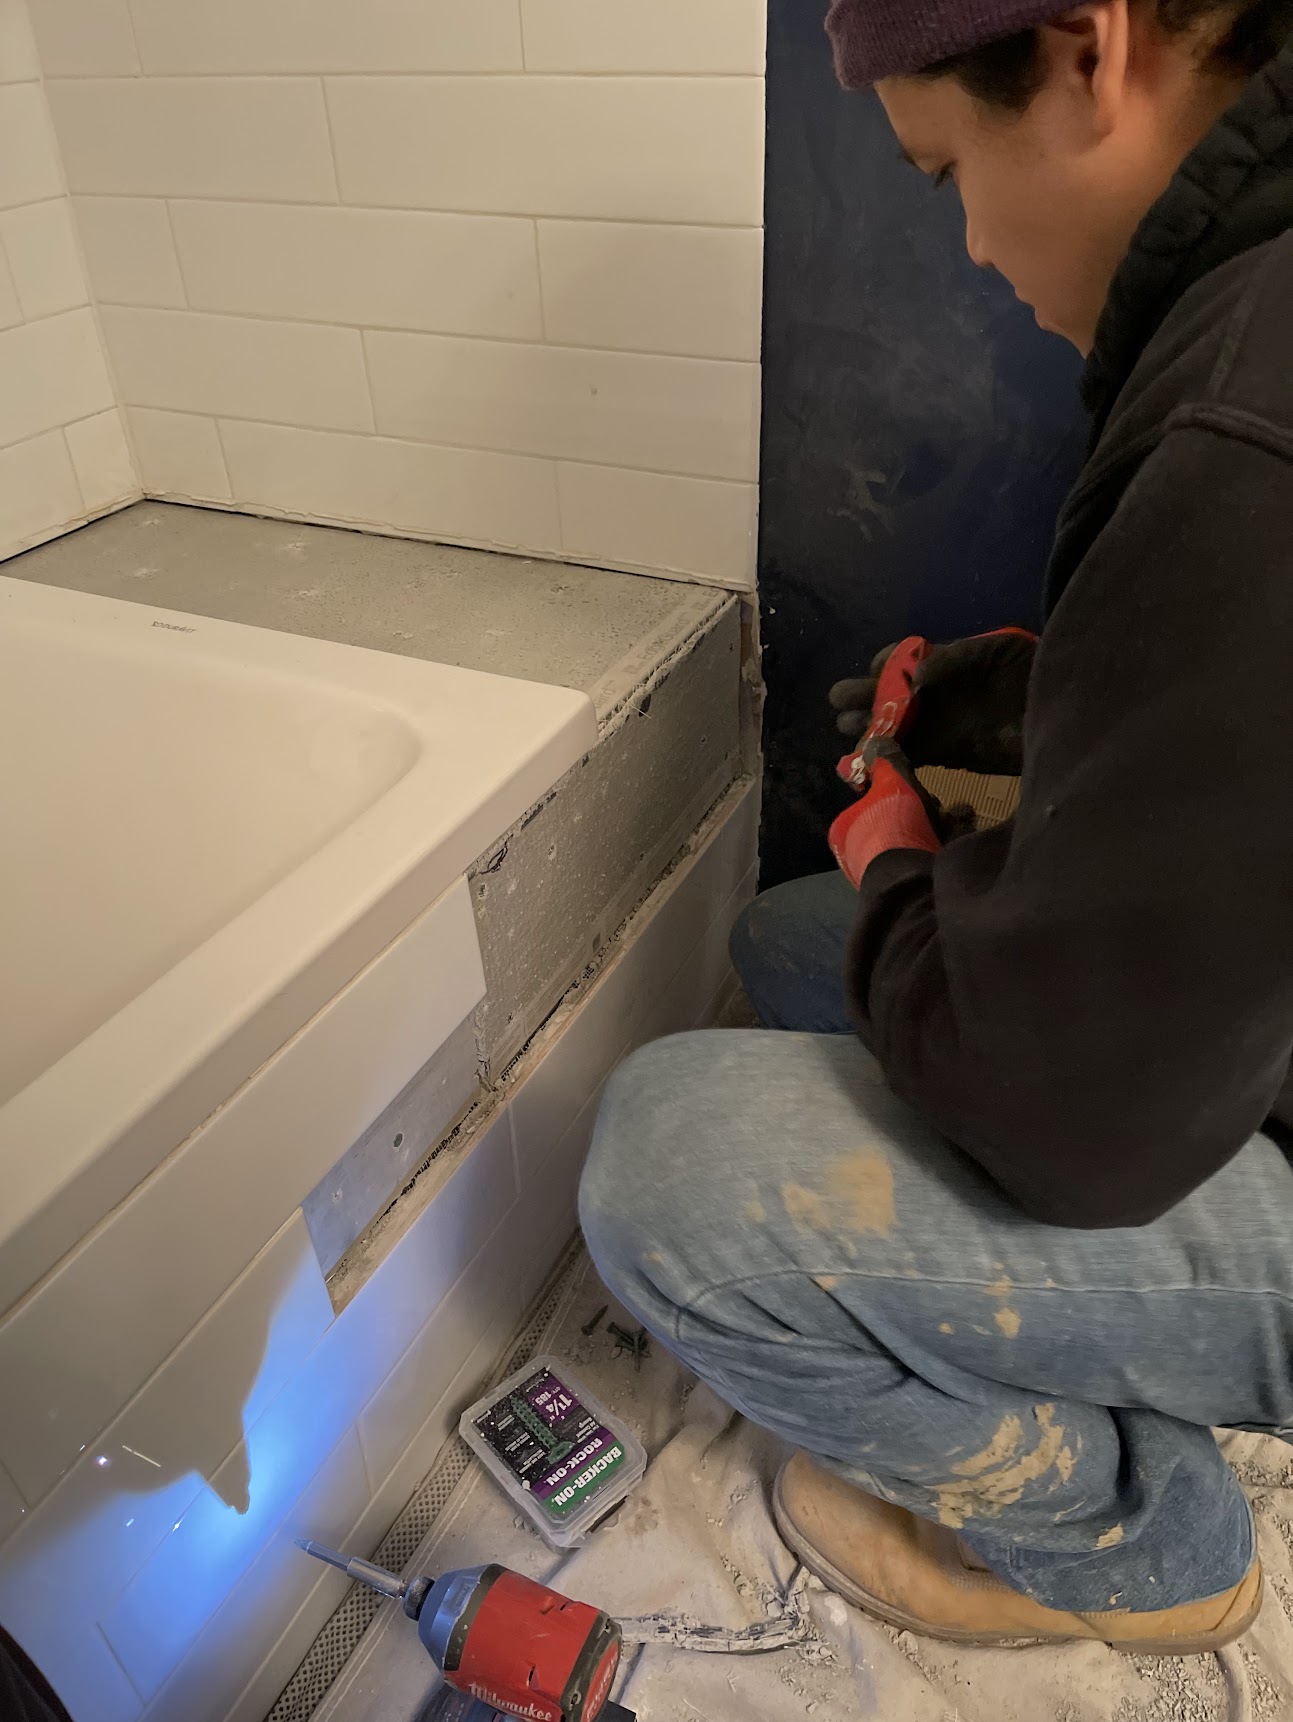
Got a crack in your drywall? Don’t despair, your walls aren’t falling apart! These pesky fissures are just your house’s way of saying “I’m alive!”
Drywall cracks pop up for all sorts of reasons. Maybe your home is settling into its golden years, or perhaps it’s just cranky about temperature changes. Fixing these cracks is easier than convincing a cat to take a bath.
With a quick trip to Home Depot and some elbow grease, anyone can patch up their walls. It’s like giving your house a facelift, minus the celebrity price tag. So grab your tools and get ready to become the superhero your drywall never knew it needed!
Gathering Your Drywall Repair Kit
Before diving into drywall repair, one must assemble the proper tools. A well-stocked kit is like a superhero’s utility belt, ready to tackle any crack or hole that dares to mar your walls.
Identifying Your Wall’s Mood Swings require the proper tools
Walls, like teenagers, can be moody and unpredictable. One day they’re smooth and flawless, the next they’re cracking up at the slightest joke. To diagnose these fickle surfaces, a keen eye and a few key tools are essential.
A stud finder becomes your wall’s therapist, uncovering hidden support structures. It beeps and blinks, revealing the secrets lurking behind the drywall’s poker face.
The utility knife, sharp and precise, acts as a surgeon’s scalpel. It trims away damaged areas with the finesse of a barber giving a buzz cut.
A Shopping Spree at Home Depot
Venturing into the home improvement store is like entering a candy shop for DIY enthusiasts. The aisles beckon with promises of smooth walls and victorious repairs.
Joint compound, the magical spackle of the drywall world, sits proudly on the shelf. It’s the cure-all for cracks, holes, and dents.
Drywall tape comes in various flavors: paper, fiberglass, and mesh. Each type has its own personality, ready to stick it to those pesky cracks.
Drywall screws stand at attention, eager to fasten loose panels and secure wobbly walls.
Befriending Your Putty Knife
The putty knife is the unsung hero of drywall repair. It spreads joint compound like butter on toast, smoothing over life’s little imperfections.
Putty knives come in different sizes, from dainty 2-inch models to brawny 12-inch beasts. The 4-inch and 6-inch varieties are the Goldilocks of the bunch – just right for most jobs.
A taping knife, the putty knife’s sophisticated cousin, joins the party for larger repairs. It’s wider and more flexible, perfect for spreading compound over seams and tape.
With these tools in hand, even the most intimidating wall cracks will quiver in fear. The drywall repair adventure awaits!

The Art of Filling Cracks and Holes
Patching up drywall is like being a cosmetic surgeon for your home. It’s all about smoothing out those unsightly blemishes and making your walls look young again.
An Introduction to Drywall Dermatology
Our walls, like our skin, need some TLC from time to time. Cracks and holes are the acne of drywall, and it’s up to us to play doctor. First things first, clean the area. No one likes a dirty patient! Grab a drywall knife and scrape away any loose bits. It’s like exfoliating, but for your walls.
Next, size up the damage. Is it a tiny crack or a gaping hole? For small cracks, a bit of spackle will do the trick. It’s like putting concealer on a pimple. For bigger boo-boos, you might need to break out the big guns: drywall compound and tape.
Wrestling with Mesh vs. Paper Tape
Choosing between mesh and paper tape is like picking your favorite superhero. Both have their strengths, but one might be better suited for your mission. Mesh tape is self-adhesive and great for corners. It’s like Spider-Man, sticking to everything with ease.
Paper tape, on the other hand, is the Superman of drywall repair. It’s stronger and less likely to show through your final coat. But it needs a layer of mud to stick, so it’s a bit more work.
• Mesh tape: Easy to use, good for corners
• Paper tape: Stronger, less visible, needs mud to stick
Mixing Mud with the Finesse of a Baker
Mixing drywall compound is like baking a cake, but way less tasty. You want it smooth, not too thick, not too thin. It’s a Goldilocks situation – just right. Add water slowly, stirring as you go. Think of it as making pancake batter, but for your walls.
Once it’s mixed, let it sit for a few minutes. This gives the ingredients time to get to know each other. Then give it one last stir before you start spreading. Apply it with your drywall knife, smooth and even. It’s like frosting a cake, but vertical and less delicious.
The Final Layer: Sanding Without Tears
Sanding is the last step in our drywall makeover. It’s like giving your walls a spa treatment. Start with a coarse-grit sandpaper to smooth out the big bumps. Then switch to a finer grit for that silky-smooth finish.
Here’s a pro tip: wear a dust mask. Unless you want to look like a powdered donut, that is. Sand in a circular motion, like you’re waxing a car. Check your work often by running your hand over the surface. If it feels smooth, you’re done!
Remember, patience is key. Rome wasn’t built in a day, and perfect drywall doesn’t happen overnight. But with a little practice, you’ll be a drywall doctor in no time!


