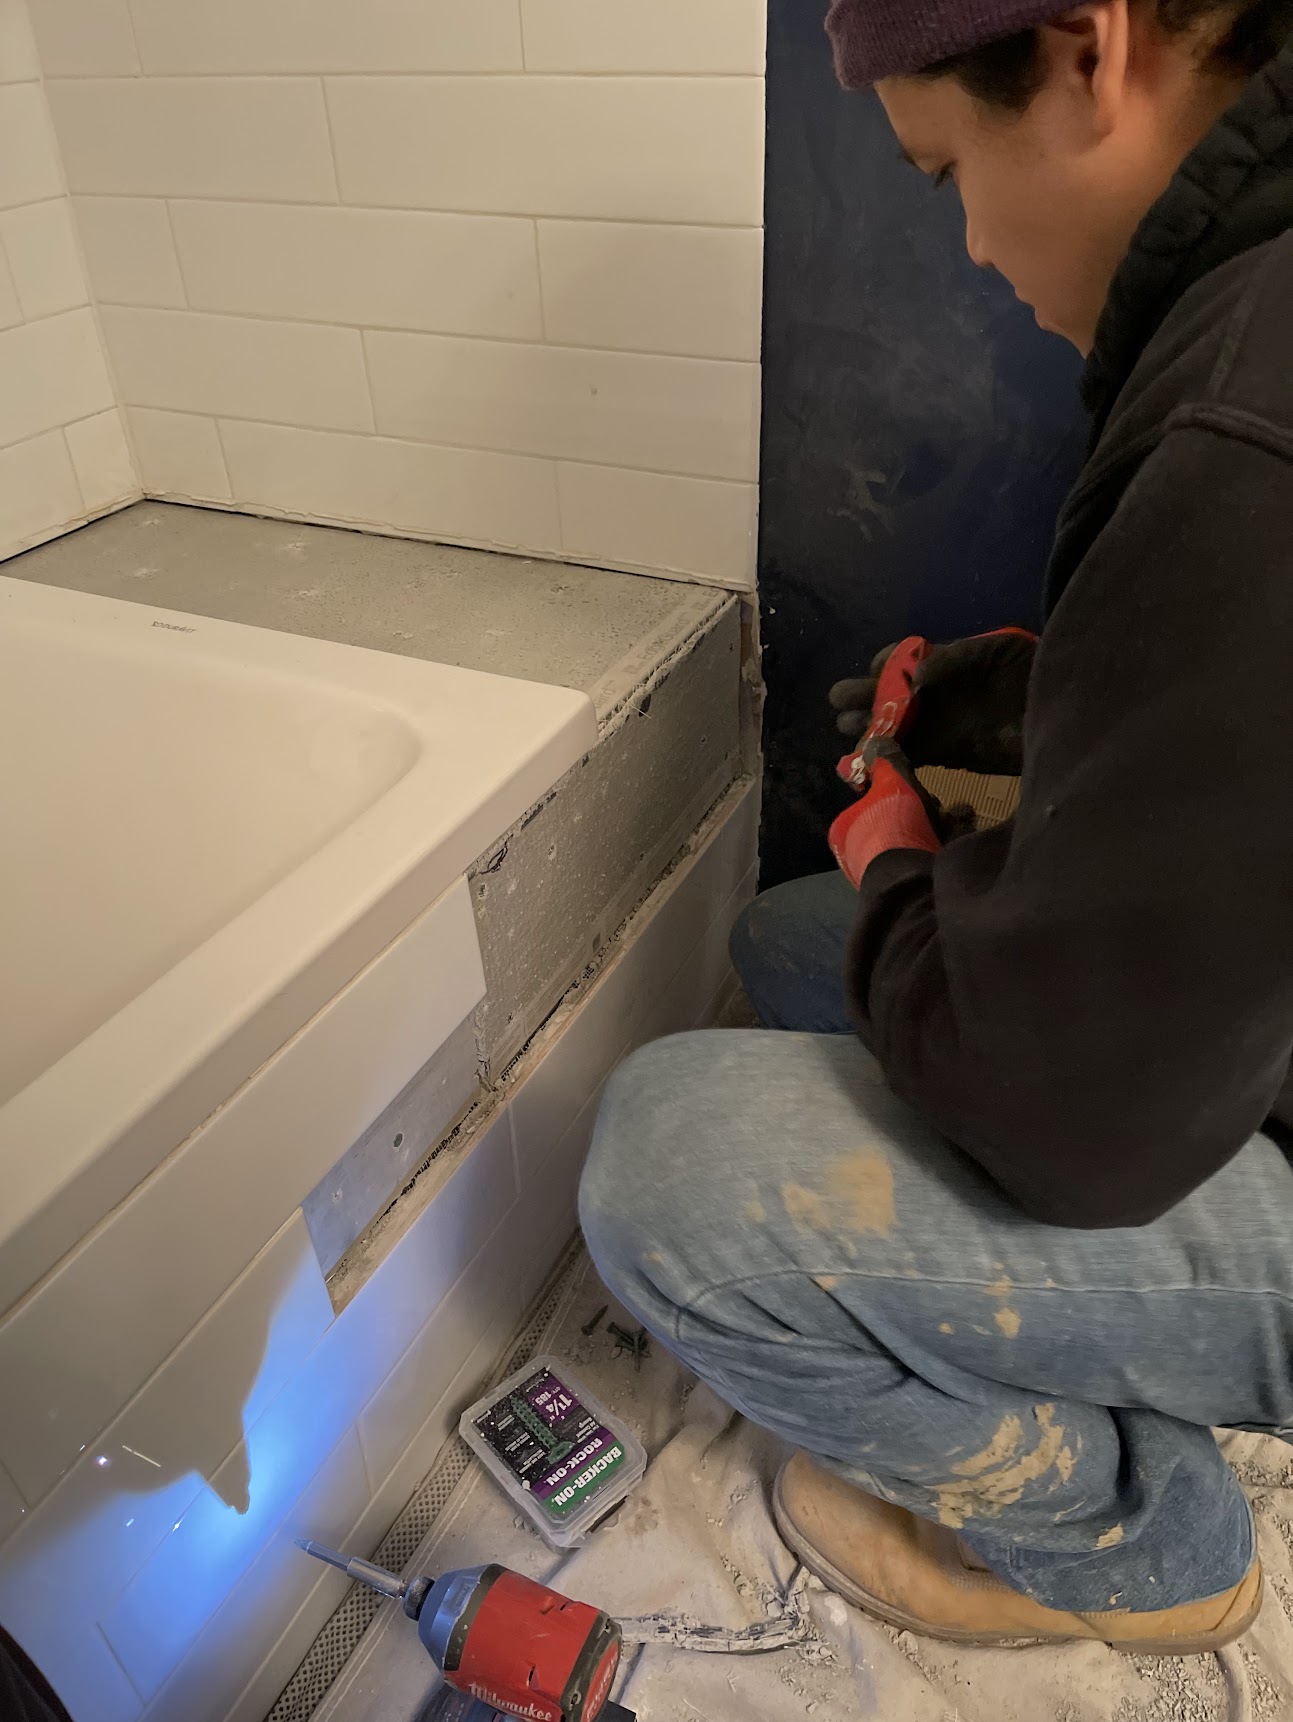
Fixing up walls doesn’t have to be a dusty mess. Wet sanding drywall is a smart way to get smooth walls without the clouds of dust. This method uses water and a sponge to smooth out drywall mud, creating a clean finish for painting or wallpapering.
Most joint compound instructions state that wet sanding is an option. People dont read instructions like they used to, but there’s a lot of information from the drywall manufacturers right on the bag.
Wet sanding is great for small touch-ups or whole room renovations. It’s easier on your lungs and keeps your workspace cleaner. Plus, it’s simple enough for beginners but effective for pros too.
To wet sand, you’ll need a bucket of warm water and a special drywall sponge. The process involves gently rubbing the dried joint compound with the damp sponge. This softens and smooths the surface, getting rid of bumps and marks. It takes a bit more time than dry sanding, but the trade-off is less cleanup and a healthier work environment.
Preparing to Wet Sand Drywall
Wet sanding drywall takes some prep work. You’ll need to get the right tools and take safety steps before starting.
Gathering Materials
Get a sanding sponge made for drywall. It has a rough side and a smooth side. You’ll also need a bucket and warm water. Fill the bucket about halfway.
Some folks like to have sandpaper on hand too. It can help with stubborn spots. Grab a drywall sponge if you want extra smoothing power.
Make sure you have enough joint compound or drywall mud. You might need to patch spots as you go.
Safety Measures
Put on a dust mask. Even with wet sanding, some dust can still fly around. Safety glasses are a must too. They keep gunk out of your eyes.
Wear old clothes. Wet sanding can get messy. You don’t want to ruin your good stuff.
Open windows if you can. Fresh air helps clear out any dust or smell from the drywall mud.
Keep a towel nearby. You’ll want to wipe your hands now and then. It also helps catch drips before they hit the floor.
Executing the Wet Sanding Process

Wet sanding drywall creates a smooth finish without the mess of dry sanding. The process needs care and the right tools. Let’s look at how to do it step by step.
Wet Sanding Techniques
Start by getting a drywall sponge damp. Squeeze out extra water so it’s not dripping. Use the sponge’s soft side for most areas. Move it in circles or figure-eights over the surface. Don’t push too hard.
For tough spots, flip to the rougher side. Be gentle to avoid damage. Work on small sections at a time. Rinse the sponge often to keep it clean.
In tight corners, fold the sponge to fit. This helps smooth out hard-to-reach places.
Smoothing and Finishing
After the first pass, check for bumps or dips. Use light touches to even out these spots. Pay extra care to joints where drywall meets.
A tack cloth can wipe away loose bits. This shows any areas that need more work. Keep at it until the wall feels smooth all over.
For a super fine finish, try a second pass with a fresh, barely damp sponge. This can catch tiny flaws you might have missed.
Cleanup and Post-Sanding
Wet sanding makes less mess, but there’s still cleanup. Use a shop vac to suck up any fallen bits of mud. Then, wipe down the walls with a clean, damp cloth.
Let the area dry fully. This might take a few hours. Once dry, run your hand over the surface. If you feel any rough spots, give them a quick touch-up.
Clean your tools right away. Rinse sponges well and let them dry. This keeps them ready for next time. A clean workspace makes for easier painting later.


