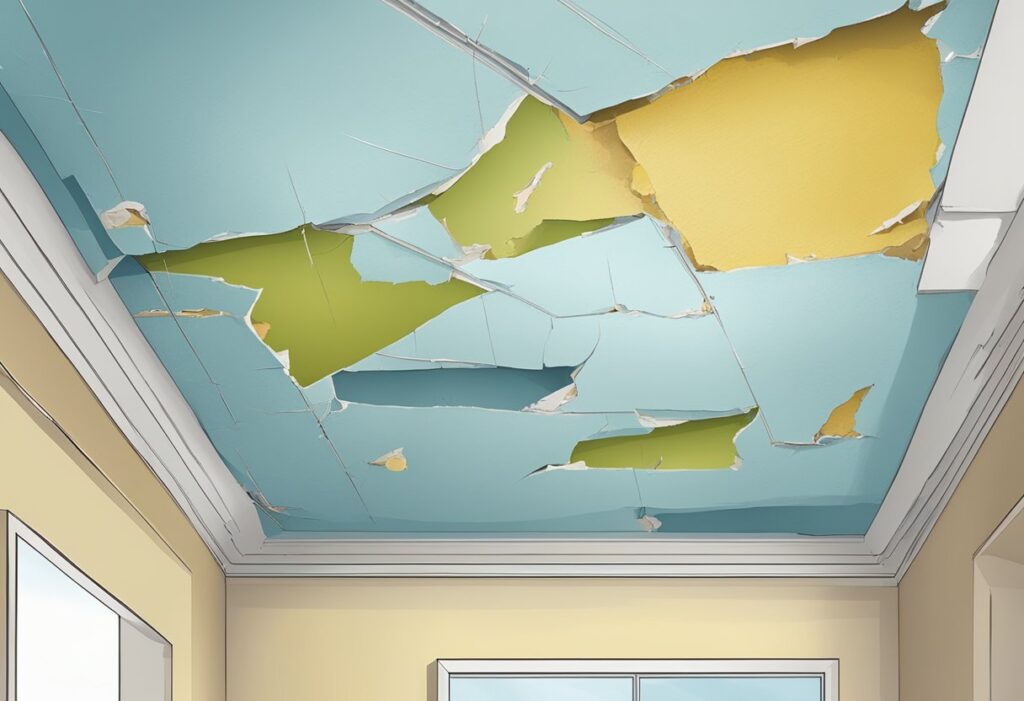
Ah, the joys of homeownership! Nothing quite says “welcome home” like a ceiling that’s decided to take a shower… indoors. Water damage to drywall ceilings is about as fun as a root canal performed by a squirrel with tiny dental tools.
But fear not, brave homeowner! Fixing water-damaged drywall ceilings is totally doable, even for those who think “joint compound” is a fancy name for knee surgery. With a bit of elbow grease and the right tools, you can banish those unsightly water stains and sagging spots faster than you can say “Why didn’t I just rent?”
So grab your favorite DIY playlist, put on your least favorite shirt (trust us, it’s about to get messy), and get ready to transform your ceiling from “leaky disaster” to “Instagram-worthy.” Who knows? You might even impress your neighbors enough that they forget about that time you accidentally mowed half their lawn.
Getting to Know Your Nemesis: Water Damage
Water damage is the sneaky villain of home maintenance. It creeps in uninvited, leaving a trail of soggy destruction in its wake. Let’s unmask this pesky intruder and learn its tricks.

Identity Crisis: Is It a Stain or a Portal to Another World?
Water stains on ceilings are like shape-shifters. One day, they’re innocent-looking discolorations. The next, they’re full-blown portals to a watery dimension. These sneaky spots can start small, barely noticeable to the untrained eye.
But don’t be fooled! They grow and spread faster than gossip at a neighborhood barbecue. A tiny dot can turn into a map of imaginary continents before you know it.
To catch these tricksters, keep your eyes peeled for any odd spots on your ceiling. If you see something suspicious, grab a moisture meter. It’s like a magic wand that detects hidden water.
Water Goes Where It Pleases: Roof and Plumbing Mischief
Water is a free spirit. It doesn’t care about your fancy home designs or well-laid plans. It just wants to go with the flow – literally.
Roof leaks are like secret agents. They slip through the tiniest cracks and show up where you least expect them. Your ceiling becomes their playground.
Plumbing leaks are the underground rebels. They hide in walls and ceilings, plotting their wet revolution. By the time you spot them, they’ve already thrown a wild water party in your drywall.
Look out for bulges, bubbles, or peeling paint. These are telltale signs that water is having a grand old time in your ceiling.
When Moisture Calls: The Usual Wet Suspects
Water damage has a gang of usual suspects. First up is high humidity, the invisible troublemaker. It sneaks in and makes your home feel like a sauna.
Next, we have poor ventilation, humidity’s partner in crime. Together, they create the perfect breeding ground for mold and mildew.
Don’t forget about condensation, the cold-hearted villain. It forms when warm air meets cold surfaces, leaving water drops behind.
To fight back, arm yourself with dehumidifiers. They’re like vacuum cleaners for moisture. Use fans to improve air flow and keep things dry. And fix those leaks pronto! Don’t let water damage turn your home into an unwanted water park.
Roll Up Your Sleeves: It’s Repair Time

Time to get your hands dirty! Fixing that water-damaged ceiling is no picnic, but with a dash of elbow grease and a sprinkle of know-how, you’ll have it looking spick and span in no time.
The Dissection: Removing Water-Ravaged Drywall Like a Pro
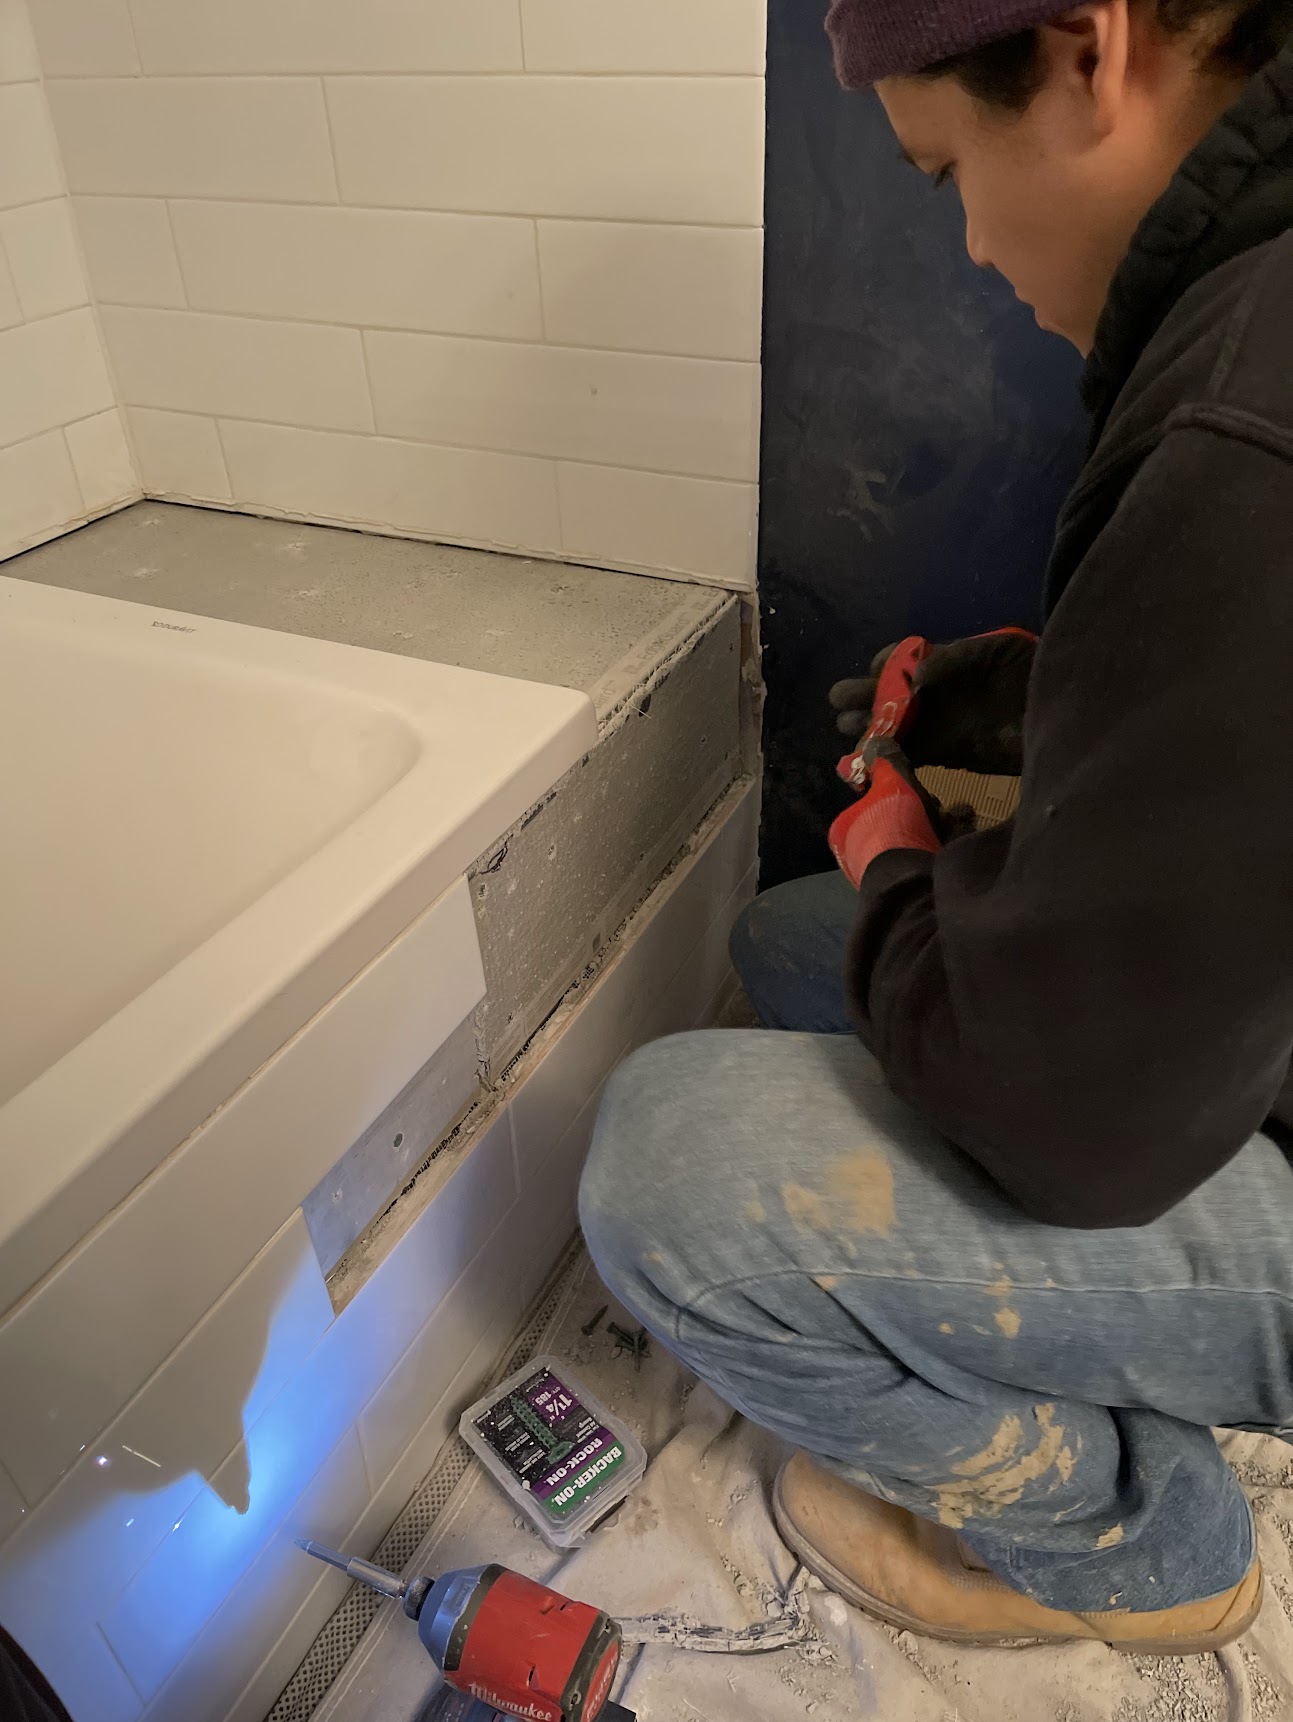
First things first, folks! Grab your trusty utility knife and drywall saw – it’s time to play surgeon with that soggy ceiling. Carefully cut out the damaged bits, making sure not to nick any hidden wires or pipes. It’s like a game of Operation, but with less buzzing and more dust.
Don’t forget to check for any sneaky mold growth or structural weakening. If you spot anything fishy, call in the big guns (aka professionals). Safety first, laughs later!
Once you’ve carved out the bad parts, take a peek at the ceiling joists and attic insulation. If they look sadder than a wet cat, it might be time for some extra TLC.
Mixing the Magic Potion: Conjuring Up Your Joint Compound
Now for the fun part – mixing up that gloopy goodness known as joint compound. It’s like making pancake batter, but less tasty and more useful for ceilings.
Grab your bucket and mixing stick, and channel your inner witch as you stir up this DIY potion. Add water slowly – you want it thick enough to stick, but not so thick it’ll give your arms a workout when you’re applying it.
Pro tip: If you’re feeling fancy, try a pre-mixed compound. It’s like buying store-bought cookie dough – a little pricier, but saves you from getting flour all over your shirt.
The Art of Camouflage: Mending and Hiding Your Dirty Laundry
Time to make that ceiling boo-boo disappear! Slather on that joint compound like you’re frosting a really big, flat cake. Use your trusty putty knife to smooth it out, feathering the edges so it blends in seamlessly.
Once it’s dry, grab your sandpaper or sanding sponge and go to town. Smooth out those rough patches until it’s baby-bottom soft.
For extra credit, slap on some drywall tape for reinforcement. It’s like Spanx for your ceiling – holding everything together and making it look flawless.
Finally, prime and paint that bad boy. Choose a nice ceiling paint and roll it on with gusto. Voila! Your ceiling’s dirty little secret is now hidden better than a teenager’s diary.


