diy
-
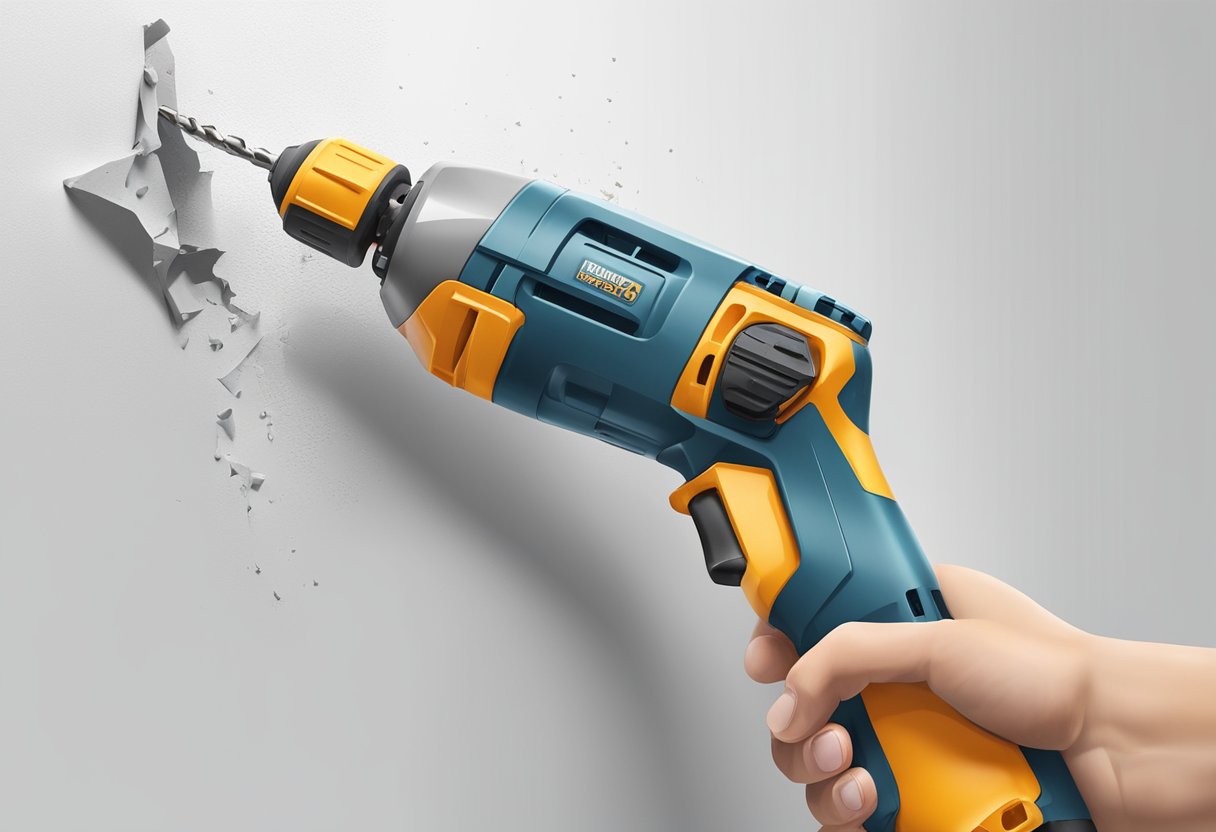
How to Remove Drywall Anchors: Quick and Easy Tips for DIY Home Repair
For as much as we all use them, you might think everyone knows how to…
-
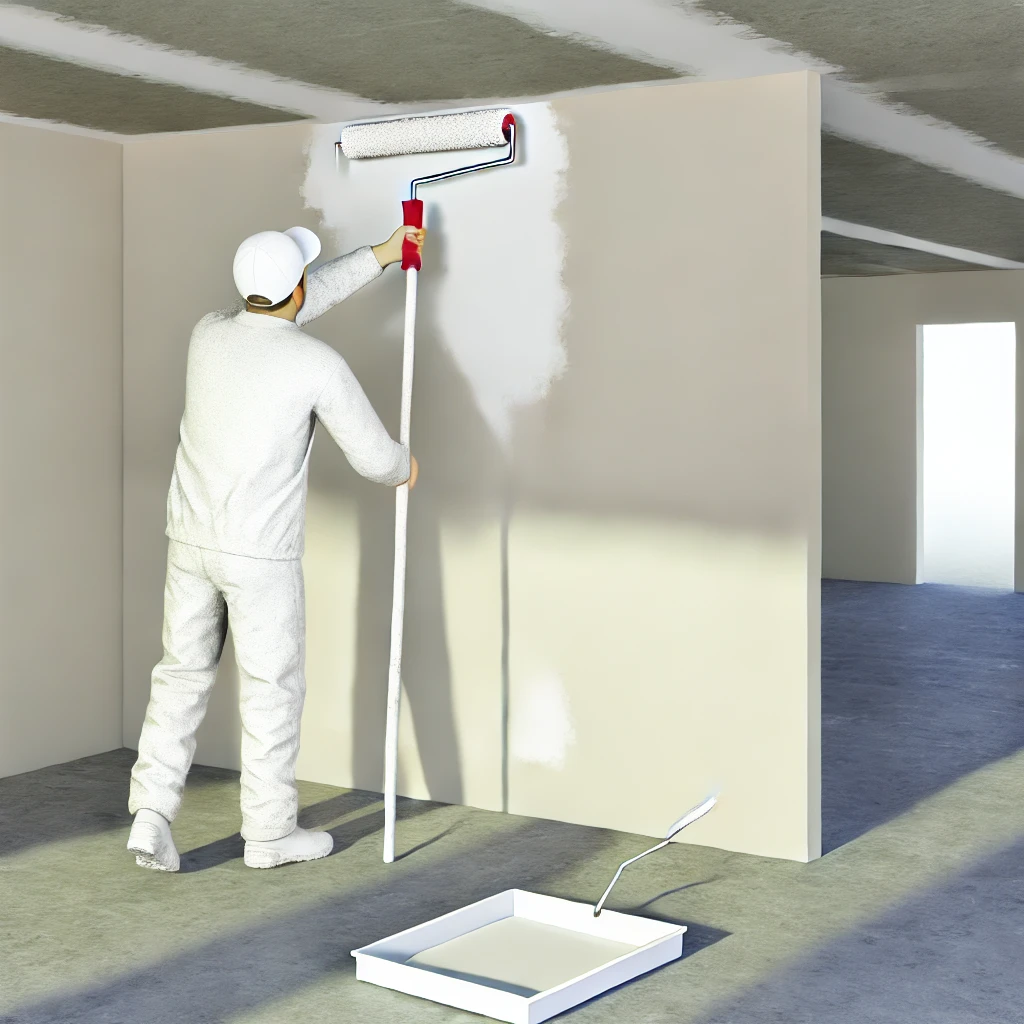
How Many Coats of Primer on New Drywall: Quick Guide for DIYers
Related reading: Learn about how to wet sand drywall and how long drywall mud takes…
-

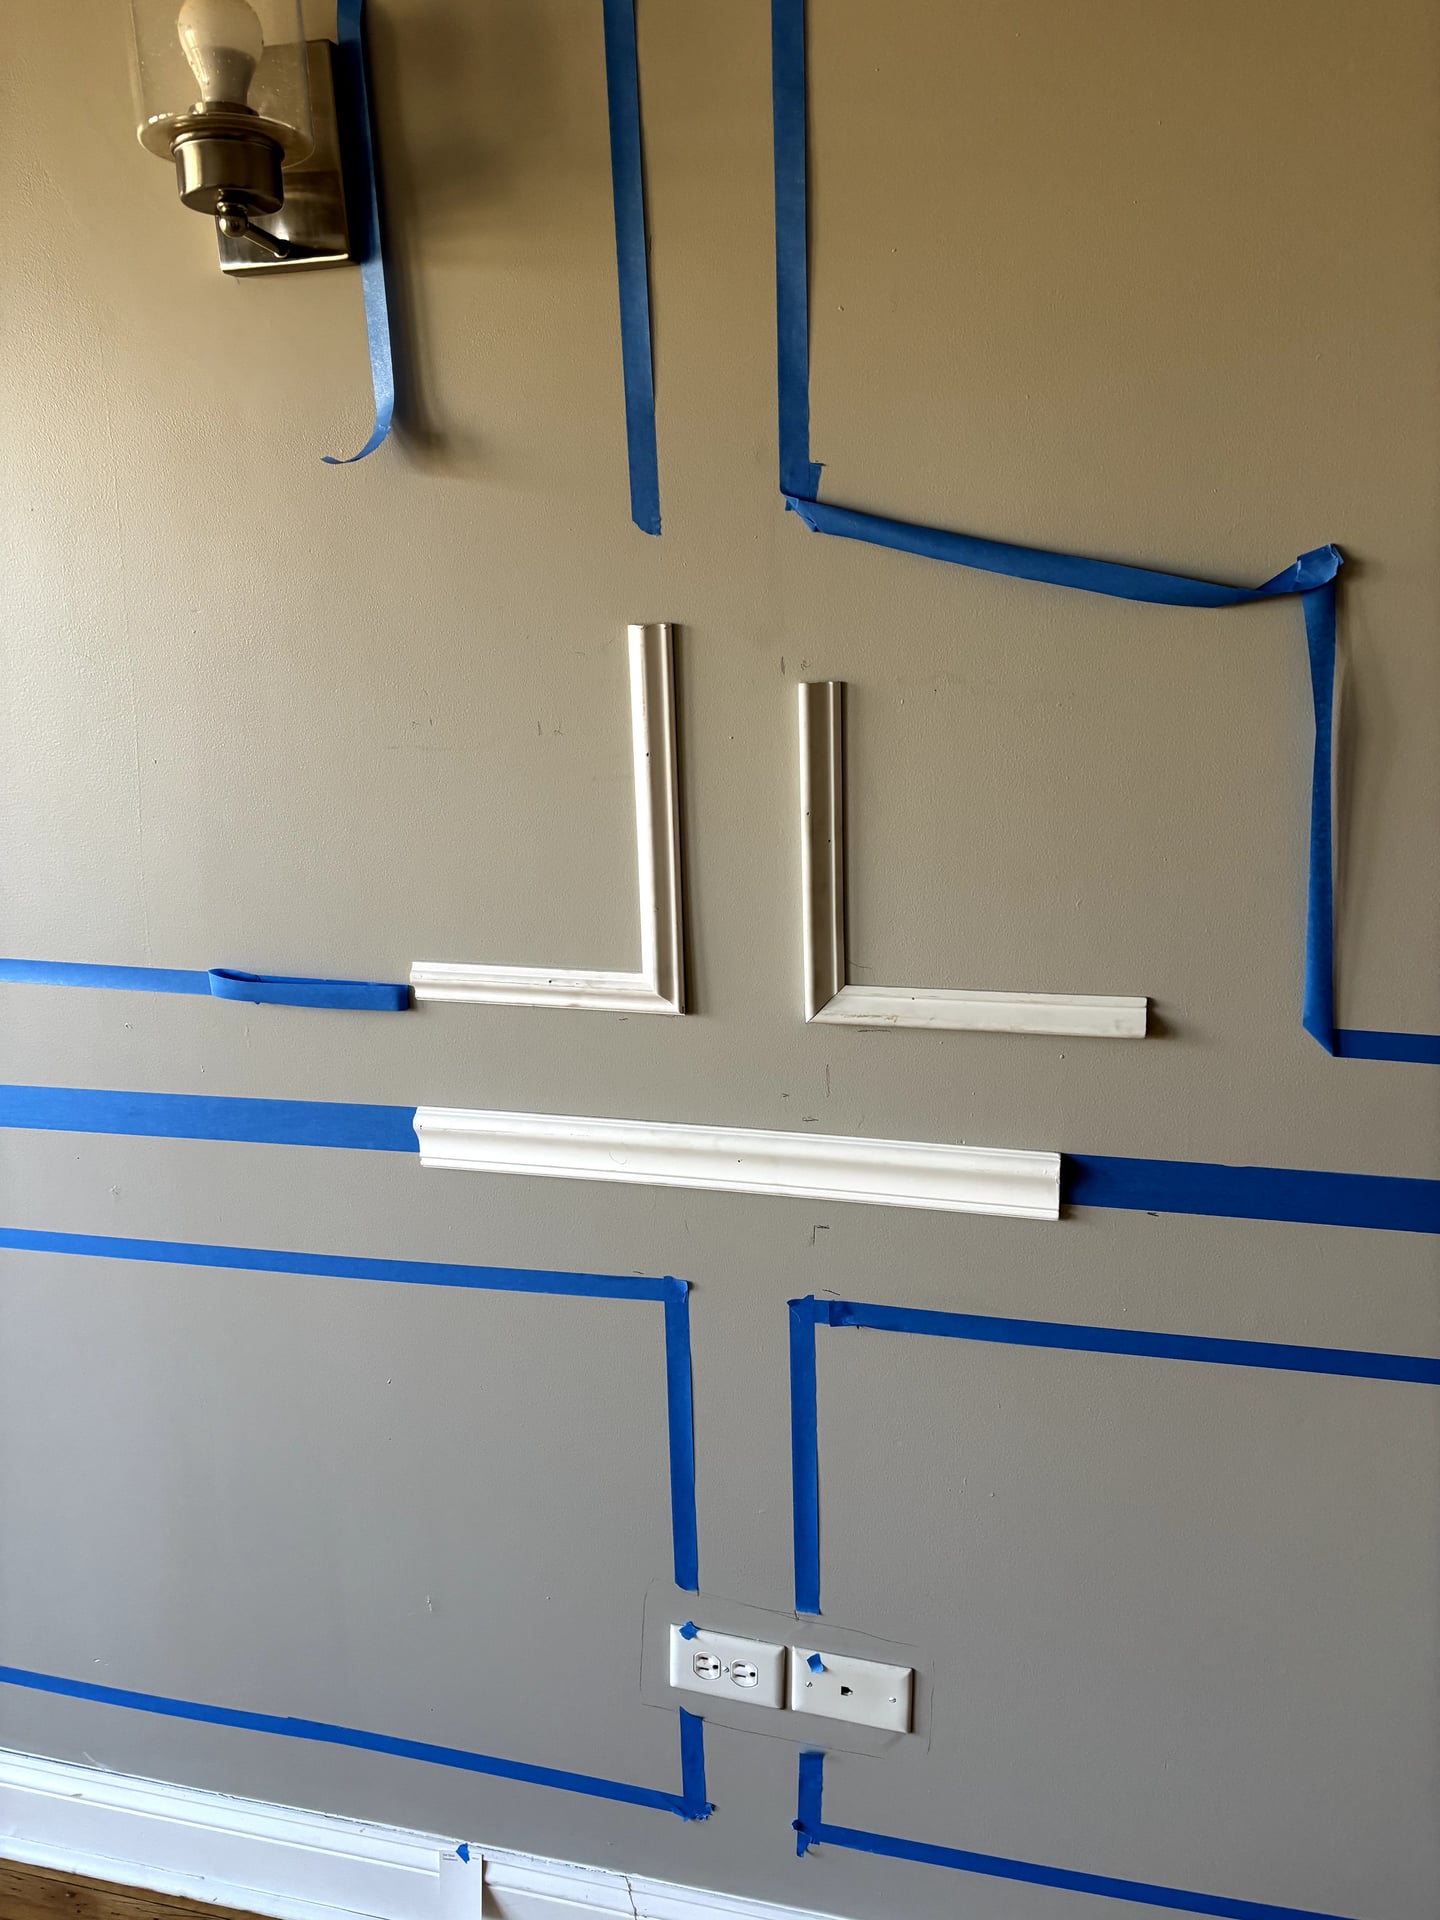
How to Repair Cracks in Drywall: Patch Up Your Life and Your Walls
Related reading: Learn about how to repair drywall holes and drywall ceiling water damage repair.…
-
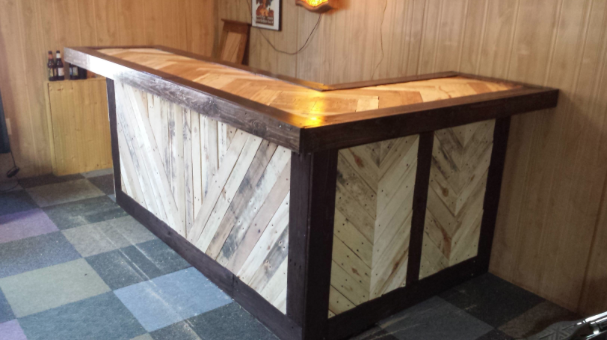
Why Go To The Bar When You Could Build Your Own?
Going to the bar is expensive. Along with the $10 cover, it’s $20 for a couple…
-
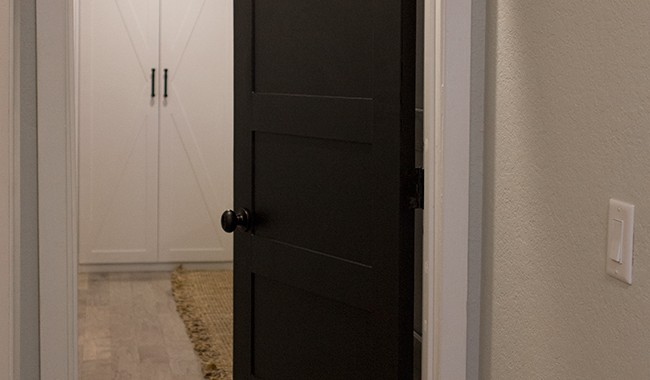
The Most Important $12 Door Update To Do
Doors are often ignored in a renovation. Countertops, walls, appliances, all of these updates are…