Want To Increase A Home’s Value? Here’s The Top 5 Projects To Tack Onto A To-Do List!

Some can’t afford to do a total home makeover. But whether it’s time to get a home ready to sell or the rooms in the house need an upgrade, these 5 projects will definitely increase a home’s value and only cost some sweat equity and the cost for supplies.

1. Paint The Kitchen Cabinents

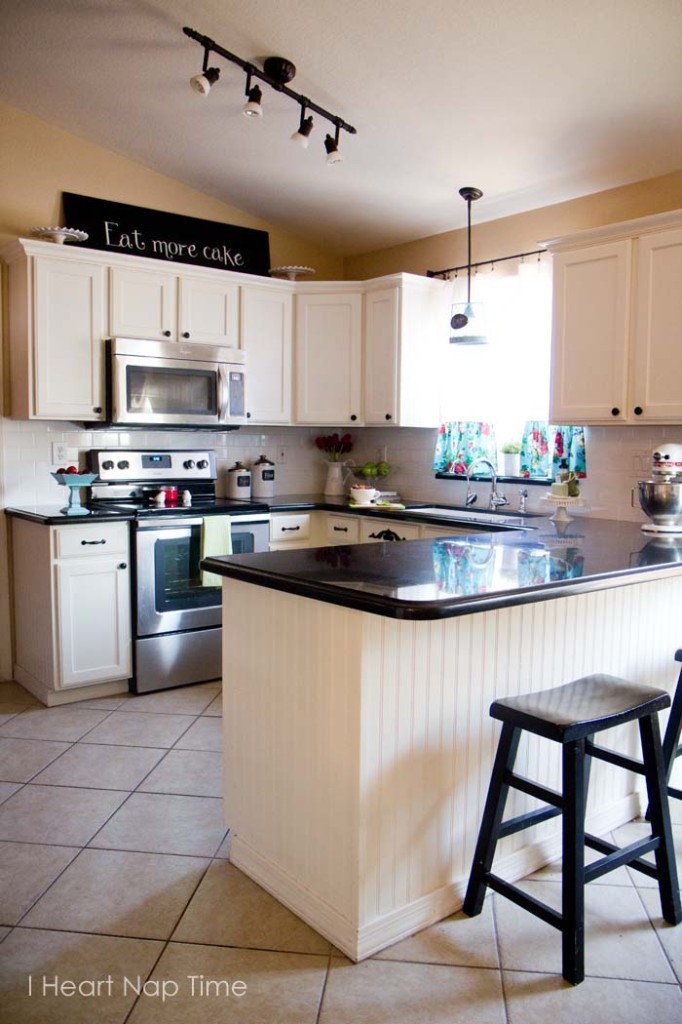
paint-your-kitchen-cabinets-682x1024If a new set of countertops or stainless steel appliances aren’t in the budget, try painting the cabinets. Freshening them up with white or adding a pop of color will revamp any home’s tired food hub.

2. Change The Light Fixtures

light-fixture-upgrades1

Even in the dullest of rooms, new fixtures can burst new light on the scene. With many options of patterns, shapes and textures, new table or ceiling lamps can boost the style of any room.

3. Install Hardwood Floors

DIY-pine-floors

It should go without saying, but if you’re looking for a reasonably priced project to improve a home’s value, add hardwood floors. (And Chicagoans, check out Chicago Handyman’s great rates on flooring install!)

4. Apply Baseboard Trim

DIY-Baseboard-TrimWe all know luxury homes have crown molding… but what about baseboards? This quick addition will definitely attract the eye in any home.

5. Plant Drought Tolerant Landscaping

spruce-up-your-landscape-with-drought-tolerant-plants

Home value upgrades should be made from the inside, out. Planting drought tolerant plants ensures a curb appeal all year long.

For even more projects to increase a home’s value, check out Christian Personal Finance’s article with even more ideas on how to raise a home’s style and equity!


The Top 5 Ways To Add Color To Any Room!

In modern interior design, neutrals are always stressed as being the best pallet to go with. But not everyone can settle for a “blah” room. Enter… accent colors! These five tips from Buzzfeed will revitalize any room’s decor leaving it with a classy and colorful look.

1. Frame Up Some Color!

enhanced-buzz-3825-1341509784-16

Don’t leave picture frames bare, add some colorful construction paper as backing to standard or black and white photos.

2. Colorblock Shelves To The Rescue

enhanced-buzz-16452-1341509163-15

Whether in the living room, library or bedroom, organizing shelving items by hue will liven up all plain old built-ins.

3. Don’t Combat- Contrast!

enhanced-buzz-16443-1341510221-13

Those pesky neutrals mentioned before? Use them to their fullest potential! Contrast a bright color with a neutral for dramatic yet balanced style.

4. Scrounge Up Some Colorful Flooring

enhanced-buzz-31805-1341512214-17

Who says only walls or accessories can provide a burst of color? Technicolor rugs and flooring can liven up even the most bland rooms.

5. Stick To A Favorite!

enhanced-buzz-14942-1341511700-7

Whether cerulean calls or bright green beckons, utilizing the color in a few key places will definitely catch the eye.

Check out more ways to revamp old spaces at Chicago Handyman’s Idea Corner!

The Best Way To Reuse Old Picture Frames

DIY-Frame-Shelves-500x750
Everyone knows the struggle: too many picture frames, not enough photos. After all, why print out those memories when there’s the instant gratification of Facebook and Instagram likes and comments? Well, struggle no more! Get ready to put those picture frames to use with these frame shelves.

Start by removing the glass, backing and hardware from all the frames intended for this project. Next, gather some 1×4 boards and cut them to size to make the sides of the the shelving box.

Glue-for-frame-500x750

Building-a-frame-shelf-500x670

To form the box, add lines of Gorilla glue to each side and nail each side together. Then apply wood glue to the back of the frame and lay it on top of the box. Nail 1 1/4″ nails through the frame and into the box to secure the shelf together.

Box-for-Frame-Shelf-500x750

Nail-Frame-to-Box-500x750

Frame-Shelf-How-To-500x750

Before painting the shelf to match the frame, fill any holes with wood filler. Use spray paint to apply the shelving’s coat of paint.

When dry, adhere at least 3 command strips to the back of each shelve.

Command-Strips-500x750

Lastly, hang them on the desired wall. Enjoy these stylish and eco-friendly shelves in any home today!

For a more comprehensive overview of the frame shelve project, check out Shanty 2 Chic.

Create The Best Canopy Bed On Any Budget!

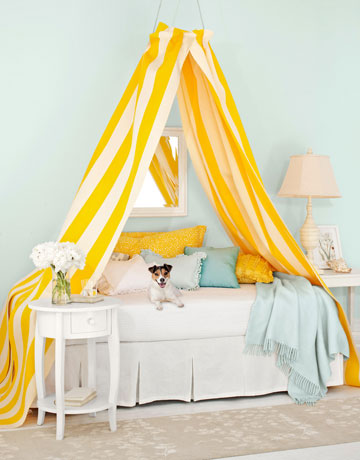
54eafb1ae0f2a_-_canopy-bed-0709-de

Chicago Handyman has shown step-by-step guides for headboards and other bedroom improvements, and now it’s time for another bedroom improvement project: a fashionable, affordable canopy bed.

The supplies for this project should cost no more than $10:

  • 10-inch embroidery hoop
  • 44-inch rod-pocket curtain panels
  • 24-inch half-inch wide ribbon
  • Pot rack hook

41Gi4v9FpyL._SY300_

For starters, unscrew the embroidery hoop and discard the inner ring. Follow this by sliding the curtain panels onto the hoop and screwing the embroidery hoop back together.

contemporary-curtains

Now take the ribbon and tie it in a double-knot at each side where there are gaps between the curtain panels. Then tie the loose ends together in a bow.


Finally comes the hard part, screw the pot rack into the ceiling. Make sure that the pot-rack in secure and slip the center of the bow over the hook to hang it.

Unknown


When all the steps are completed, any bedroom will look much more glamorous and be turned into the ultimate oasis.

For a complete overview and other canopy bed ideas, check out DIY roundup.


Create A Floating Headboard with Old Flooring

Floating Headboard

diy-headboard-with-led-lighting_2

Reduce, Reuse, Recycle does not have to be boring. It can even be stylish. Following these simple steps from Remove & Replace, anyone can make an awesome, innovative floating headboard. All that’s needed are supplies from a previous project and a couple hours of work:

To begin, get these materials:

  •  Leftover walnut flooring
  • 1/2″ MDF backing
  • Oak wood trim
  • 24″ stud mounted French cleats
  • 15′ of string LED lighting
  • Wiring to a dimmer switch

Start by mounting the slab of walnut flooring to the MDF backing. Then nail stud mounted cleats in the center of the area where the headboard will go. Follow this with nailing the oak wood trim to the border of where the slab will go.

diy-headboard-with-led-lighting_4

Using attach brackets, add the LED lighting to the trim. Once the LED lighting is plugged in and the wiring is attached for the dimmer. Finally, mount the walnut flooring on MDF backing on the trim.

diy-headboard-with-led-lighting_5

When this is completed, this floating headboard will not only make the room look more modern, but add another light source to a bedroom.

diy-headboard-with-led-lighting_1