home improvement
-
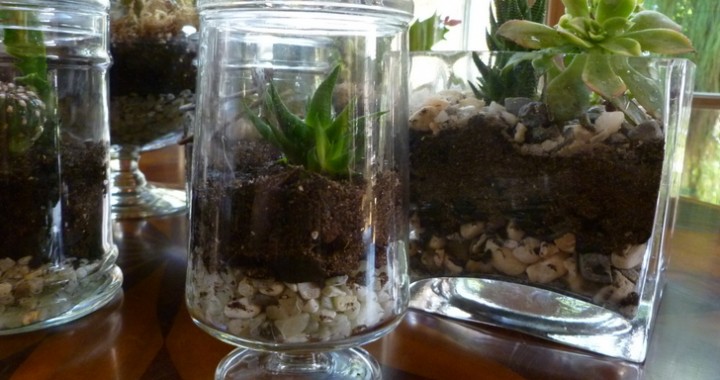
No Foolin’: Improve Indoor Air Quality With These Simple Terrariums
With spring finally finding its way to Chicago, many people are excited to tend to…
-
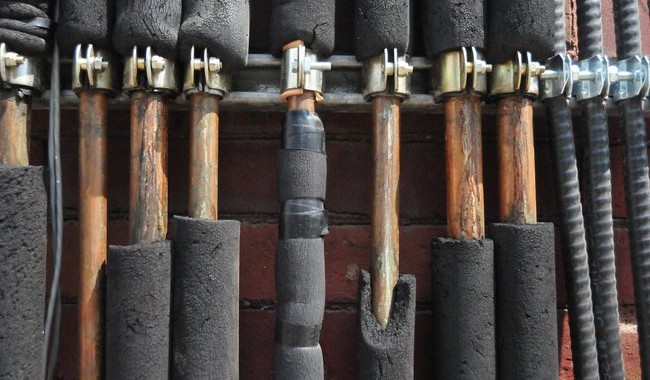
Plumbing Handyman 101: Pipe Insulation
Home ownership can make you a plumbing handyman, you just need a few tricks up…
-
Enhancing Your Bedroom For Just $50!
Not everyone can afford to create a luxurious, top-of-the-line bedroom oasis. However, for those of…