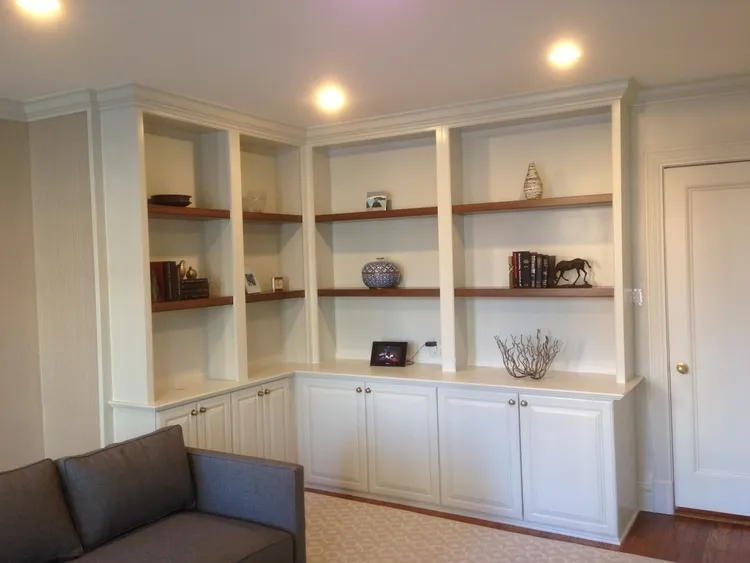
Drywall Repair
-

Couch Cleaning Service Chicago: Get Your Sofa Spotless in a Snap
Is your couch looking a bit worse for wear? A professional couch cleaning service from…
-

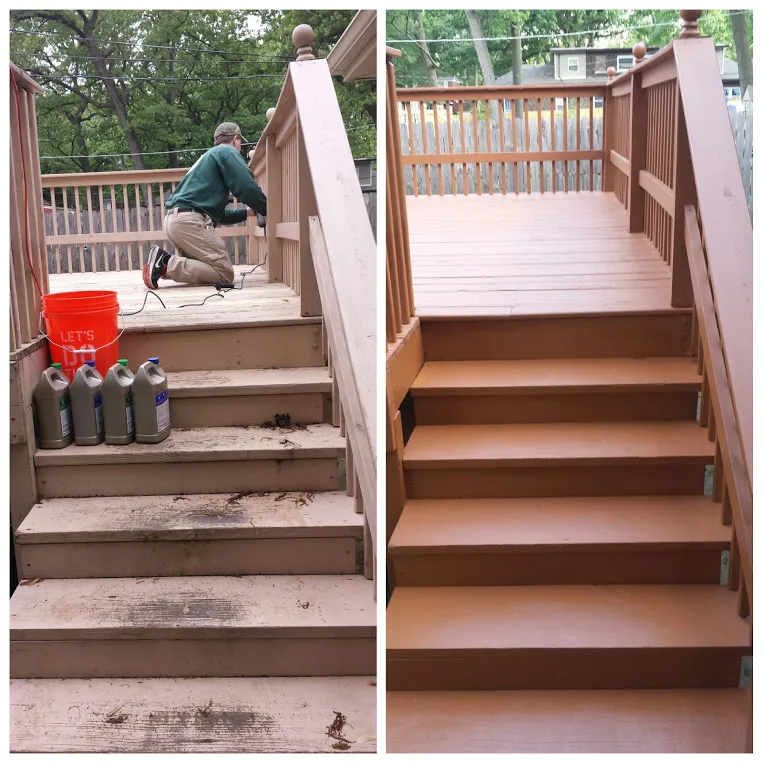
Gate Repair: Why Your Fence is Laughing at You
Ah, the wonderful world of gate repair – where dreams of smooth openings and closings…
-
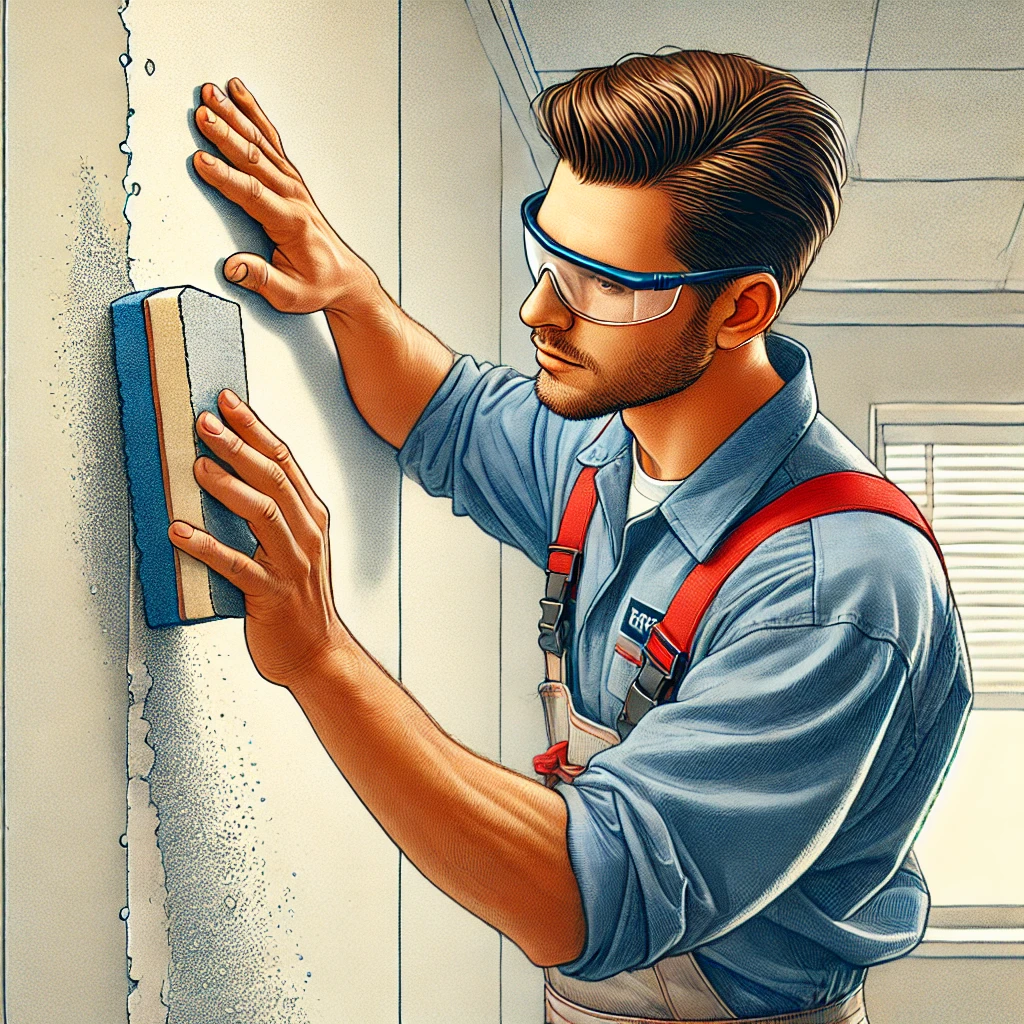
How to Wet Sand Drywall: Quick Tips for a Smooth Finish
Fixing up walls doesn’t have to be a dusty mess. Wet sanding drywall is a…
-

Fence Post Repair: When Your Yard’s Backbone Needs a Chiropractor
Ah, fence post repair – the thrilling hobby that keeps homeowners on their toes and…
-

Bathroom Remodel Financing: Easy Ways to Upgrade Your Space
Thinking about giving your bathroom a makeover? The cost can add up fast. But don’t…