Top 3 Kitchen Backsplash Trends For 2015

Last week, Chicago Handyman posted about the latest wall trend: ombre wall paint! Now here are 3 of the most anticipated kitchen backsplash trends of the 2015 home improvement season:

1. Natural Stone

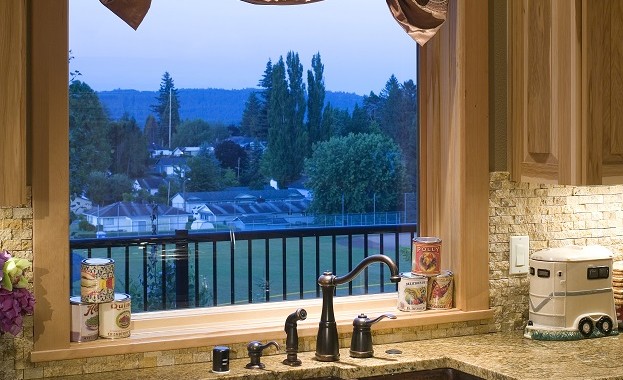
Stone 2With an earthy look and refined lines, natural stone can add visual interest and texture to a sleek kitchen.

2. Stainless Steel

Stainless Steel 2

Stainless steel appliances are becoming standard in every kitchen, and it’s starting to make its way into backsplashes as well. Modern and reflective, a stainless steel backsplash can breathe life into even the most neutral of kitchens.

3. Chalkboard

Chalkboard - comfylittleplace.blogspot.com

A chalkboard backsplash can change a room with a simple line of chalk. From reminders to kid’s drawings, chalkboard backsplashes add charm and an artistic vibe to any kitchen.

For more ideas, check out ImproveNet for their article on even more 2015 kitchen backsplash trends.


The Best Way To Add Vintage Flair To A New Home: Chair Railings

How-to-Install-Chair-Rail

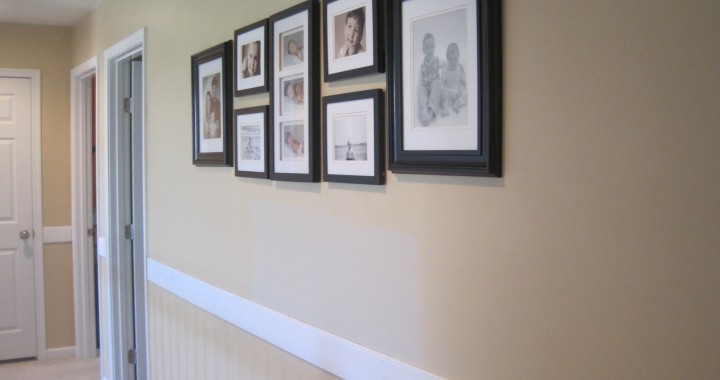
New homes, no matter how pristine or innovative, often miss that vintage charm. Well, look no further than installing a chair rail to bring class back to the dining room. Follow this simple tutorial from A Pinch Of Joy about how to install a chair railing in any room and recreate the glamour of yesteryear with the convenience of the 21st century.

Start by measuring the lengths of the walls in the selected room. Determine the longest run in the room and purchase all moulding and trim in this length (8ft, 10ft or 12ft).

Once the moulding and trim are bought, measure 38.5 inches from the floor up the wall. Then draw a line across the whole length of the wall, using a carpenter’s or laser level to double check that the line is straight.

chalk-line

To begin installing, start at an inside corner. Measure this to the door, window or following corner and begin making cuts to the molding and trim as necessary. Doors and windows require straight cuts, inside corners require 45-degree angles and outside corners require 30-degree angles. Then start to nail! Putting the trim above or below the line drawn, apply a nail to moulding or trim every 12 to 18 inches. Repeat until the whole room is surrounded in chair rail!

Chair-Rail4

For the finishing touches, fill the nail holes with caulk or joint compound. After the material dries, sand the chair rail smooth. Finally, paint the chair rail in the desired color.

When done, host a dinner party and watch guests be impressed by an old world charm in a brand new home.

IMG_3523

You’ve Heard Of A Roomba… Here’s The Scooba!

pIRBT1-17468018v380

The Roomba was quite the alternative to the vacuums. No more leaning over to reach the dusty corners of the kitchen. No need to roll the heavy thing back and forth. Well now, iRobot introduces another kitchen solution, The Scooba!

The Scooba uses Hard Floor Cleaner and a 40-minute cycle to clean even the toughest, sticky messes. Pre-soaking, scrubbing and making your floors squeaky clean, The Scooba not only mops for you, but removes over 99 percent of bacteria.

So shave some time off your daily cleaning and get The Scooba today!

Freshen Up A Wall-Mounted TV, Add A Frame!

Screen Shot 2015-04-29 at 12.18.49 AM

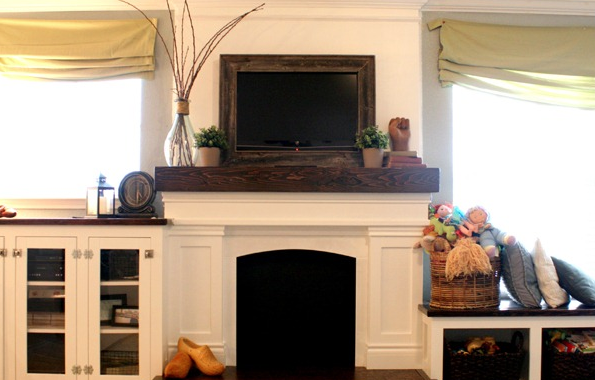
No matter how fancy or hi-tech a TV is, it will always just be another household appliance. To make a TV into a moving image art piece, consider framing the screen with this easy home project from Remodelaholic.

Start by gathering items from the hardware store or local lumber yard:

  • Recycled wood boards
  • 4 wooden corner blocks
  • Drill
  • Nails
  • Hammers

IMG_0525_thumb

To begin the project, cut the four wood boards for the sides of the frame. Lay down 4 wooden corner blocks on the outside corners, and nail through the mitered edges of the frame.

Screen Shot 2015-04-29 at 12.17.21 AM

To add dimension, add bead wood to the inside of the frame. Following this addition, add another set of wood boards to the outside edges of the frame to cover the edges of the TV.

Screen Shot 2015-04-29 at 12.17.40 AM

Finally, drill 6 holes along the top of the frame for the TV’s ventilation. Then all that’s left is to slide the frame over the mounted TV.

Screen Shot 2015-04-29 at 12.18.13 AM

Don’t settle for a great TV, enhance the viewing experience with a stylish, wooden TV frame.

Screen Shot 2015-04-29 at 12.18.36 AM