Home Improvements
-

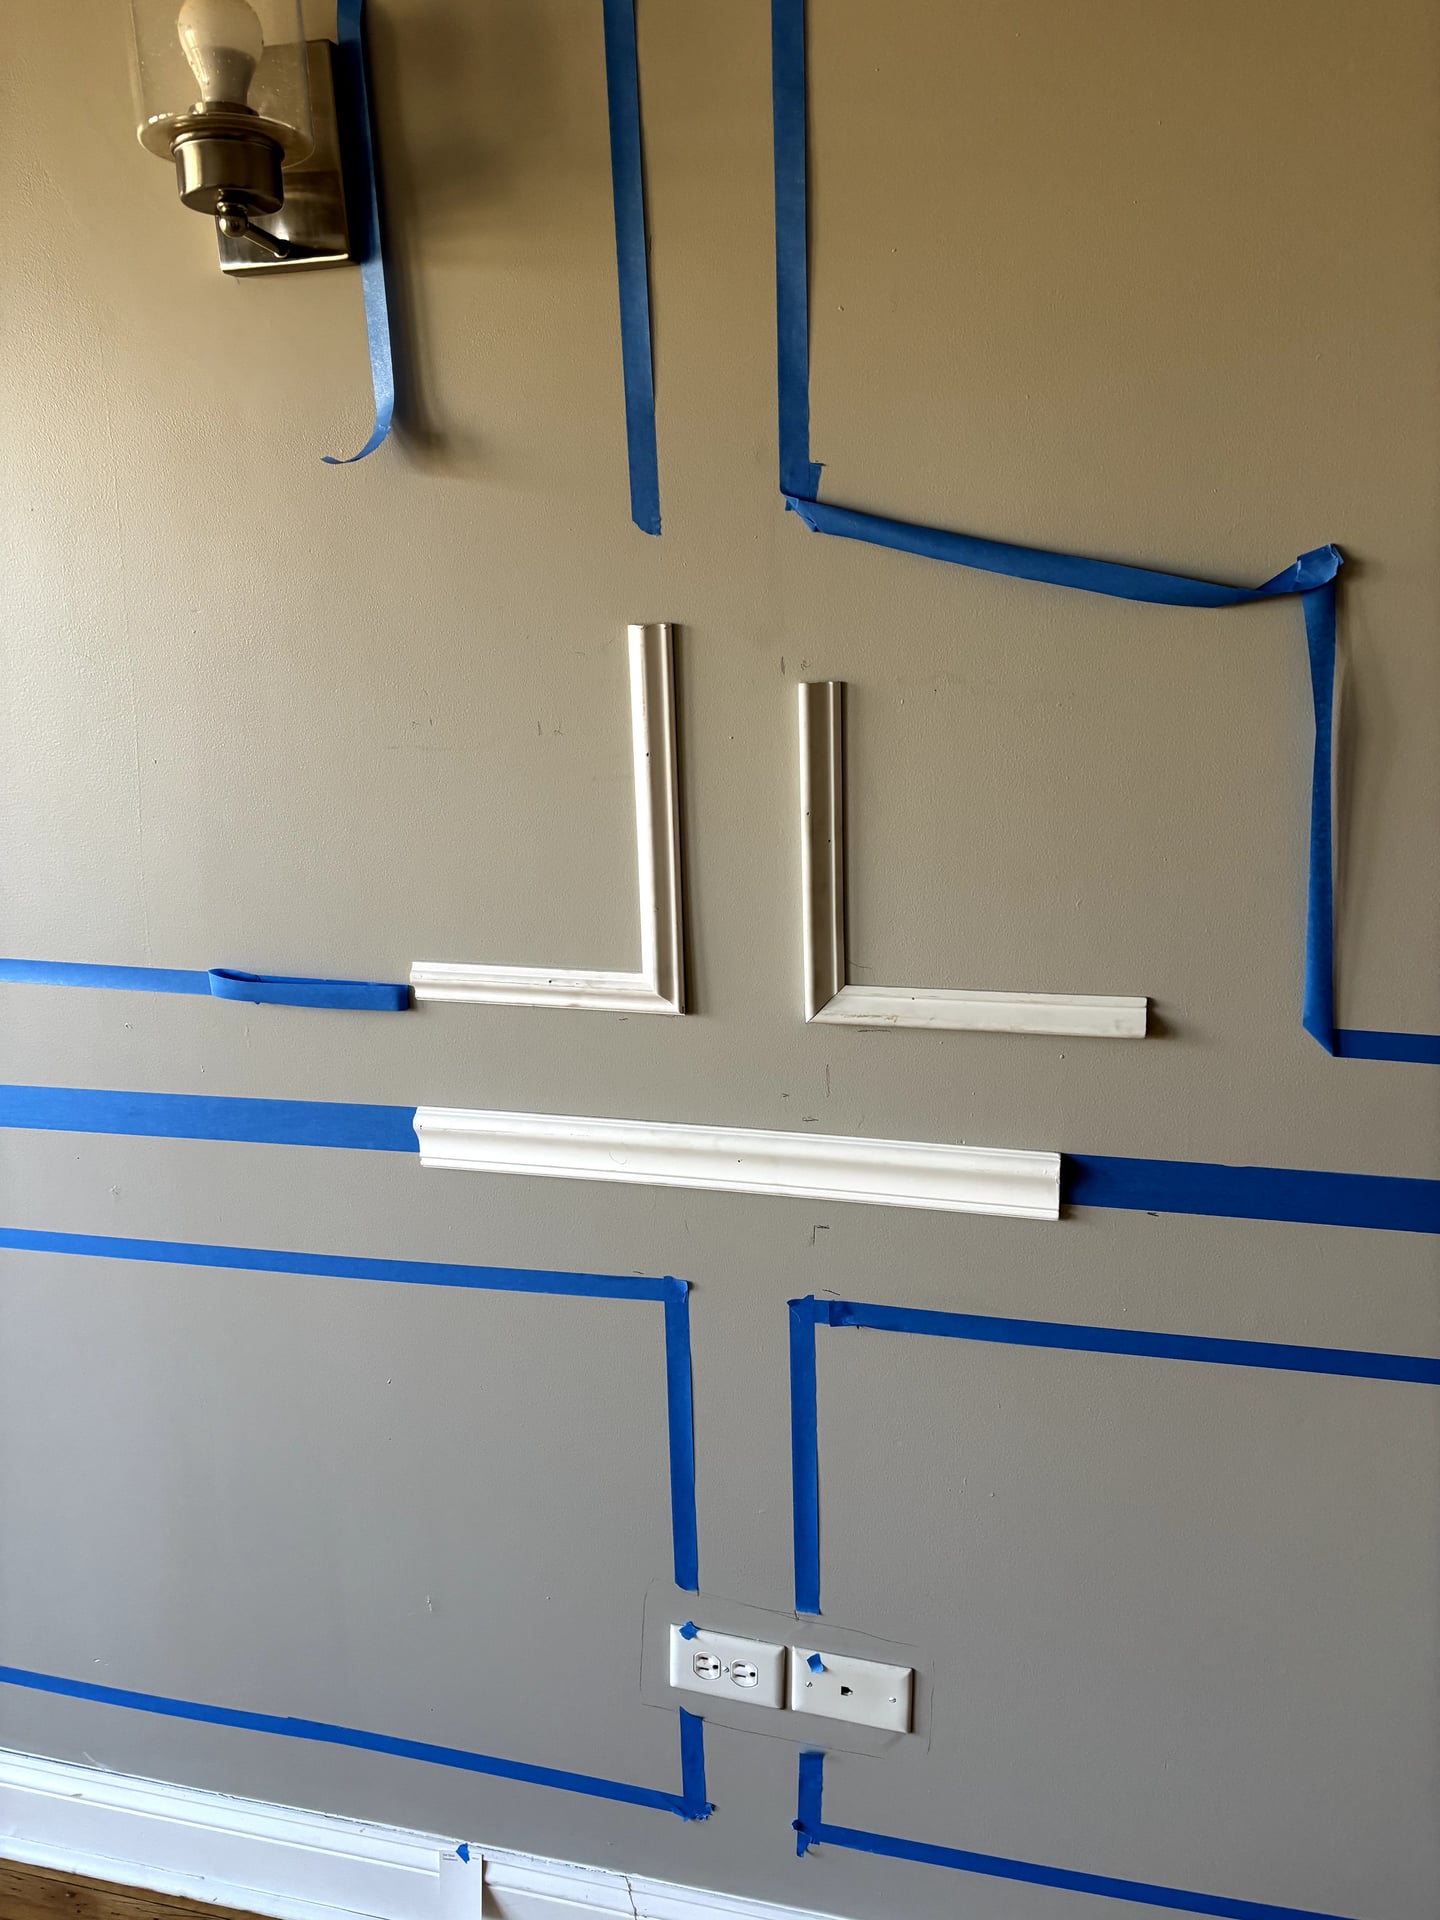
Board and Batten Wainscoting in Jefferson Park
Breathing new life into a powder room can be as simple as adding board and…
-
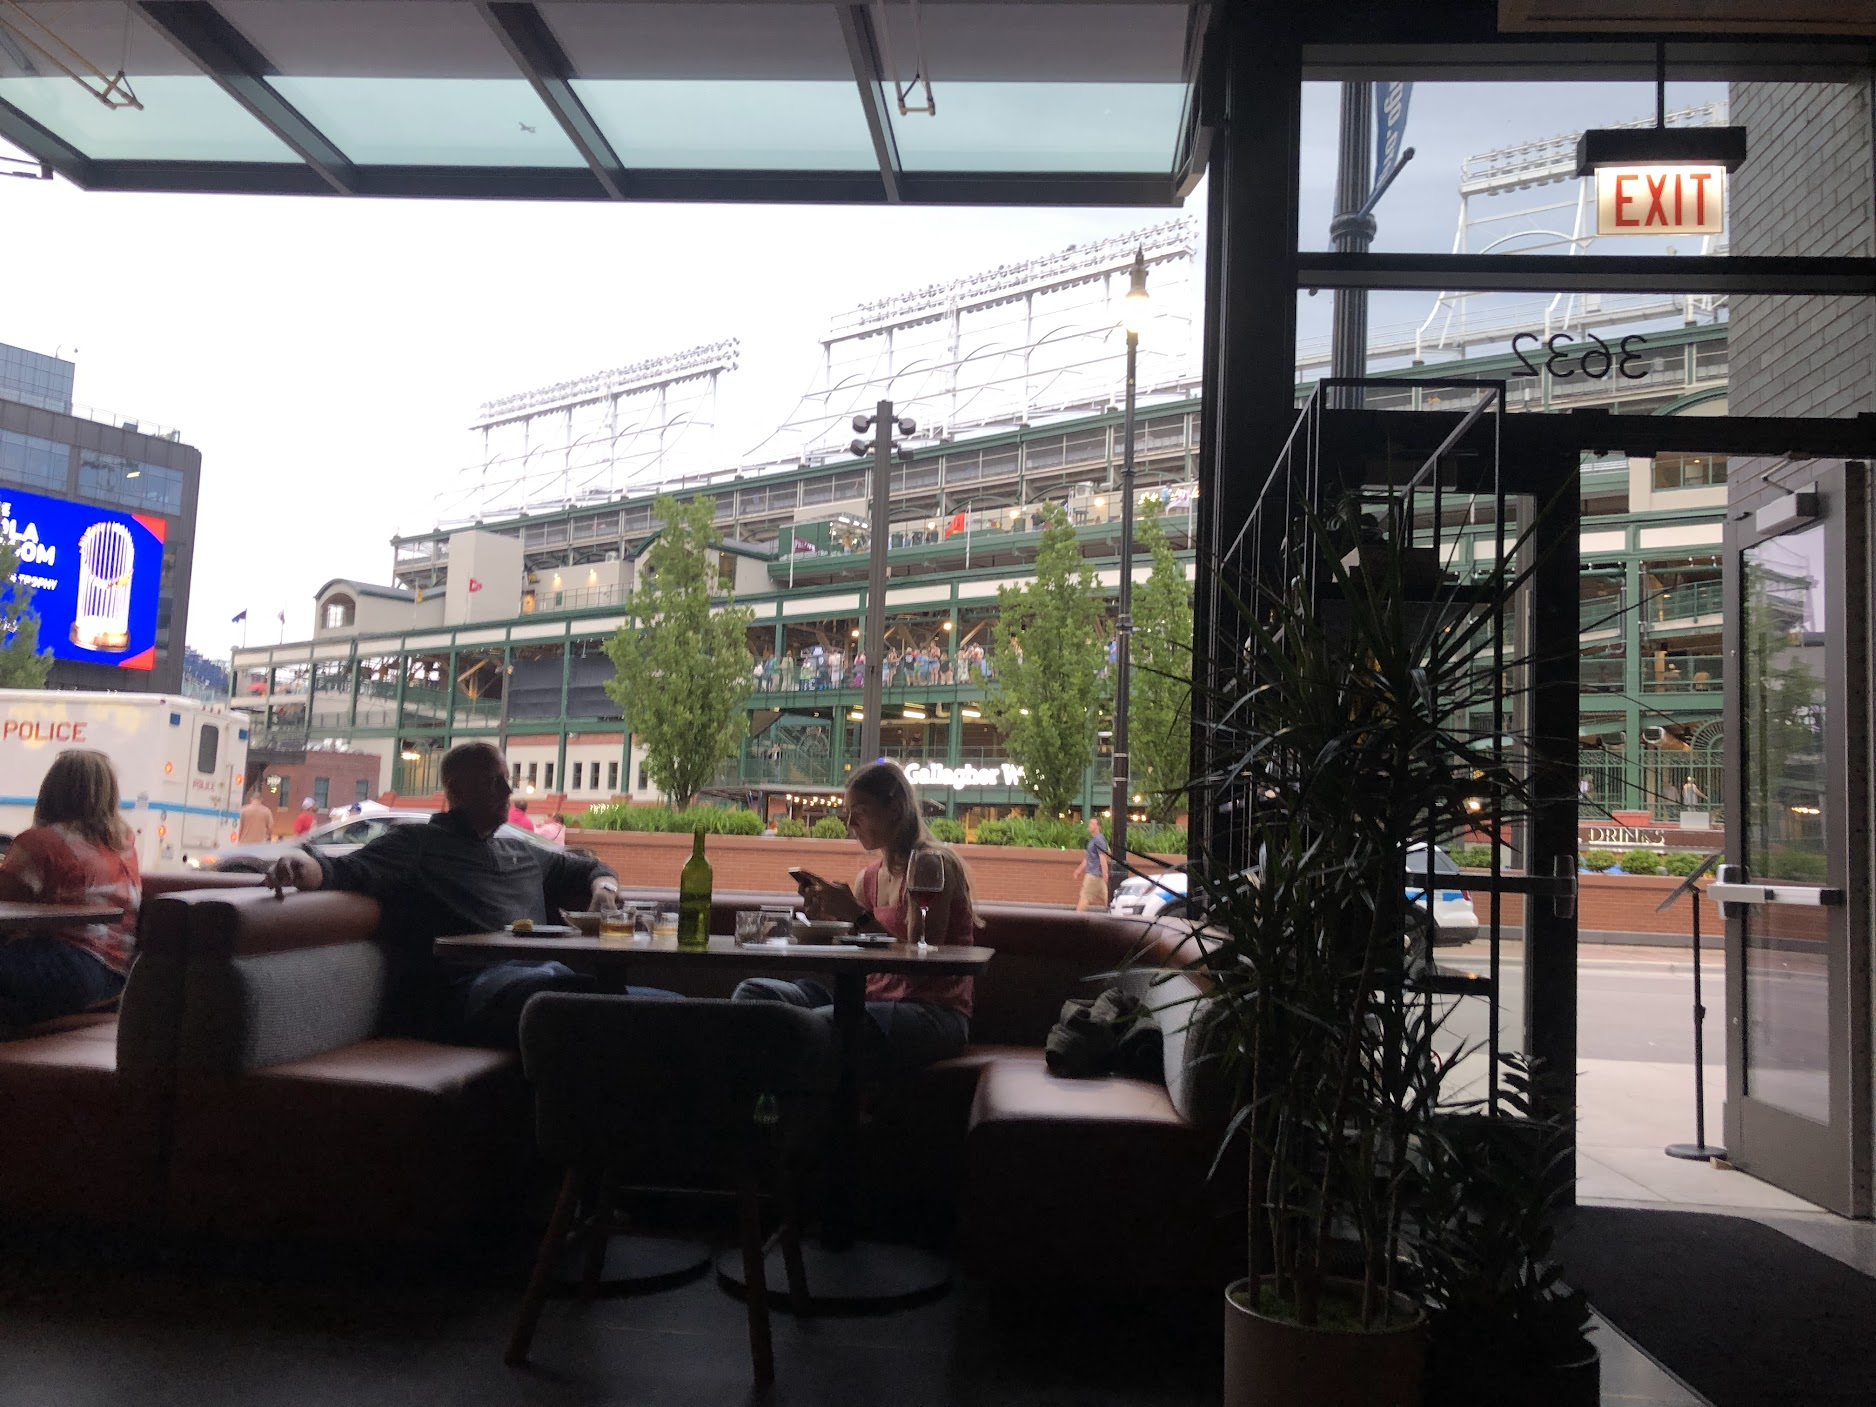
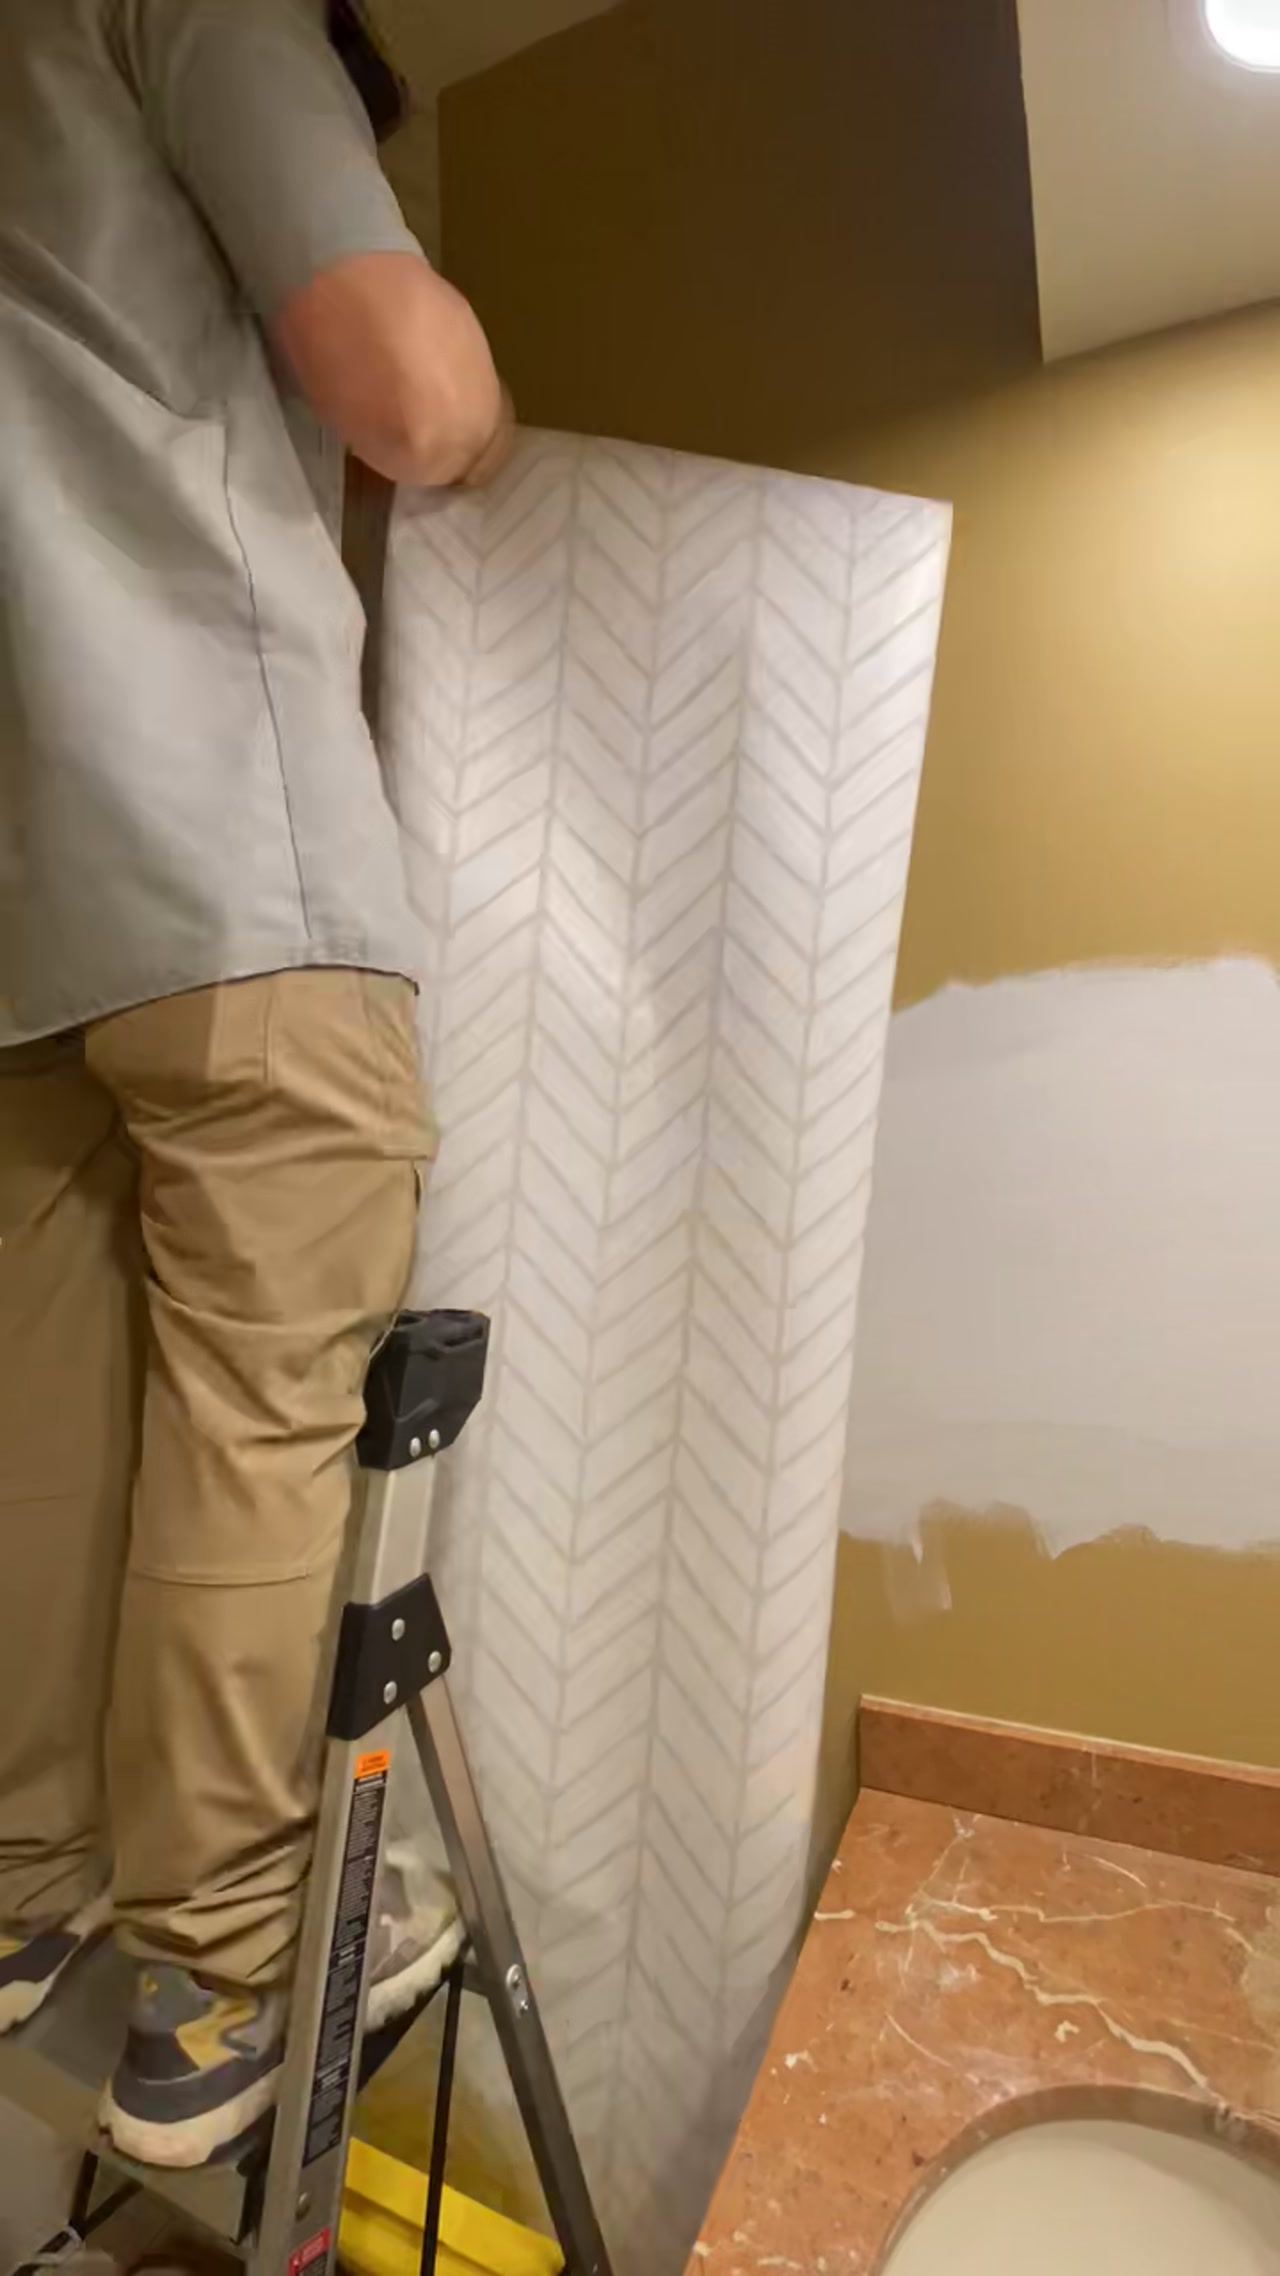
Wrigleyville Handyman Service: Fast Local Repairs Near The Ballpark
While you’re upgrading your home, don’t forget the walls — Chicago Handyman provides professional drywall…
-
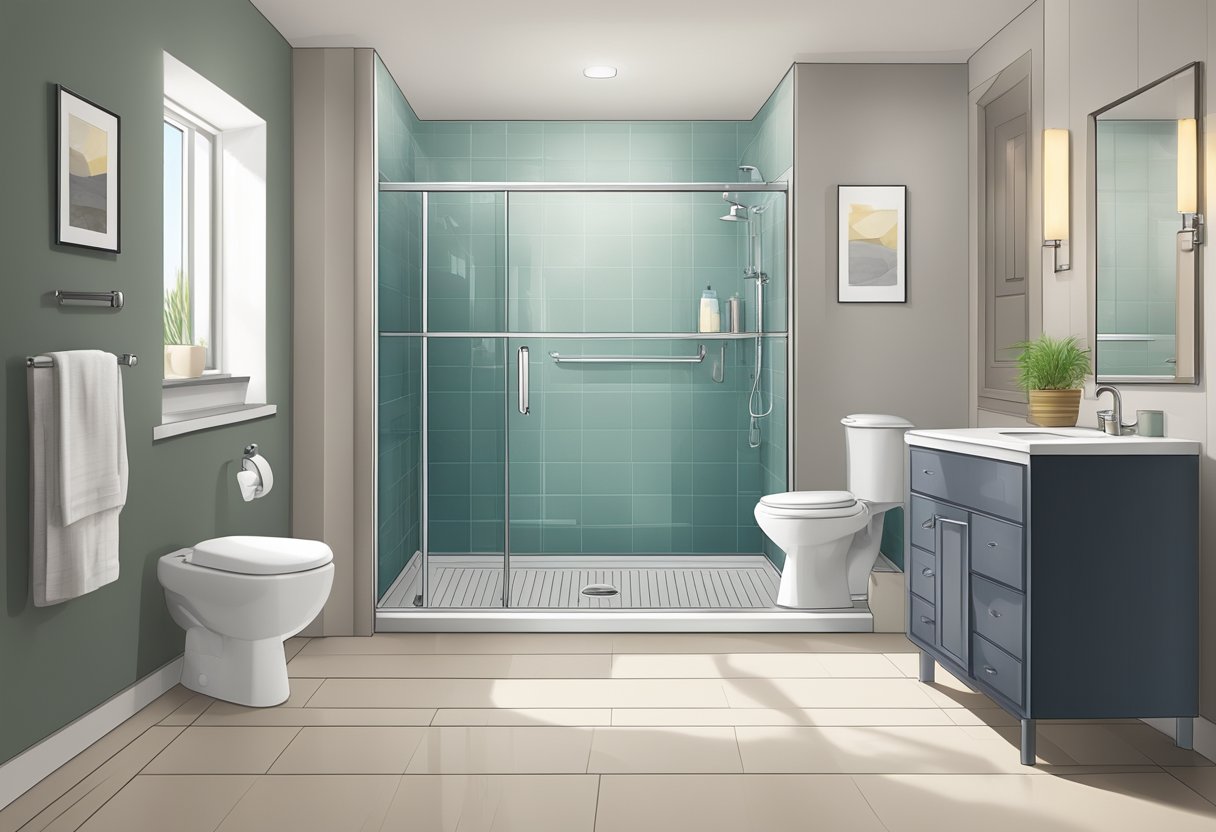
Bathroom Remodel for Seniors: Easy Upgrades for Golden Years Comfort
Aging at home can be challenging, especially when it comes to bathroom safety. Many seniors…
-
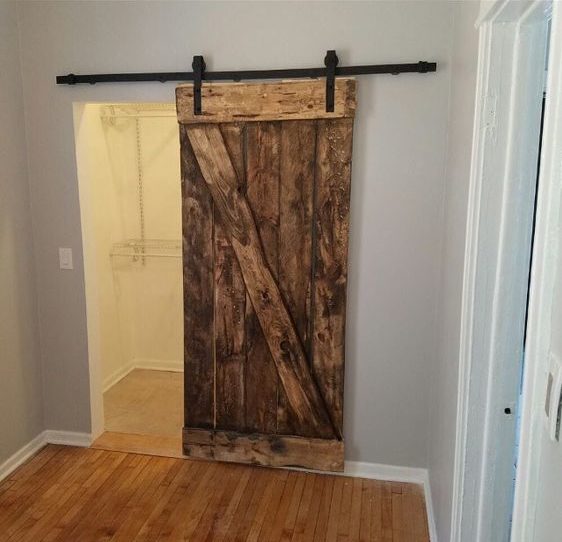
Custom Barn Door Installation
One of my favorite clients was updating her rental property in the west Pilsen neighborhood…
-
Kitchen Cabinet Refinishing
We recently finished a kitchen cabinet refinishing project in Chicago’s thriving west Loop neighborhood. Our…