Want To Increase A Home’s Value? Here’s The Top 5 Projects To Tack Onto A To-Do List!

Some can’t afford to do a total home makeover. But whether it’s time to get a home ready to sell or the rooms in the house need an upgrade, these 5 projects will definitely increase a home’s value and only cost some sweat equity and the cost for supplies.

1. Paint The Kitchen Cabinents

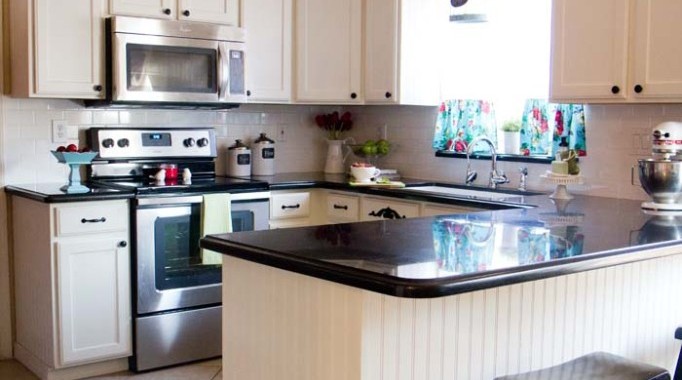
paint-your-kitchen-cabinets-682x1024If a new set of countertops or stainless steel appliances aren’t in the budget, try painting the cabinets. Freshening them up with white or adding a pop of color will revamp any home’s tired food hub.

2. Change The Light Fixtures

light-fixture-upgrades1

Even in the dullest of rooms, new fixtures can burst new light on the scene. With many options of patterns, shapes and textures, new table or ceiling lamps can boost the style of any room.

3. Install Hardwood Floors

DIY-pine-floors

It should go without saying, but if you’re looking for a reasonably priced project to improve a home’s value, add hardwood floors. (And Chicagoans, check out Chicago Handyman’s great rates on flooring install!)

4. Apply Baseboard Trim

DIY-Baseboard-TrimWe all know luxury homes have crown molding… but what about baseboards? This quick addition will definitely attract the eye in any home.

5. Plant Drought Tolerant Landscaping

spruce-up-your-landscape-with-drought-tolerant-plants

Home value upgrades should be made from the inside, out. Planting drought tolerant plants ensures a curb appeal all year long.

For even more projects to increase a home’s value, check out Christian Personal Finance’s article with even more ideas on how to raise a home’s style and equity!


Light Up The Room, Build An LED Light Table!

How-To-Build-An-LED-Light-Table_10

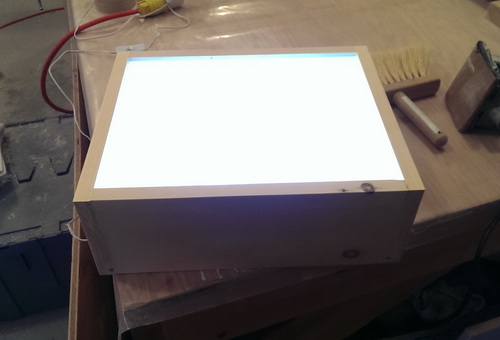
Happy Monday, Chicago Handyman readers! Ready for a great summer project? Need to light up a room and hate the messy cords of floor lamps or harsh overhead lighting? Well, build an LED Light Table and resolve those problems in just a few hours and $50.

Start by getting together these materials:

  • Wood
  • 3 or 4 strip LED light kit
  • Frosted sheet of plexiglass
  • 3M tape
  • Wood glue
  • Wood clamp

How-To-Build-An-LED-Light-Table_04

Gather together the wood and make sure each side is notched. Then gut a groove into the top of the wood where the plexiglass will go. Slide the wood sides together and fit in the plexiglass to make sure everything is the correct size.

How-To-Build-An-LED-Light-Table_05

At the bottom of the box, drill a hole for the power cord to slip through and attach to the wall. Tape down the 4 LED strips using 3M tape. Test the lights to make sure the wiring is working properly.

How-To-Build-An-LED-Light-Table_07

How-To-Build-An-LED-Light-Table_08

Finally, glue together all the pieces of the wood box using wood glue and utilize wood clamps so it dries quickly and efficiently.

With this final step, the LED table is complete and ready to be gawked at by guests.

For a complete set of instructions, check out Remove and Replace’s article on building an LED light table.

Top 3 Water Features To Liven Up A Backyard This Summer!

Summer is finally around the corner! And that means barbecues, summer breezes and many more people chilling out in the backyard. But don’t worry, Chicago Handyman’s got it covered.

Here’s the top 3 water features to enhance any backyard into an oasis:

1. Outdoor Fireplace

water_feature_circular_pool.jpg.rend.hgtvcom.1280.960

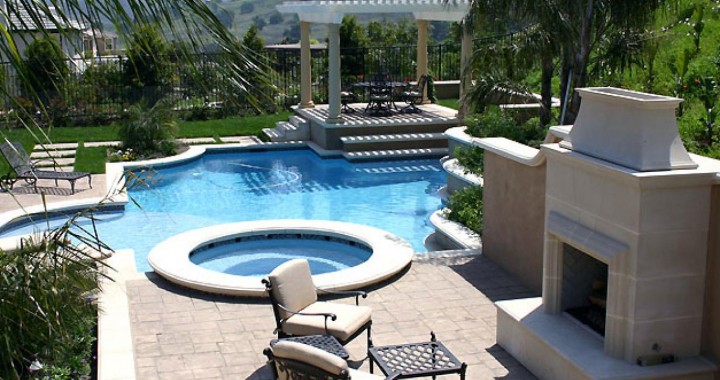
Heat up a cool summer night with a cozy fireplace. This won’t only make getting out of the pool more bearable, but provide a second living space!

2. Pond Niche

water_feature_bamboo_fountain.jpg.rend.hgtvcom.1280.960

No need for an overstated feature. Instead, create a quaint reflective space in the yard by tucking a bamboo and stone pond in the corner.

3. Bubbling Containers

water_feature_pot_fountains.jpg.rend.hgtvcom.1280.960

These beautiful fountains can be attained on any budget. Buy one at the hardware store or convert a garden container into this water feature.

Want more ideas? Check out HGTV’s article on budget-friendly water features.


Who Said Recycling Is Boring? Upcycle Two Broken Chairs Into A French-Style Bench!

French-Styled Bench with pillows

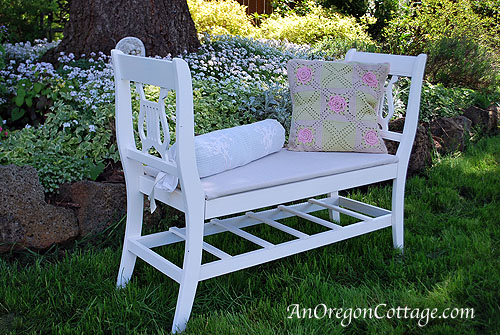
Upcycling is becoming a trend among homeowners. Why? Because it’s a simple, affordable way to help the environment. So don’t trash broken chairs; turn them into a French-style Bench masterpiece!

Here’s the required supplies:

  • Two chairs
  • Sturdy hardwood
  • Pine wood
  • Long screws
  • Molding
  • Wood filler
  • Plywood
  • Paint
  • Quilt batting

Bench First step

Begin by choosing two chairs that look great from their sides, ( the curvier the better!) and then remove their front legs and seats.

Bench second step

Depending on the desired length of the bench, cut sturdy hardwood to length and nail together a rectangle box with two wood screws on each end. Make sure to attach the box by screwing through the chair and into the box to make sure it is extra secure.

Painting bench

To provide even more support, add a bottom bench. This will be a thinner rectangle box made of pine below the hardier bench box. Attach this to the bottom of the chair legs in the same manner as before. Following this addition, nail vertical slats of molding to the rectangle to create an area for storage.

Bench Top After

With construction complete, use wood filler to fill all the holes and then sand the material thoroughly. Once dry, paint the whole bench any color desired, though white is recommended.

Finally, add a 1/2″ plywood to the top of the bench and secure quilted batting and any material desired to finish off the backyard seating.

Enjoy the outdoors with a nearly new French-style bench!

For a step-by-step guide to how to build a French-style bench, check out Jami’s post from An Oregon Cottage!

Top 3 Kitchen Backsplash Trends For 2015

Last week, Chicago Handyman posted about the latest wall trend: ombre wall paint! Now here are 3 of the most anticipated kitchen backsplash trends of the 2015 home improvement season:

1. Natural Stone

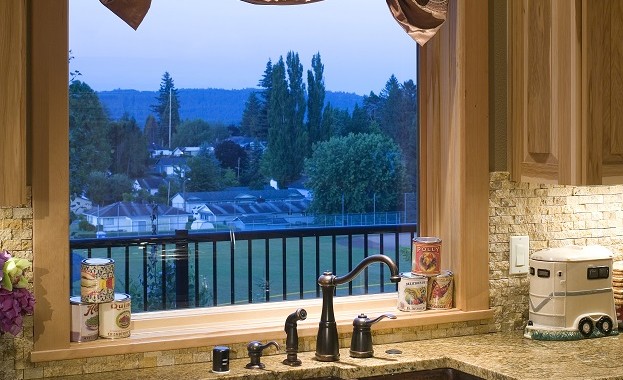
Stone 2With an earthy look and refined lines, natural stone can add visual interest and texture to a sleek kitchen.

2. Stainless Steel

Stainless Steel 2

Stainless steel appliances are becoming standard in every kitchen, and it’s starting to make its way into backsplashes as well. Modern and reflective, a stainless steel backsplash can breathe life into even the most neutral of kitchens.

3. Chalkboard

Chalkboard - comfylittleplace.blogspot.com

A chalkboard backsplash can change a room with a simple line of chalk. From reminders to kid’s drawings, chalkboard backsplashes add charm and an artistic vibe to any kitchen.

For more ideas, check out ImproveNet for their article on even more 2015 kitchen backsplash trends.