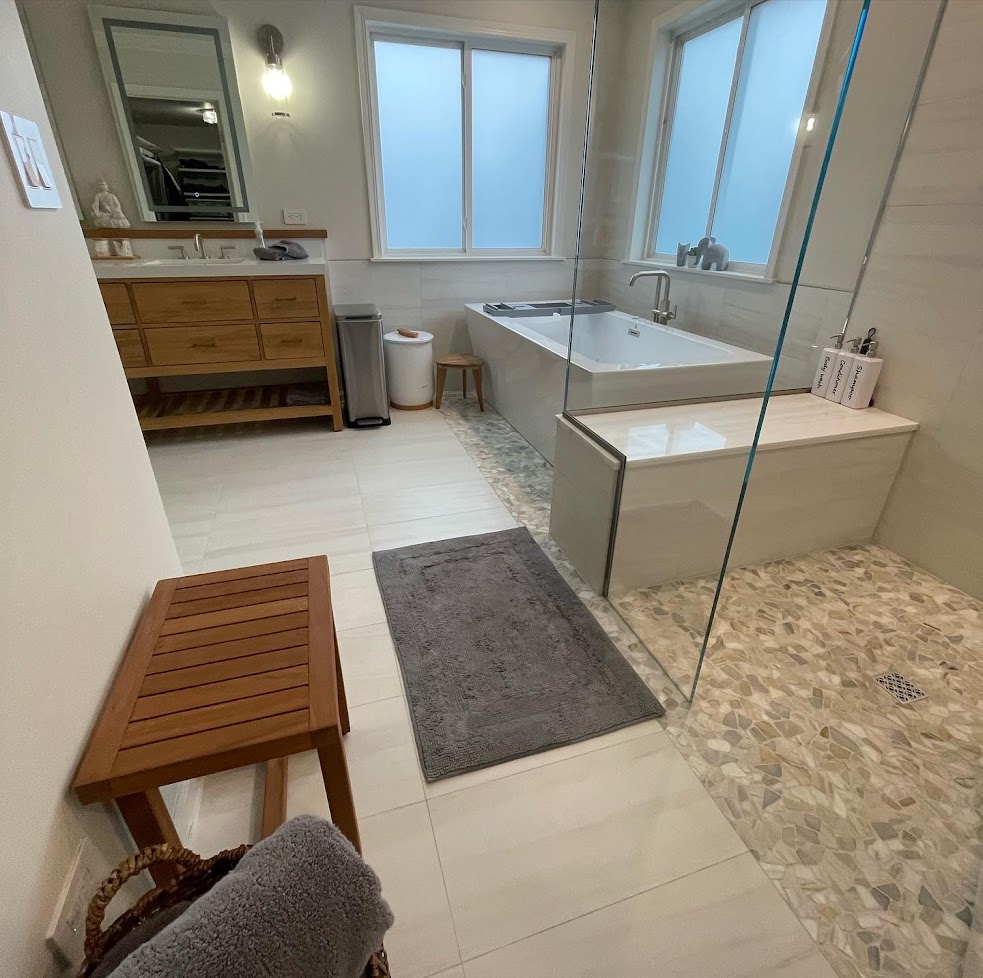
Curbless showers are changing the way people think about bathroom design. These open-concept showers have no threshold or barrier at the entrance. They blend seamlessly with the rest of the bathroom floor, creating a sleek and modern look.

A curbless shower uses a sloped floor to guide water towards the drain, eliminating the need for a raised edge. This design offers both style and function. It makes the bathroom feel bigger and more open. It’s also great for people with mobility issues, as there’s nothing to step over to get in and out.
Many homeowners are drawn to curbless showers for their clean lines and spa-like feel. They’re easier to clean too, with no corners or edges where dirt can hide. While they require careful planning and installation, curbless showers can be a smart upgrade for many bathrooms.
Design Essentials for Curbless Showers
Curbless showers need careful planning to work well. Key areas to focus on are the floor, waterproofing, and easy entry.
Flooring and Drainage Considerations
The right floor is crucial for a curbless shower. It should slope gently towards the drain. This helps water flow away and prevents pooling.
Most people use small tiles for better grip. Larger tiles can be slippery when wet. Natural stone or textured porcelain are good choices.
The drain is another important part. Linear drains are popular in curbless showers. They sit flush with the floor and can handle more water. Some folks prefer center drains, but these need a steeper slope all around.
Waterproofing and Moisture Management
Keeping water where it belongs is a must for curbless showers. The whole shower area needs proper sealing.
Waterproof membranes go under the tiles. They stop water from seeping into the subfloor. Some systems use liquid membranes, while others use sheets.
Don’t forget about the walls. They need waterproofing too. Many builders use cement board or special shower panels.
Good ventilation helps manage moisture. A strong exhaust fan can make a big difference. It removes steam and helps the shower dry faster after use.
Shower Entry and Accessibility Features
The entrance to a curbless shower should be wide and flat. This makes it easy for everyone to use, including people with mobility issues.
A sloped entry helps keep water inside the shower area. It’s usually very slight, just enough to direct water flow.
Grab bars are a smart addition. They provide support and can prevent falls. Place them where they’re easy to reach.
Some folks add a bench or seat in the shower. It’s great for those who need to sit while bathing. Fold-down seats save space in smaller showers.
Installation Techniques
Building a curbless shower requires careful planning and execution. The key steps involve preparing a solid foundation and applying proper waterproofing and tiling techniques.
Preparing the Shower Foundation
To create a curbless shower, the floor needs to be sloped toward the drain. Start by removing the existing subfloor in the shower area. Cut the floor joists if needed to make room for the shower pan. Reinforce the joists to maintain structural integrity.
Install a pre-sloped shower pan or build up the floor with mortar to create the proper slope. Make sure the pan or mortar bed is level with the rest of the bathroom floor for a seamless transition.
Apply a waterproof membrane over the entire shower area, including the walls. This step is crucial to prevent water damage. Use a bonding flange drain or a clamping ring drain with the membrane for a watertight seal.
Tiling and Finishing Details
Choose slip-resistant tiles for safety. Start tiling from the center of the drain, working your way outward. Use a level to ensure the tiles follow the slope of the floor.
For a seamless look, use the same tiles on the bathroom floor and shower floor. Install a linear drain along the back wall of the shower for better water flow and a sleek appearance.
Seal all grout lines and tile edges to add an extra layer of waterproofing. If needed, install grab bars for safety. Add a glass panel or door to contain water splash without creating a barrier.