-
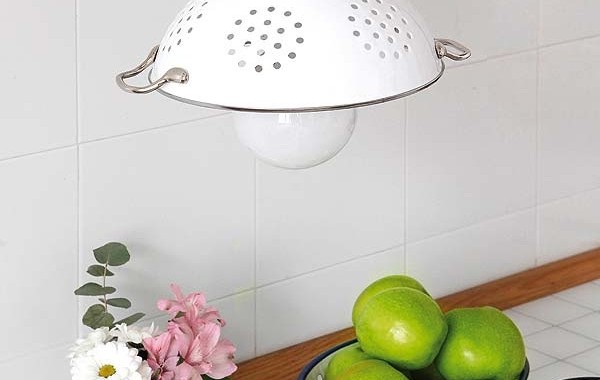
Transform Typical Cookware Into Unique Lighting
Let’s face it: there’s a lot of cookware in the house that is purely just…
-
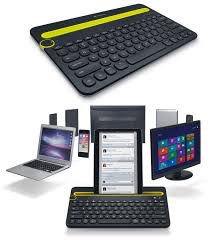
One Is Okay But Three Is WAY Better: The Logitech Multi-Device Keyboard
With desktops becoming more and more obsolete, tech companies are continually looking to new platforms…
-
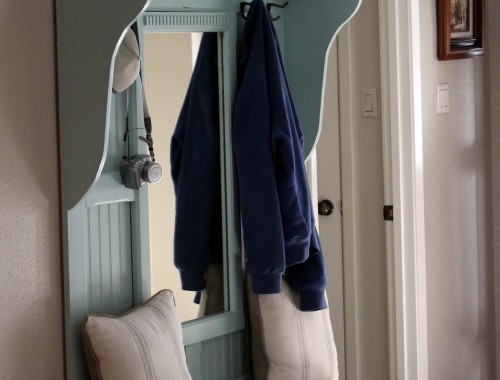
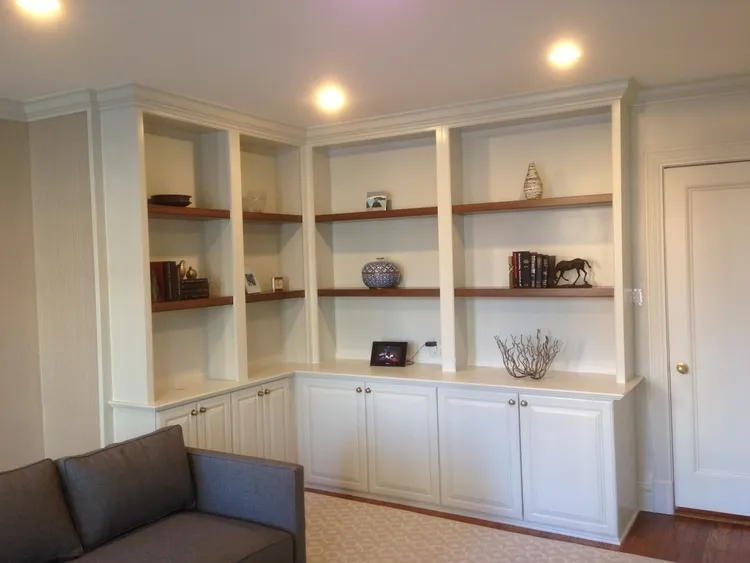
The Best Dresser To Mudroom Bench Transformation Ever!
Dressers can be bulky and in this closet organization age, they’re pretty unnecessary. But don’t…
-
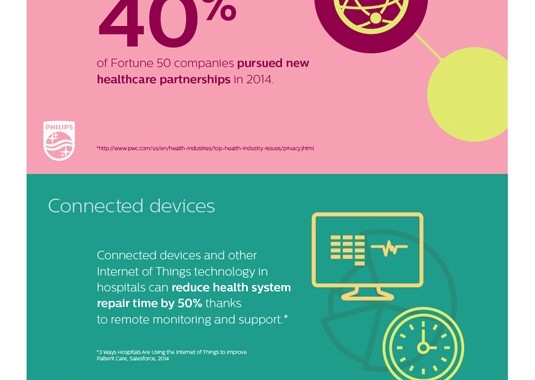
Make Tech Healthy… Check Out How Below!
Below are some of the many technology trends revealed at SXSW that will bind technology…
-
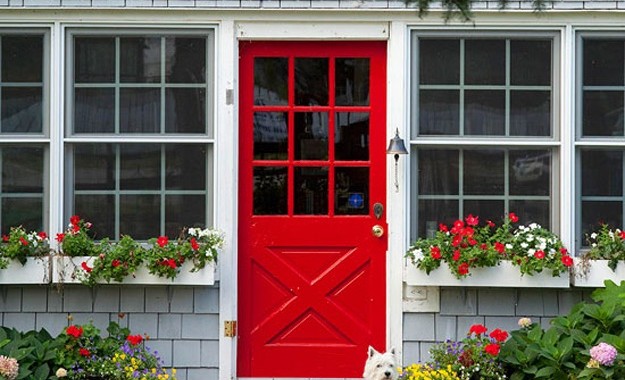
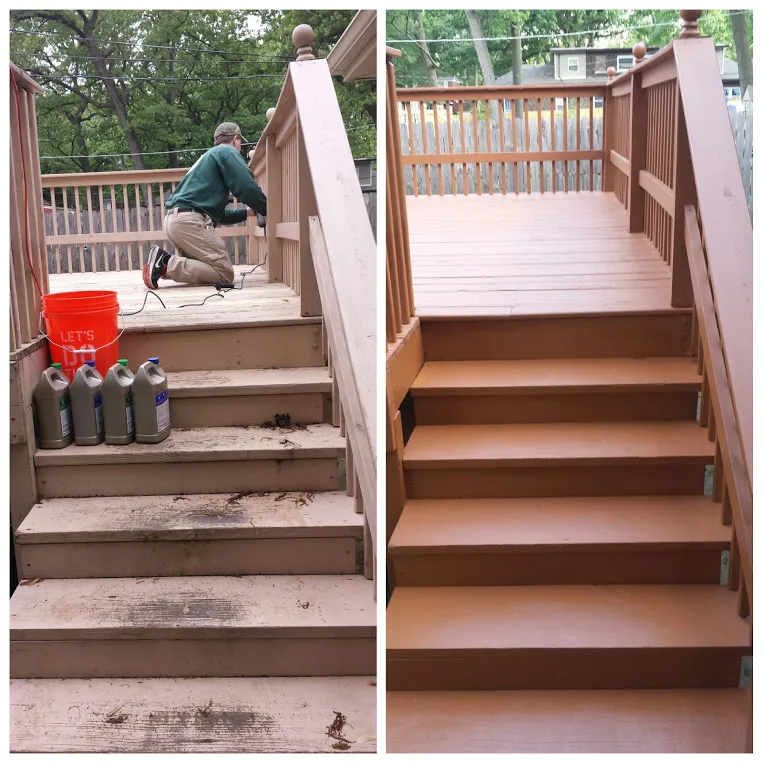
Top 3 Ways To Summer-ify Curb Appeal
Summer is finally here! And with that, many more people will be outside, looking at…
1500 North Halsted Av Chicago, IL 60614
info@chicagohandyman.net
(773) 982 – 5500