-

For The Travel Junkie In You: Introducing TripIt
Travel plans can be stressful. From confirmation e-mails to getting directions to the hotel, a…
-

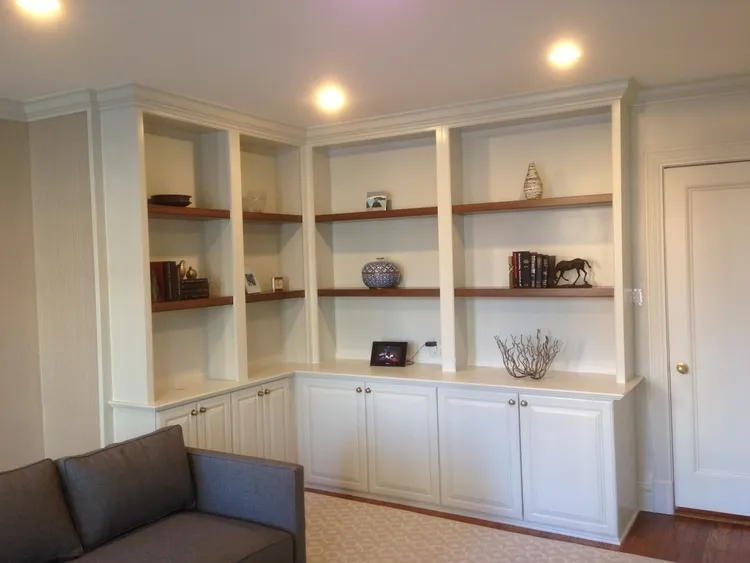
The Top 5 Ways To Add Color To Any Room!
In modern interior design, neutrals are always stressed as being the best pallet to go…
-

Looking For A Green Lighting Alternative? Check out LittleSun’s Solar Power Lantern!
Whether you’re on a camping trip, sharing a room with a light sleeper or just…
-

The Best Way To Reuse Old Picture Frames
Everyone knows the struggle: too many picture frames, not enough photos. After all, why print…
-
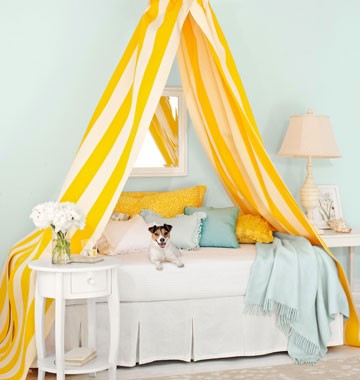
Create The Best Canopy Bed On Any Budget!
Chicago Handyman has shown step-by-step guides for headboards and other bedroom improvements, and now it’s…
1500 North Halsted Av Chicago, IL 60614
info@chicagohandyman.net
(773) 982 – 5500