-
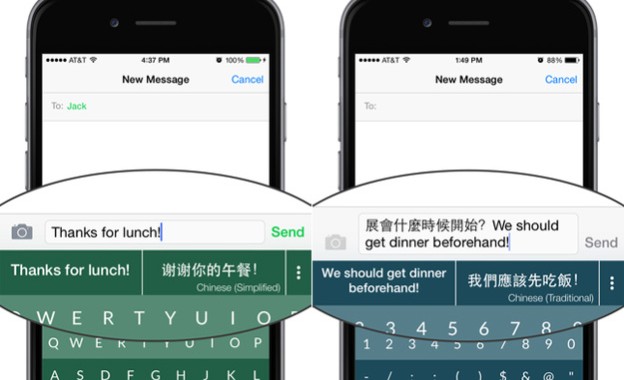
Speak Every Lingo: Get The Trype Keyboard For Free
Just met some new bilingual friends? Need to send a text to an international business…
-
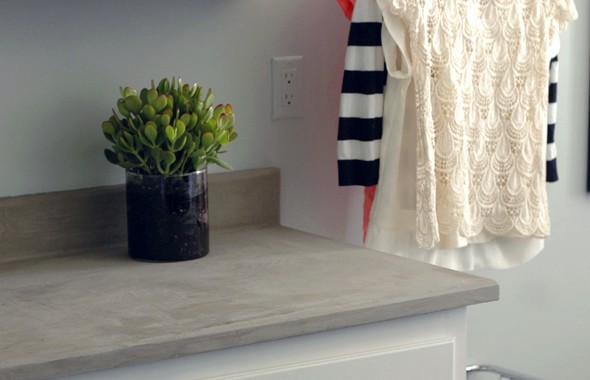
Concrete Countertops: Get The Popular Look On A Budget
Concrete countertops are all the rage in home renovation. Not only is the style industrial,…
-
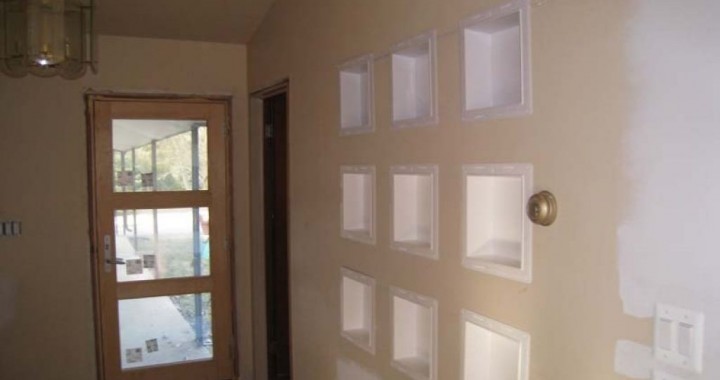
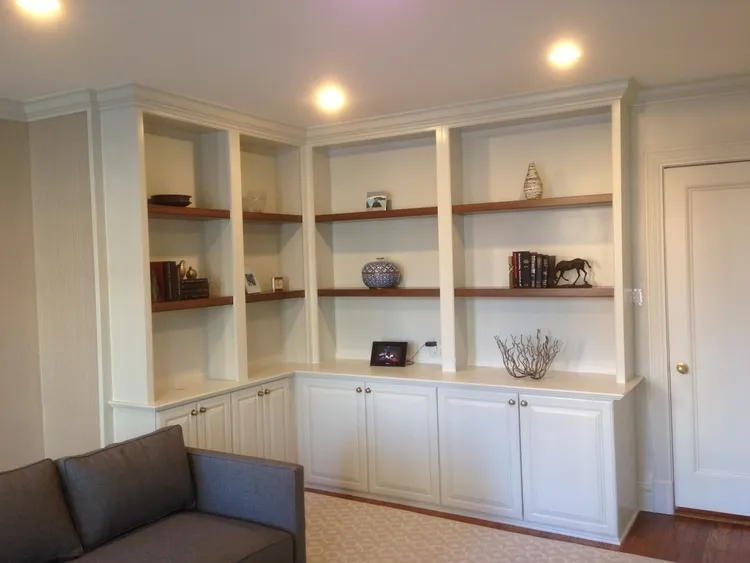
The Very Best Wall Improvement: A DIY Wall Niche
Want to add texture to a wall? Don’t want to use simple wallpaper or paneling?…
-
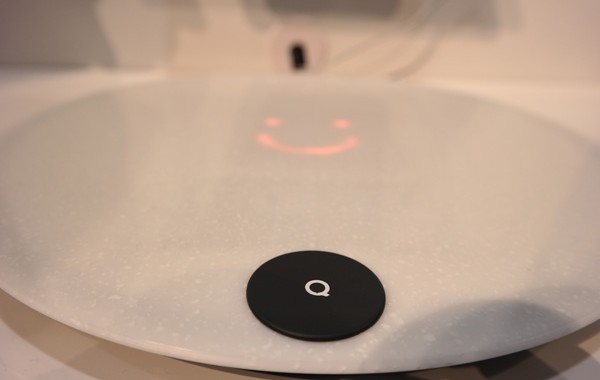
Say Cheese! This QardioBase Will Bring A Smile To Your Face
No one likes getting on the scale. But sometimes, it’s necessary. Whether for health improvement…
-
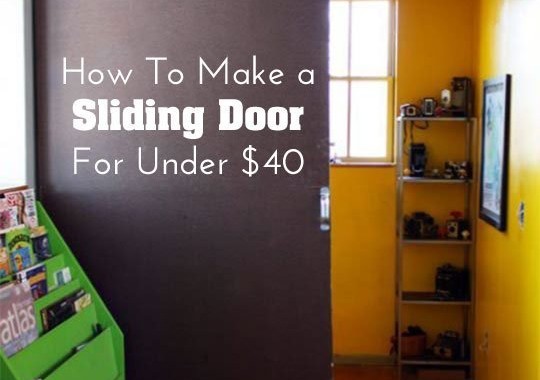
Need To Change Up A Space? Try a $40 Interior Sliding Door!
Whether it’s a loft, cramped rental or a home that’s in need of a unique…
1500 North Halsted Av Chicago, IL 60614
info@chicagohandyman.net
(773) 982 – 5500