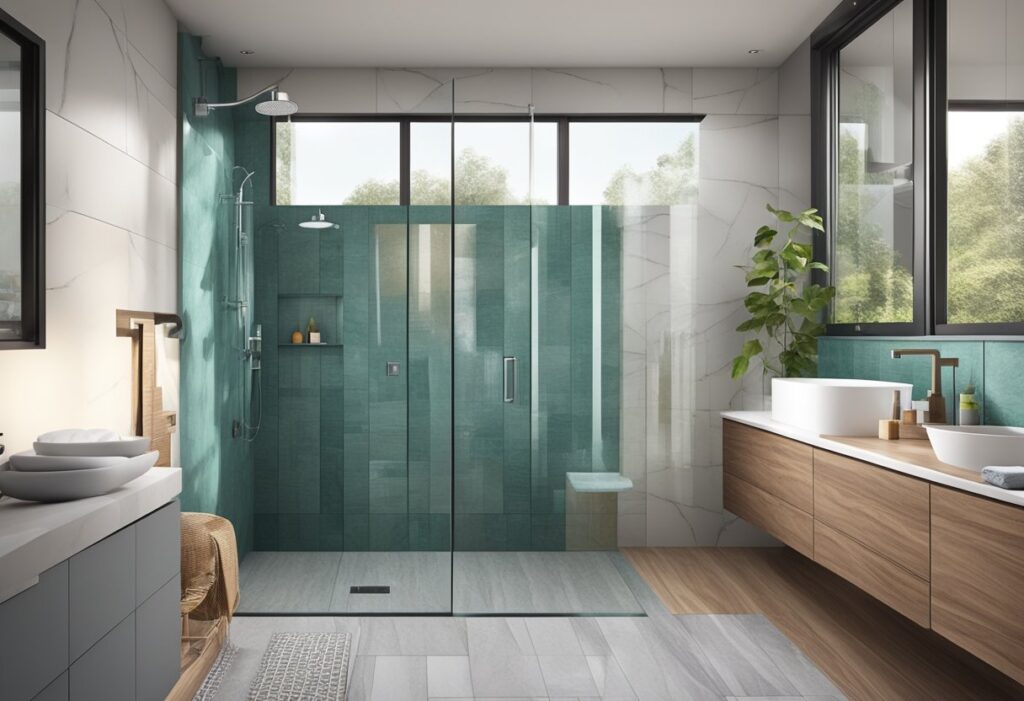
Remodeling a bathroom with a window in the shower doesn’t have to be a headache. In fact, it can be a great opportunity to bring natural light into your bathing space.
In many older Chicago homes, it’s common to find a window above the bathtub. This design quirk dates back to a time when tubs were retrofitted into spaces originally meant only for a water closet (toilet). Historically, bathing involved heating a small pot of water or visiting public bathhouses, so modern fixtures were often added much later—leaving windows in place where they once served purely as ventilation.
A window in the shower can be waterproofed and designed to maintain privacy while still allowing sunlight to fill the room, creating a brighter, more inviting bathroom experience.

Many homeowners worry about moisture damage or privacy concerns when dealing with shower windows. These are valid concerns, but with proper materials and installation techniques, a window can become the stunning focal point of your shower area. Options like frosted glass, glass blocks, or window treatments designed for wet areas can solve privacy issues while still letting light shine through.
Key Takeaways
- Windows in showers require proper waterproofing and sealing to prevent moisture damage and mold growth.
- Privacy can be maintained through frosted glass, textured glass blocks, or water-resistant window treatments.
- Natural light from a shower window reduces the need for artificial lighting and creates a more spacious feel in the bathroom.
Designing the Ideal Shower With a Window
A shower with a window can transform your bathroom experience by bringing in natural light and fresh air. When planned correctly, it creates a beautiful, functional space that feels connected to the outdoors while maintaining privacy.
Choosing the Right Window Style
When selecting a window for your shower, water resistance should be your top priority. Vinyl or fiberglass frames work best as they won’t rot or corrode from moisture exposure.
For placement, position the window at least 60 inches from the floor to prevent direct water spray. Awning and hopper windows are ideal choices since they can open without letting water in during a shower.
Best Window Styles for Showers:
- Awning windows – open outward from the bottom
- Hopper windows – open inward from the top
- Casement windows – side-hinged for full opening
- Fixed windows – no opening, but maximum light
Avoid wooden frames unless they’re specifically treated for high-moisture environments. Metal frames should have proper thermal breaks to prevent condensation issues.
Enhancing Shower Privacy
Privacy is crucial when your shower has a window. Textured or frosted glass allows light to enter while obscuring the view from outside.
For existing clear windows, apply privacy film that adheres directly to the glass. These films come in various patterns and opacities to suit your style while maintaining privacy.
Consider the window’s location relative to neighbors or public areas. If privacy concerns are significant, position the window higher on the wall.
Privacy Solutions:
- Frosted or textured glass
- Privacy window film (removable or permanent)
- Etched glass designs
- Stained glass elements
- Mini blinds designed for humid environments
For ultimate flexibility, combine approaches like using textured glass with sheer water-resistant curtains that can be adjusted as needed.
Maximizing Natural Light
Natural light makes your shower feel more spacious and inviting. To maximize light, consider the window’s size, placement, and surrounding materials.
Position your shower window on a wall that receives direct sunlight during morning hours if possible. This provides natural warmth when you’re most likely to shower.
Light-colored tiles and shower surfaces will reflect more light throughout the space. Glossy finishes amplify this effect even further.
If privacy concerns limit window size, consider adding a skylight above the shower area. This brings in abundant natural light without compromising privacy.
Use light-colored shower curtains or clear glass doors that won’t block light from the window. Clean the window regularly to prevent soap scum or mineral deposits that can reduce light transmission.
Incorporating Ventilation and Airflow
A window in your shower provides natural ventilation that helps control humidity and prevents mold growth. Operable windows that can be opened allow steam to escape and fresh air to enter.
Install window hardware that’s easy to operate with wet hands. Lever handles or crank mechanisms work better than tight latches in a shower environment.
Even with a window, don’t skip the exhaust fan. Windows provide intermittent ventilation, while fans offer consistent humidity control.
Ventilation Tips:
- Choose windows that open at least 4-6 inches for adequate airflow
- Position the window opposite the showerhead to prevent water spray
- Consider automated window openers for hard-to-reach windows
- Use mildew-resistant caulk around all window seams
- Clean window tracks regularly to ensure smooth operation
For best results, open the window after showering and leave it open for 15-20 minutes to allow moisture to fully dissipate.
Material and Installation Considerations

When remodeling a bathroom with a window in the shower, choosing the right materials and ensuring proper installation are critical to prevent water damage and extend the life of your renovation. These choices will impact both the functionality and appearance of your shower space.
Selecting Water-Resistant Materials
The materials you choose for a shower with a window must stand up to constant moisture exposure. For window frames, vinyl is an excellent choice as it doesn’t warp or rot when exposed to water. Avoid wood frames unless they’re specially treated for high-moisture environments.
For the window glass itself, consider using:
- Frosted glass – Provides privacy while allowing light
- Tempered glass – Safer and more durable than regular glass
- Double-glazed options – Offers better insulation
For surrounding walls, cement board is preferable to standard drywall. Porcelain or ceramic tiles work well for the shower surround and window ledge. Natural stone can be beautiful but requires regular sealing to remain water-resistant.
Ensuring Proper Waterproofing
Waterproofing is non-negotiable when there’s a window in your shower. Start with a waterproof membrane behind all tile work, especially around the window frame. This creates a moisture barrier that prevents water from seeping into the wall cavity.
Apply silicone caulk generously at these critical junctions:
- Where the window frame meets the wall
- Along the window sill
- Between the window and tile edges
The window sill should slope slightly downward toward the shower to prevent water pooling. Consider adding a drip edge beneath the window sill to direct water away from the wall.
Regular maintenance of these seals is essential. Inspect the caulking every few months for signs of cracking or mold growth, and replace as needed.
Quality Craftsmanship and Installation
Even the best materials will fail without proper installation. Hiring experienced professionals familiar with bathroom windows is worth the investment. They’ll ensure the window is properly flashed and sealed against water intrusion.
The installation process should follow this sequence:
- Frame the window opening properly
- Install flashing and moisture barriers
- Set the window with proper shimming
- Add insulation around the frame
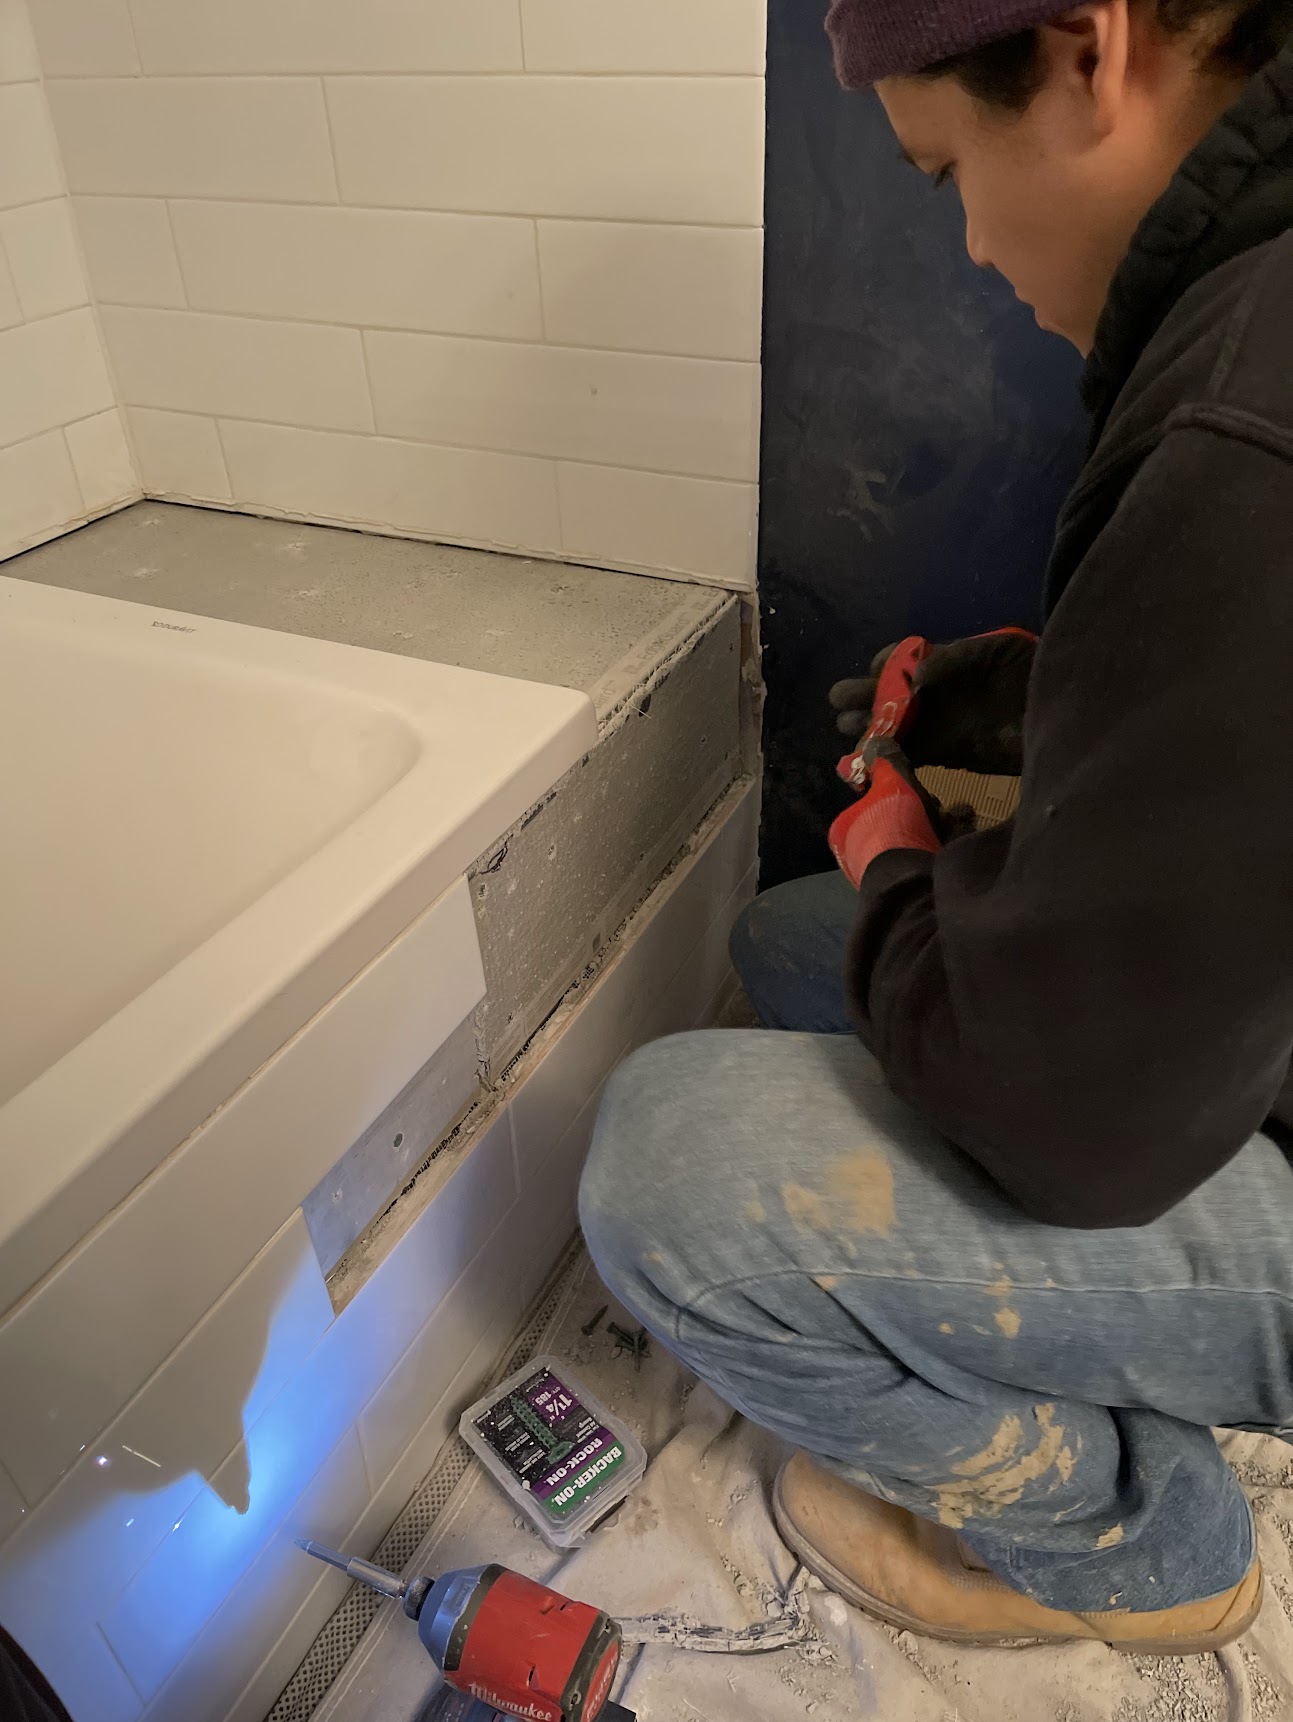
- Apply waterproof membrane and backer board
- Tile and seal all edges
Pay attention to the tile layout around the window. Precise cuts that minimize small pieces will look more professional and reduce potential water entry points.
Remember that rushing this part of the renovation often leads to costly repairs later. Quality craftsmanship might cost more initially but saves money in the long run by preventing water damage to your home’s structure.
Maintaining Your Bathroom’s New Feature
A window in your shower adds beauty but needs proper care to avoid water damage and mold issues. The right maintenance routine will keep it looking great and functioning properly for years to come.
Routine Maintenance
Keeping your shower window in top shape starts with daily habits. After each shower, use a small squeegee to remove water from the glass and window frame. This simple 30-second task prevents water spots and mineral buildup.
Check the caulking and seals around your window every three months. Look for cracks, peeling, or discoloration that might indicate water is getting where it shouldn’t. Effective drainage is essential for any bathroom feature.
Apply a water repellent to the glass twice a year. Products designed for shower doors work well for this purpose. They create an invisible barrier that helps water bead up and roll off instead of leaving spots.
Preventing Water Damage and Mold
Ventilation is key to preventing moisture-related problems. Run your bathroom fan during and for 30 minutes after each shower. If possible, crack open the window occasionally to allow fresh air circulation.
Watch for early signs of trouble like:
- Discoloration around window frames
- Musty odors
- Peeling paint
- Warped wood
- Visible mold spots
Address these immediately! Small problems quickly become big (and expensive) ones when ignored. Apply mildew-resistant caulk to any areas where the old caulk has deteriorated.
Proper bathroom maintenance should focus on preventing moisture build-up rather than dealing with damage later. Consider adding a window treatment specifically designed for high-moisture areas if you don’t already have one.
Cleaning Windows and Treatments
Clean shower windows weekly using a vinegar-water solution (1:3 ratio) or a commercial shower cleaner. Avoid ammonia-based products as they can damage window seals and treatments.
For stubborn soap scum, make a paste with baking soda and water. Apply it to problem areas, let sit for 10 minutes, then scrub gently with a soft brush. Rinse thoroughly with clean water.
Window treatments need regular attention too:
| Treatment Type | Cleaning Method | Frequency |
|---|---|---|
| Vinyl blinds | Wipe with damp cloth | Bi-weekly |
| Moisture-resistant curtains | Machine wash (gentle) | Monthly |
| Frosted film | Mild soap solution | Monthly |
Never use abrasive cleaners or rough scrubbing tools on glass or treatments. They can scratch surfaces and create places for mold to grow. With eco-friendly bathrooms becoming more popular, consider using natural cleaning solutions that are gentler on both your fixtures and the environment.
Working With Professionals
Bringing in experts can save time and prevent costly mistakes when remodeling a bathroom with a window in the shower. Their knowledge ensures the project meets standards and creates a space that’s both beautiful and functional.
Hiring a Professional Contractor
Finding the right contractor is crucial for a successful bathroom remodel. Start by asking friends for recommendations or searching online reviews for contractors with experience in bathroom renovations. Always check their credentials and previous bathroom work.
Get at least three quotes and ask these important questions:
- Have you installed shower windows before?
- What waterproofing methods do you use?
- How long will the project take?
- Can you provide references?
A good contractor will discuss options for the window type, placement, and waterproofing solutions. They’ll help balance aesthetics with practical concerns like ventilation and privacy.
Pay attention to how thoroughly they assess your space. Detail-oriented contractors will check existing plumbing, structural elements, and potential challenges before providing a quote.
Understanding Building Codes
Building codes exist to ensure safety and proper construction standards. When it comes to windows in shower areas, these regulations are especially important for preventing water damage and mold growth.
Most local codes require shower windows to be:
- Made of tempered safety glass
- Properly sealed against moisture
- Installed at a minimum height from the shower floor
- Protected with appropriate waterproofing
Home improvement projects involving bathrooms often require permits. A professional contractor will know which permits are needed and handle the application process. They’ll also schedule necessary inspections throughout the project.
Don’t skip these requirements! Building without proper permits can lead to fines, forced removal of completed work, or problems when selling the home later.
Frequently Asked Questions
Windows in showers create unique challenges for bathroom remodels. These questions address the most common issues homeowners face when working with this tricky design element.
What are some creative ideas for incorporating a window into a walk-in shower design?
Frame your shower window with waterproof tile that matches or complements your shower walls. This creates a cohesive look that highlights the window as a design feature.
Consider installing a frosted glass window that allows light in while maintaining privacy. The filtered light creates a soft glow that enhances the shower experience.
Add a tiled window sill that slopes slightly downward toward the shower interior. This prevents water from pooling and helps with drainage.
For a luxurious touch, build a shower bench under the window. This creates a spa-like sitting area where you can enjoy natural light during your shower routine.
What’s the best way to waterproof a window that’s inside a shower area?
Apply a high-quality silicone caulk around all window seams. Reapply this waterproof sealant yearly to maintain protection against moisture damage.
Install a window with vinyl or fiberglass frames instead of wood. These materials resist water damage and don’t rot or warp when exposed to constant moisture.
Consider adding a shower-specific window treatment like vinyl blinds or a marine-grade curtain. These can add an extra layer of protection when the shower is in use.
Use waterproof membrane sheets beneath the tile surrounding the window. This creates an impenetrable barrier that prevents water from reaching the wall structure.
Could I actually install a shower enclosure around an existing window, and how?
Yes, you can build a shower enclosure around an existing window with proper planning. Start by thoroughly waterproofing the window area before any shower installation begins.
Frame the shower enclosure to accommodate the window’s dimensions. Make sure glass panels or shower walls are precisely measured to fit around the window opening.
Ensure there’s a clear plan for water runoff away from the window area. Proper sloping of surfaces directs water toward the drain rather than allowing it to pool near the window.
I’ve got a window that’s clashing with my shower plans. Any tips for how to work around it?
Consider a partial enclosure that leaves the window outside the wet area. A strategically placed half-wall or glass panel can protect the window while still allowing it to provide ventilation.
Adjust your shower layout by moving the showerhead to the opposite wall. This directs water spray away from the window, reducing potential water damage concerns.
If your window is too low, you might install a shorter shower enclosure that stops below the window. The area above can be tiled and sealed appropriately while keeping the window accessible.
Are there specific building codes to consider when placing a window in a shower area?
Most local building codes require windows in shower areas to use tempered safety glass. This prevents dangerous shattering if the glass breaks.
Electrical codes typically specify minimum distances between windows and electrical fixtures like lights or outlets. Check local regulations for required clearances.
Many jurisdictions require a certain amount of ventilation in bathrooms. A window in your shower might help meet these requirements, but verify with local building officials.
The bottom edge of the window should typically be at least 6 feet above the shower floor or protected by a shower door. This prevents water from directly hitting the window during normal showering.
How can I maintain privacy while still keeping a window in my shower?
Install textured or frosted glass that obscures visibility while still allowing natural light. Options range from fully opaque to decorative patterns that add visual interest.
Apply removable window film for an inexpensive and reversible solution. These come in various patterns and opacity levels to suit your privacy needs.
Plant tall, dense shrubs or trees outside the window to create a natural privacy screen. This works especially well for ground-floor bathrooms.
Install a skylight or high window instead of a traditional window. The elevated placement naturally enhances privacy while still providing natural light and possible ventilation.


