Caffeine Addict? Try Out This Clever Storage Display!

img_0667

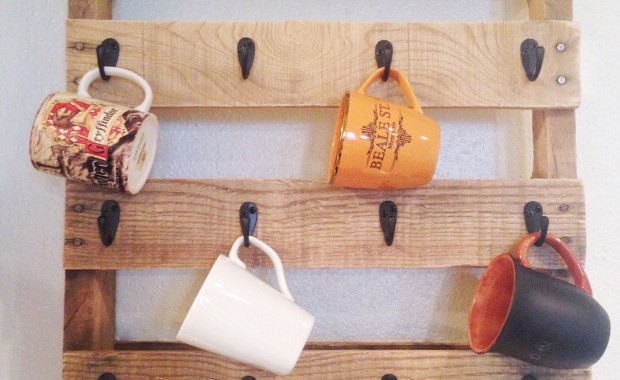
Coffee mugs aren’t just for drinking homemade mochas. With all the cute and stylish designs coffee mugs have, why not free up some cupboard space and add some interest to the kitchen walls? Well with this easy pallet coffee cup holder project from One Little Bird, you can!

Start by gathering these materials:

  • Pallet
  • Hooks
  • Screws
  • Sandpaper
  • Right Angle Ruler
  • Tape measure
  • Pencil
  • Circular Saw
  • Cordless Drill
  • Screwdriver

img_0584

Begin by using the circular saw to cut the pallet to a manageable size. Then sand down this mini pallet, making sure the wood is smooth.

img_0590


Once sanded, decide if decoration for the project is essential. In One Little Bird’s design, they decided to sponge brush the word “coffee” with stencils to add style.

img_0646


Next it’s time for the hooks! Take a ruler and pencil to measure where the hooks will go. Follow this step by drilling the hooks into the chosen spots. While the spaces should be event spaced, don’t stress if the placement isn’t perfect. The mugs will distract from any unevenness.

img_0662

Finally, hang the most stylish mugs possible and enjoy this storage display!

The Best Dresser To Mudroom Bench Transformation Ever!

1-img_1040

Dressers can be bulky and in this closet organization age, they’re pretty unnecessary. But don’t ditch the dresser in the alleyway wasteland! Instead, repurpose any dresser into a sleek, sophisticated mudroom bench for every household need following The Weekend Country Girl’s comprehensive guide. 

Here’s what’s needed:

  • Old Dresser
  • Plywood slabs
  • 2X4’s
  • Plywood box
  • Beadboard paneling
  • Paint
  • Cushion


100_05753Begin by taking apart the dresser. Remove all of the drawers, leaving only the two remaining bottom drawers. Attach a plywood top to create a surface for the bench. This structure will not only serve as seating, but storage for shoes and other household items.

100_05971

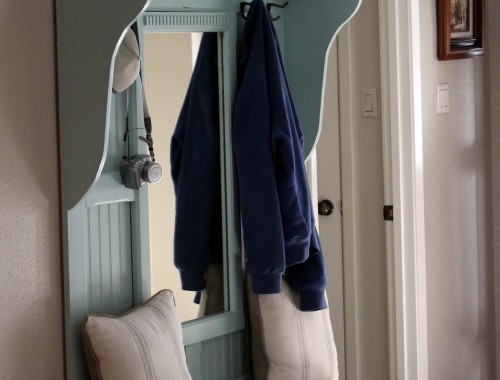
To create the top space for hanging jackets and stashing papers, reuse the remaining solid drawer fronts. Once adhered at the top, make sure to attach breadboard paneling for aesthetics and several 2X4’s and a plywood box for support. For an even more glamorous look, add a mirror to the center and add 2X4’s around it for support.

mudroom51

Finally, to connect the pieces, just insert some board-and-batten bead board to the wall for a fluid illusion. Then comes the fun part: paint it, add drawer knobs and install hooks. Make them whatever is consistent with the style of the home.

100_11031

When all is said and done, this project is not only really simple, but extremely environmentally and style friendly.