Old Home? These Quick, Easy Updates Will Blow Your Mind!

Sometimes a vintage touch brings interest to a home. However, if every room in a home is a remnant of the 60’s, 70’s or 80’s, it might be time for a remodel. If there’s time or no money for a full-blown renovation, check out these fixes to revamp a space provided by Kim Anderson!

Painting 

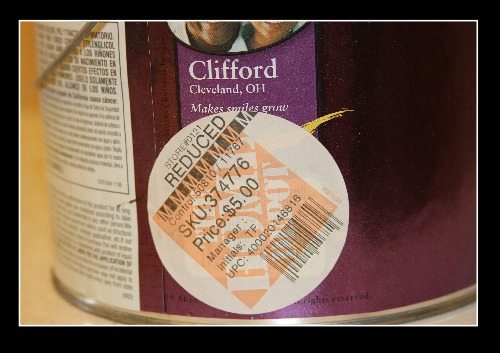
A new paint job can revitalize any room. Paint can be costly, but here’s a tip: check out the “Oops!” painting section. These paint cans were returned by customers, not because they didn’t work, but because they didn’t work for them. Pick up a few of these cans for less than $5 and watch the room transform.
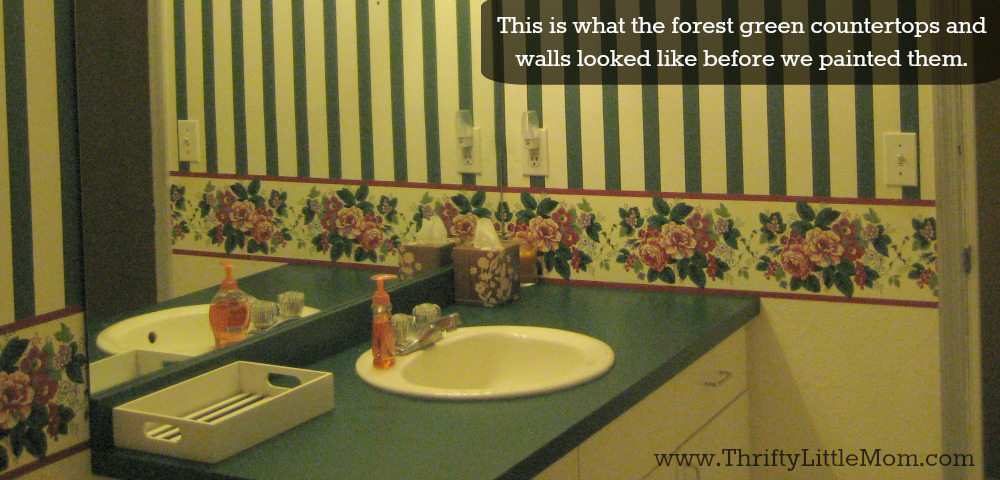
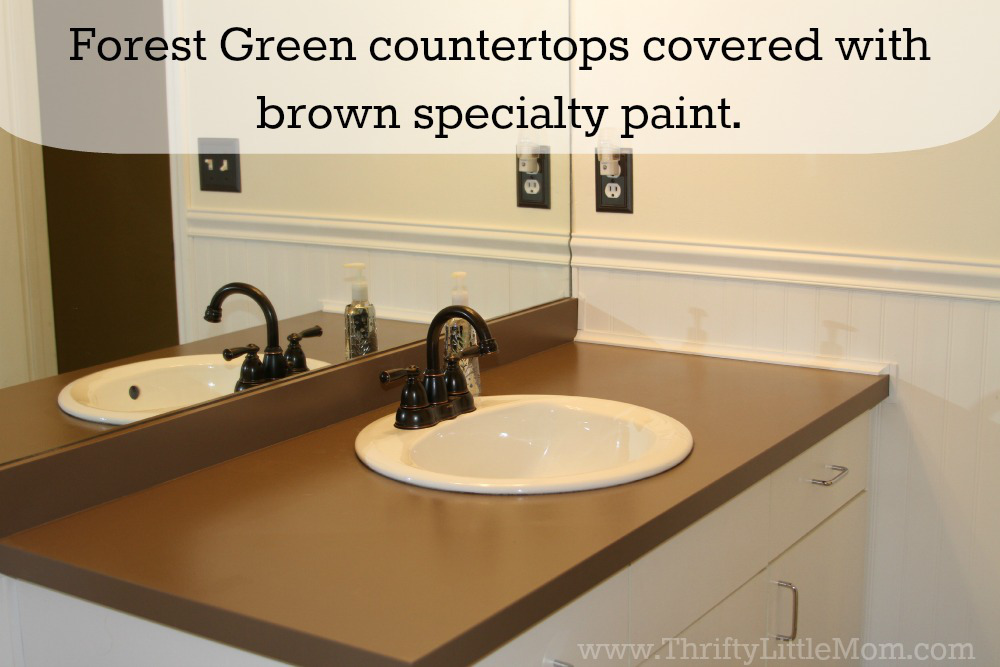
Oops-Paint-Image


Counter Tops

A new paint color on the walls not enough? For kitchens and baths, consider painting the countertops! There are products  made for painting countertops & Anderson says her countertop has lasted 3 years with barely any chipping.
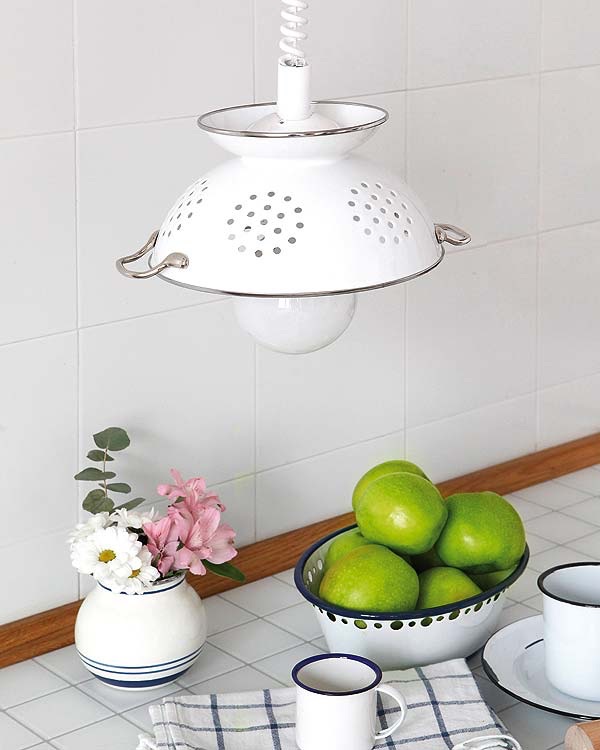
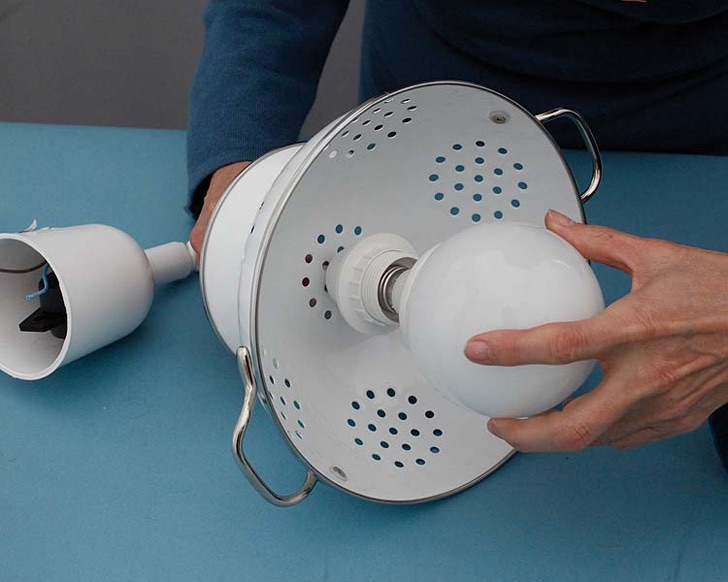
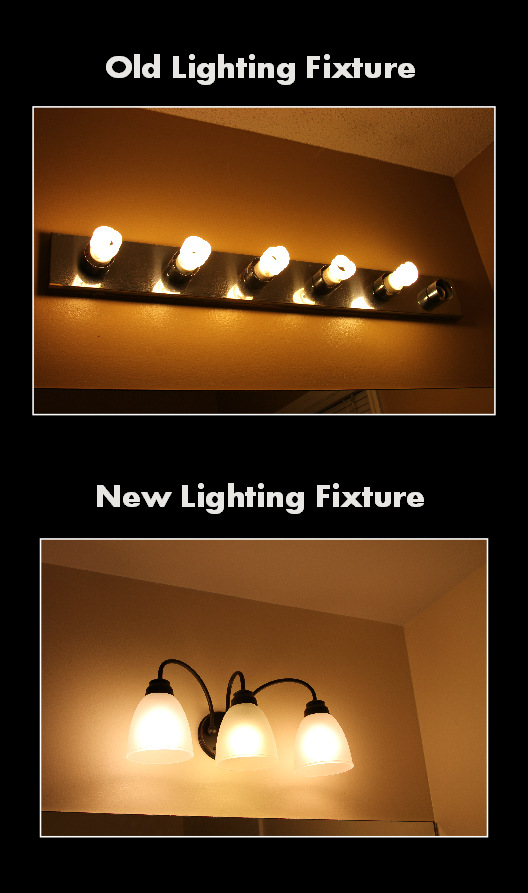
Re-styling-your-older-home-without-remodeling-bathroom


Lighting

This last update will be the most expensive, but possibly the most rewarding. For between $40 & $150, new lighting in any room can change the brightness and sight lines of a room. Try a dome light in eating areas, new vanity lighting in bathrooms and updated ceiling fans in bedrooms.

Bathroom-Lighting


So don’t stress about renovation budgets or hiring a construction crew, try these simple fixes to restyle a home!


Ready for a large scale renovation? Call Chicago Handyman today! 


Top 5 Need To Know Tiling Tips

5wxw951f034fe71637

Getting ready to tile a bathroom shower? Maybe the kitchen floors need some revamping? Tiling is a fairly simple home project, but can seem daunting for novice home renovators. Well to ensure the project is done right the first time, here are 5 tips to absolutely follow:

1. Keep Those Tiles Dry- And Clean!


nqwky51f034ff466ae

Before beginning to place tiles in the desired pattern, make sure all the tiles are dry and clean. This will be a time and sanity saver throughout the course of the project.


2. Read The Directions On The Box!

everbuild_FWPOWGROUT1

Don’t be a fool- read the adhesive box directions. Just because The Property Brothers makes a kitchen tile install look simple doesn’t mean it is. View the box directions not as guidelines but as law.


3. On That Note- Wait The Full 24 Hours!

Mid_Tiling__jpg_465x600_q85

Any adhesive box will instruct to wait 24 hours until grouting the tiles of any home project. Not 12 hours, not 16 hours. Keep heartache out of the remodel, wait a whole day before finishing up the tiling project.


4. Use A Notched Trowel & Horizontal Patterns

PiBacksplash10

When applying adhesive and grout, there’s no need to get artistic or elaborate. Save that for craft time with the kids. Using a notched trowel, apply the material in horizontal lines, making sure to cover the tile entirely. No swirl shapes allowed!

5. Tiles Are Like Vampires, They Hate Sunlight

Cortico-Netos-ceramic-store-Lisbon-Portugal

For the love of all the DIY gods, do not store the tiles in direct sunlight before fixing them. A dry, clean room with no windows is preferred.


And for even more tiling rules, check out Joanna Johnson’s Golden Rules of Tiling.  

Transform Typical Cookware Into Unique Lighting

image

Let’s face it: there’s a lot of cookware in the house that is purely just taking up space. And unless a cookware collection is in a gourmet restaurant, chances are multiples are not necessary. One way to clear the clutter without adding to the garbage is by turning a simple kitchen colander into a beautiful pendant lamp. And thanks to Handimania, there’s now a step by step tutorial to achieve this unique colander lamp lighting.

Gather these supplies:

  • Drill
  • Cable with cap and top
  • Plastic clump
  • Screwdriver
  • Screw hook
  • Sharp knife
  • Light bulb

image

Start by drilling a hole in the bottom middle of the colander, preferably widening an existing hole. Next close the cup of the cable tightly and fit it through the widened colander hole created.

image

image

image

The trickiest part of this project is figuring out the wiring. Make sure to securely screw the hook into the ceiling and attach the wires from the lamp to the ceiling.

For an even more funky and adventurous look, hang multiple of these lights in the center of a room in many colors. Once in place, this lamp is ready to light up not just the room, but the style of an entire home.


You’ve Heard Of A Roomba… Here’s The Scooba!

pIRBT1-17468018v380

The Roomba was quite the alternative to the vacuums. No more leaning over to reach the dusty corners of the kitchen. No need to roll the heavy thing back and forth. Well now, iRobot introduces another kitchen solution, The Scooba!

The Scooba uses Hard Floor Cleaner and a 40-minute cycle to clean even the toughest, sticky messes. Pre-soaking, scrubbing and making your floors squeaky clean, The Scooba not only mops for you, but removes over 99 percent of bacteria.

So shave some time off your daily cleaning and get The Scooba today!