Home Improvements
-
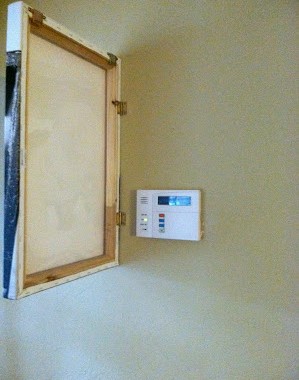
Hide Any Ugly In The Home With A Hinged Canvas
Not every necessary utility in a home is cute to look at. Fire alarms? Thermostats?…
-

Ready For New Flooring? Look No Further Than This Floating Laminate Install Tutorial!
There are many reasons why people are opting for laminate over hardwood flooring these days.…
-

Want Ideas On What Home Projects To Do? Check Out This Graphic Below!
Ready to renovate a home? Well, check out Fixr’s graphic on what Americans spend their…
-
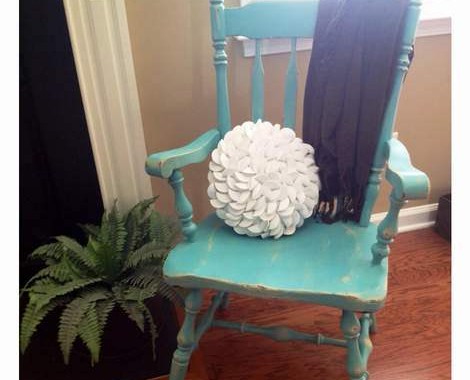
Upcycle A Thrift Store Chair Without Losing The Vintage Charm
Some chairs have beautiful bones but need some help with aesthetics. Well luckily Camp Clem…
-
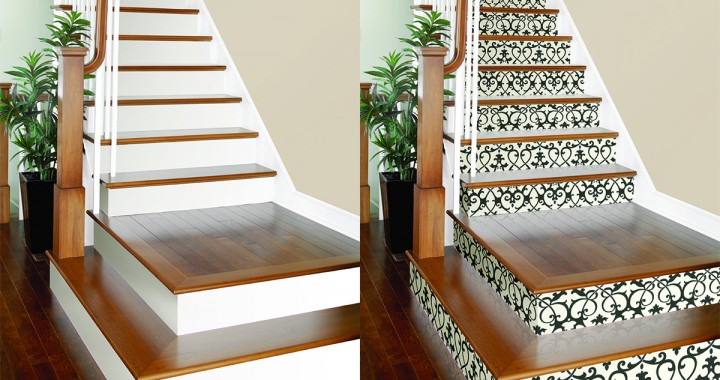
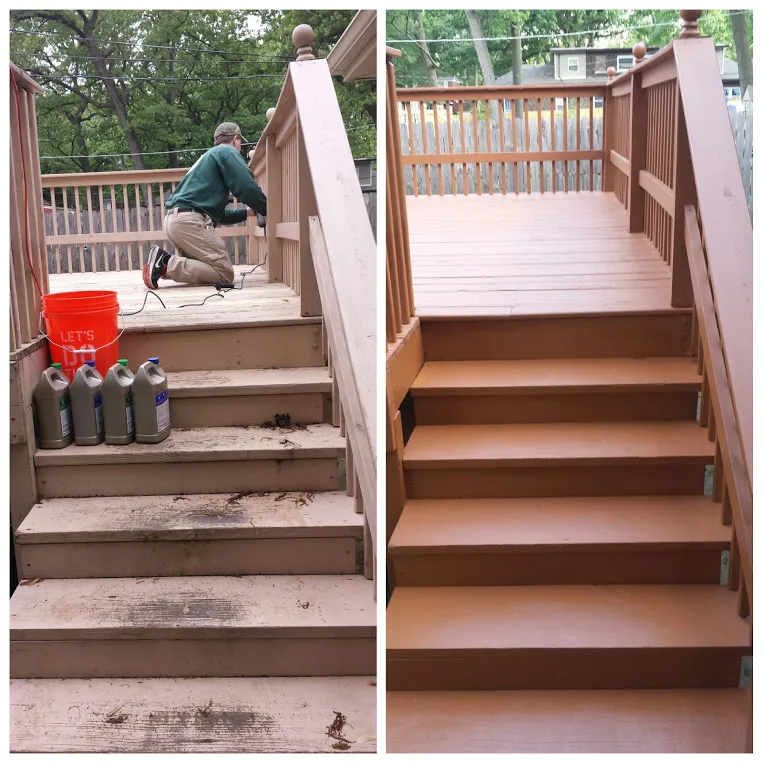
Revamp Any Set Of Stairs With This Simple Wallpaper Project!
Bored with walking up the stairs and seeing bland wood? Well, with this simple tutorial…