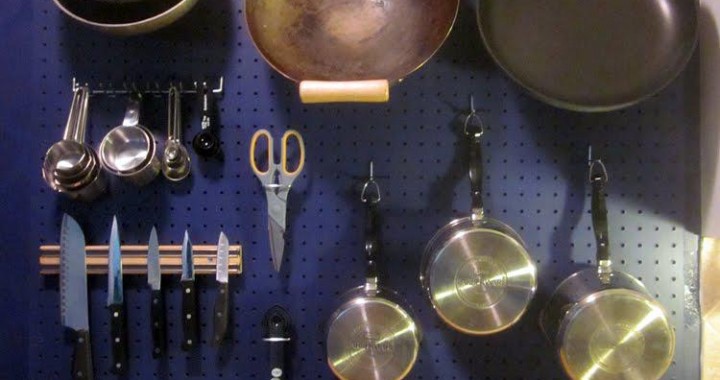
The Best Cabinet Space Saver Of All Time

how-to-a-kitchen-pegboard-wall-organizer-L-SEZKmh

Pots and pans are the largest, clunkiest and often most essential cookware of any kitchen. They can take up valuable cabinet space and leave renters and homeowners wondering where to store them without leaving them lazily on top of the stove top. Well, fear no more! This pegboard wall organizer from Decorology solves all future pots and pans storage nightmares in a stylish and functional way.

With just these materials, this project can be completed quickly and cheaply for a great look:

  • Pegboard
  • Framing wood
  • Pegboard hooks
  • Tool racks
  • Anchors
  • Screws
  • Paint (in desired color)

Begin by cutting wood boards to the proper framing size. This provides space between the wall and pegboard so later the hooks can be inserted.

how-to-a-kitchen-pegboard-wall-organizer-L-99gkae

Before attaching the pegboard to any surface, paint it the desired color.how-to-a-kitchen-pegboard-wall-organizer-L-aWLyou

Then mount the framing board to kitchen wall and then attach the pegboard to the frame. Measure where to put the anchor screws and line up the screws in the frame. Finally, tighten the screws into the anchors.

how-to-a-kitchen-pegboard-wall-organizer-L-6huSwi

how-to-a-kitchen-pegboard-wall-organizer-L-rFwN5r

Finally it is time to design the pots and pans arrangement. For an interesting layout, use a variety of hook sizes and types. This will bring visual interest to any kitchen.

how-to-a-kitchen-pegboard-wall-organizer-L-Sffmbr

So for an edgy, sophisticated kitchen, look no further than a pegboard wall organizer for all pots and pans storage.

how-to-a-kitchen-pegboard-wall-organizer-L-Cx5l_x

For even more kitchen design, call Chicago Handyman for a quote today!

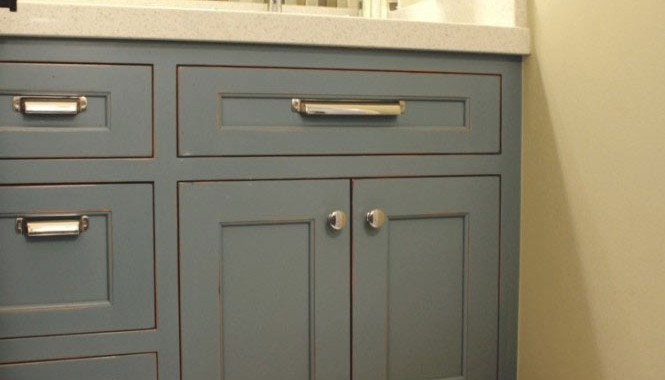
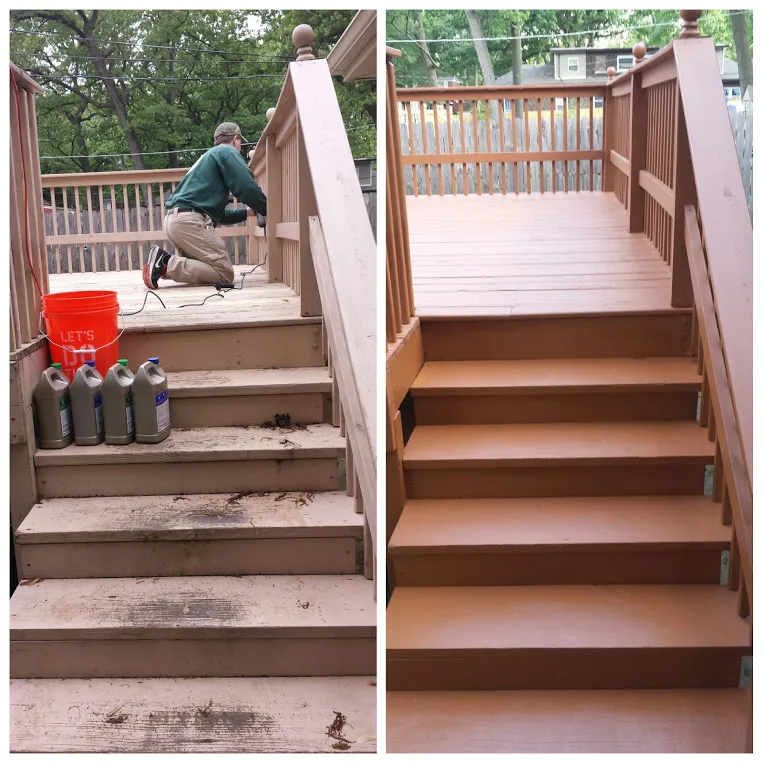
Need To Step It Up? Check out this Vanity Step Upgrade!

Whether a household is full of kids, people of shorter stature or abnormally tall vanities, Ana White’s vanity step drawer is a simple way to make any bathroom more accessible. With a few tools from around the home and some inexpensive materials, any vanity can be upgraded to suit any house.

vanity-drawer-step-stool-6

Here’s the required supplies:

  • 1 set of heavy duty 16″ door slides
  • 1 1X3″ @ 8 feet long board
  • 1 3/4″ plywood 16″ and the width of the board
  • 2-inch finish nails
  • 1 1/4″ Pocket Hole Screws
  • Wood Glue
  • 120 grit sandpaper
  • Measuring tape
  • Pencil
  • Hammer
  • Kreg Jig
  • Drill
  • Circular Saw
  • Brad Nailer
  • Countersink Drill Bit

vanity-drawer-step-stool-7Begin by removing any doors from the vanity as well as the toe kick. Before beginning the rest of the project, make sure to fill any holes with wood filler and sand with the 120 grit sandpaper in the direction of the woodgrain. Following this preparation, take measurements of the height and width of the drawer and toe kick areas to assure all the wood board pre-cut sizes will work.

vanity-drawer-step-stool-8

Once all the measuring precautions are taken, attach plywood on top of the drawer and secure it with 2″ nails and wood glue. Using the directions on the wood slide box, attach the slides to the step drawer and the opening for the drawer. Reattach the toe kick to the front of the drawer for aesthetic consistency using a Kreg Jig and finished nails.

vanity-drawer-step-stool-9After this step, any bathroom will be an asset to homeowners and overnight visitors alike.

IMG_1018

Ready for even more bathroom renovations? Call Chicago Handyman today!