-
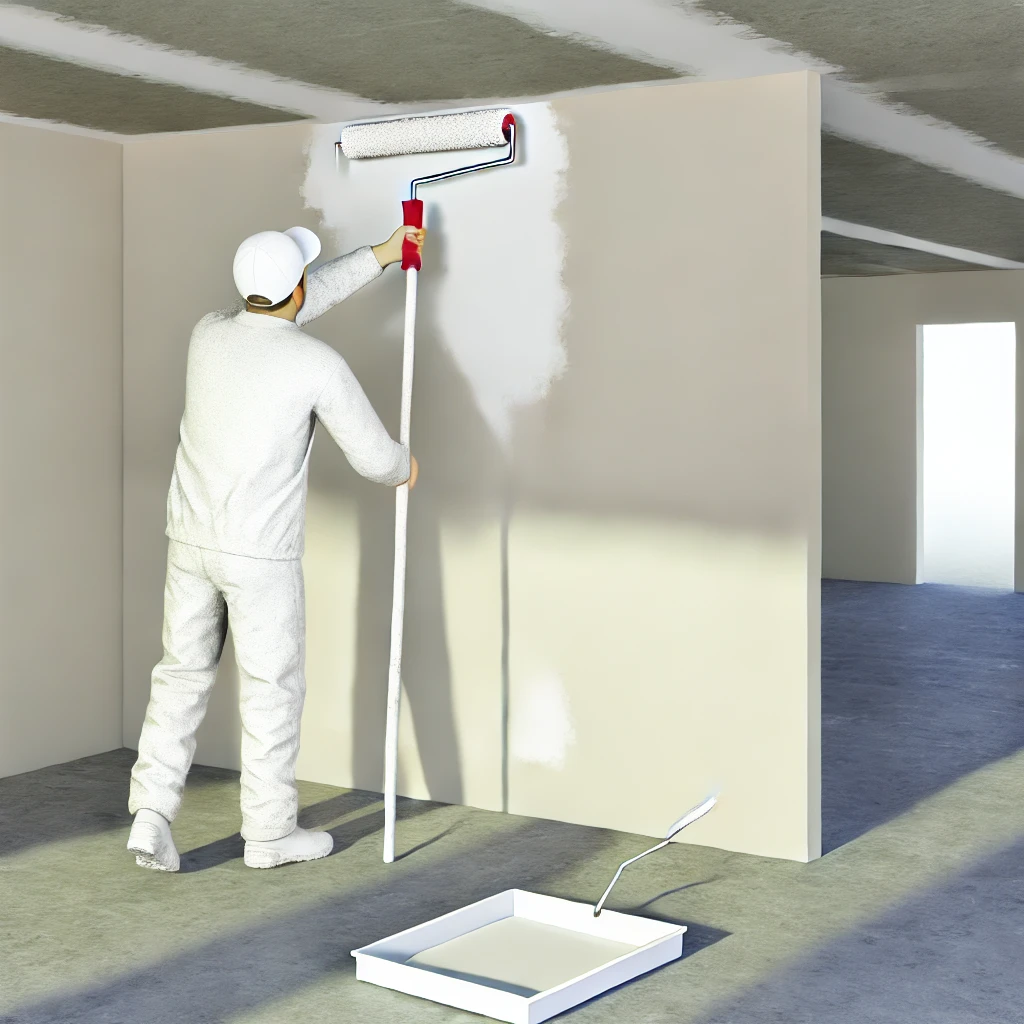
How Many Coats of Primer on New Drywall: Quick Guide for DIYers
Related reading: Learn about how to wet sand drywall and how long drywall mud takes…
-

How to Repair Cracks in Drywall: Patch Up Your Life and Your Walls
Related reading: Learn about how to repair drywall holes and drywall ceiling water damage repair.…
-

How Many Screws Per Sheet of Drywall: A Quick Guide for DIYers
Hanging drywall is a key step in many home improvement projects. But how many screws…
-
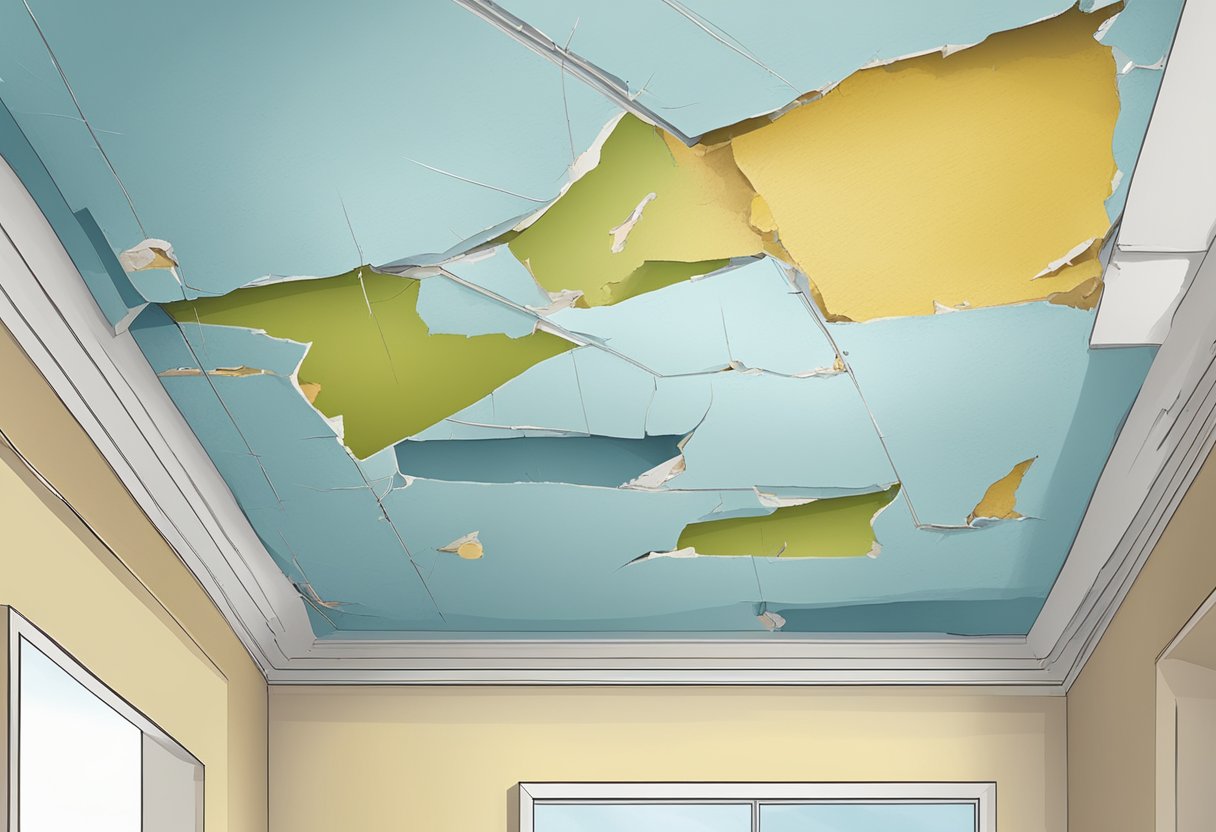
Repair Drywall Ceiling Water Damage: Turning Your Leak into a Leisure
Related reading: Learn about how to repair drywall and how to repair cracks in drywall.…
-
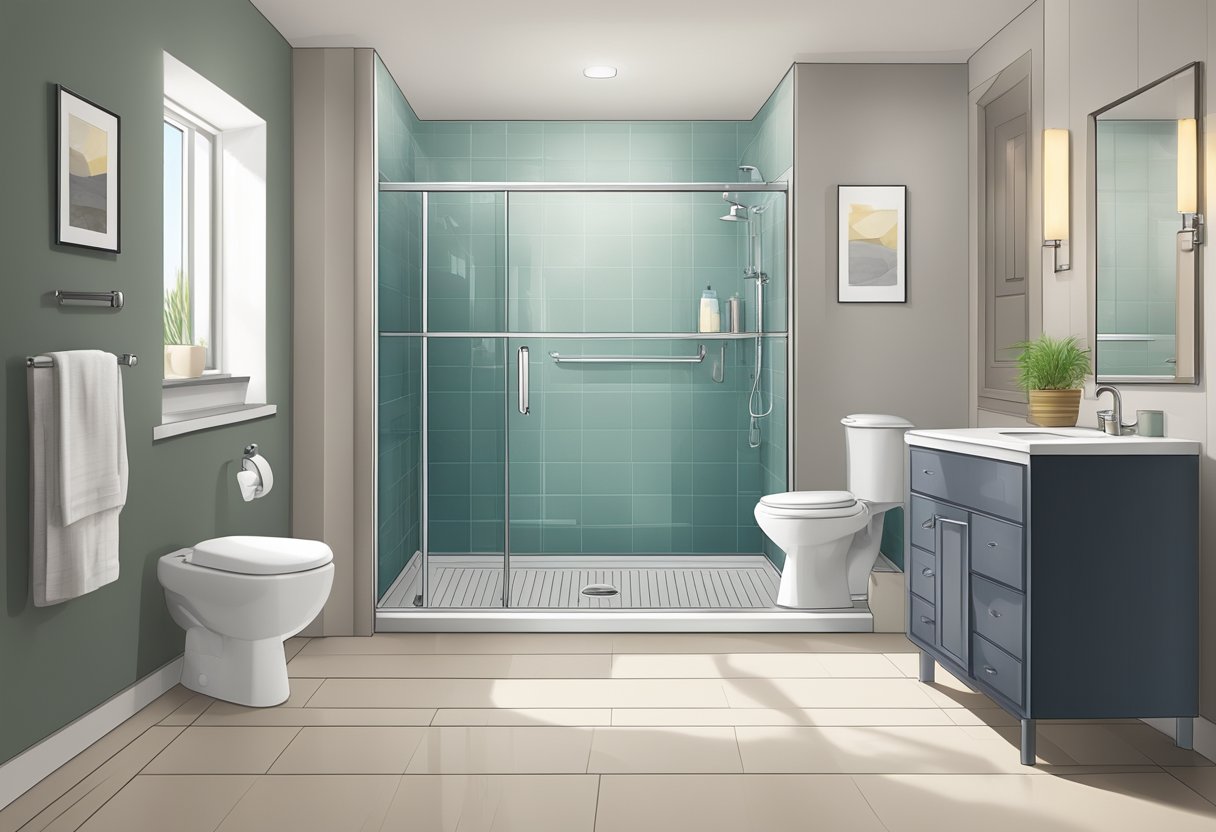
Bathroom Remodel for Seniors: Easy Upgrades for Golden Years Comfort
Aging at home can be challenging, especially when it comes to bathroom safety. Many seniors…
1500 North Halsted Av Chicago, IL 60614
info@chicagohandyman.net
(773) 982 – 5500