-
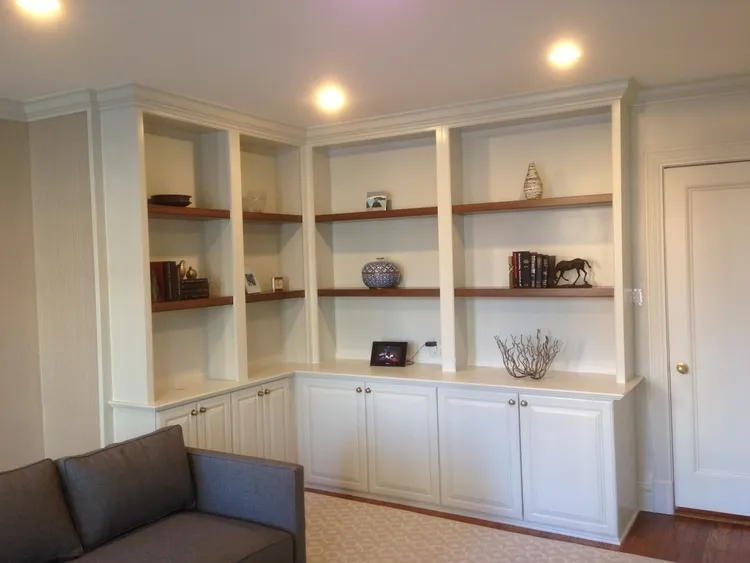
Old Home? These Quick, Easy Updates Will Blow Your Mind!
Sometimes a vintage touch brings interest to a home. However, if every room in a…
-

Feeling The Chicago Freeze? Check Out The Nest Labs Thermostat
Ever wish your home knew when to heat up and cool down depending on the…
-

Adding Lacquer & Lace To A Tired Desk
Everyone has bought that one piece of furniture. At a garage sale or a thrift store, they…
-
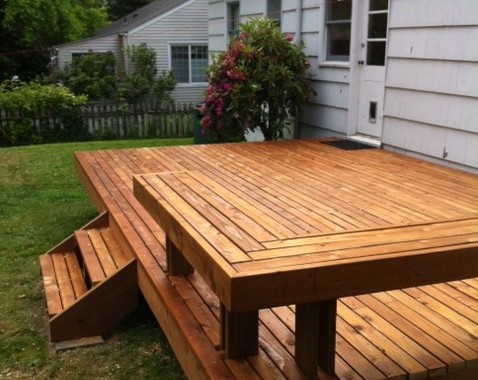
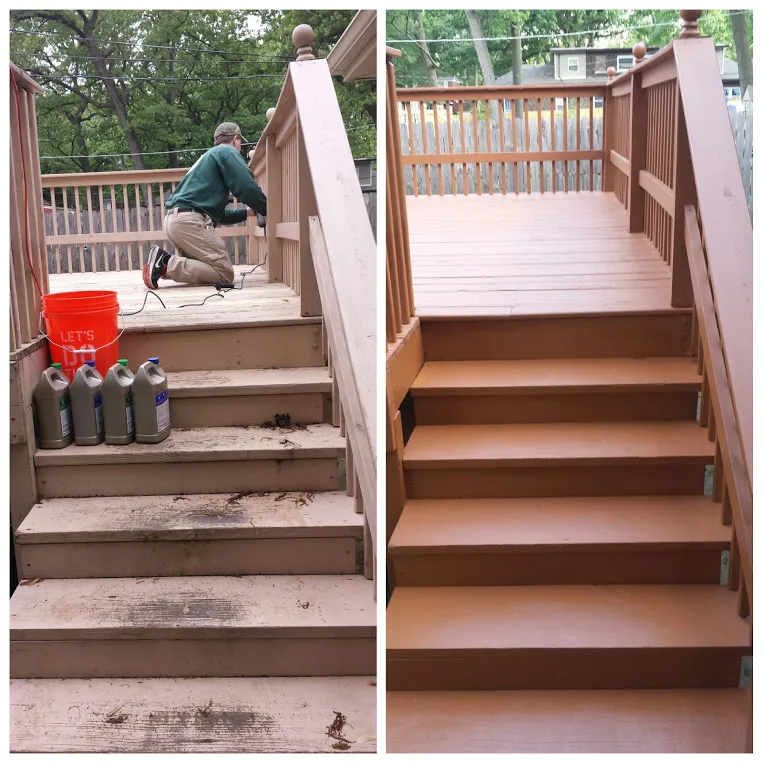
Dreaming Of Summer: A Home Deck Project
Chicago’s forecast for the past two weeks has been anywhere between -10 and 10 degrees.…
-
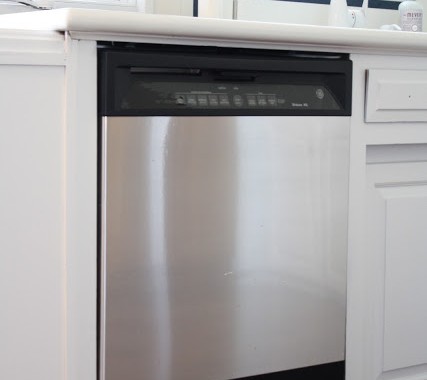
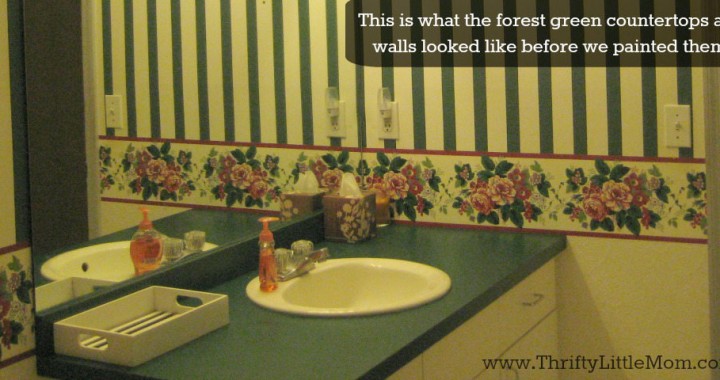
Get The Stainless Look Without The Stainless Budget
Stainless steel is probably one of the most popular kitchen elements today. However, these appliances…
1500 North Halsted Av Chicago, IL 60614
info@chicagohandyman.net
(773) 982 – 5500