-

The Best Computer Mouse On The Market: Genius Mouse
With all the tablets, laptops and half-tablet/half-laptops out there, many people forget that desktops are…
-
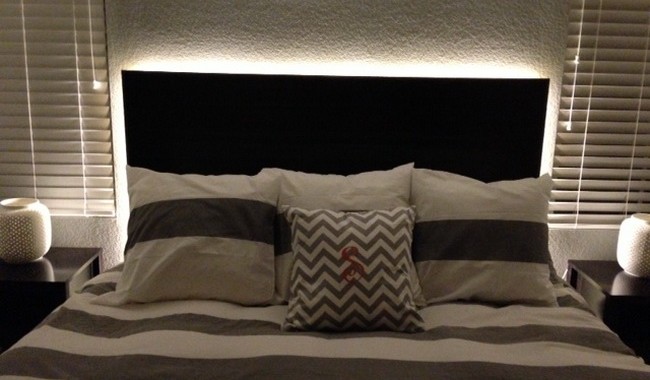
Create A Floating Headboard with Old Flooring
Floating Headboard Reduce, Reuse, Recycle does not have to be boring. It can even be…
-

-

Yet Another Green Product From Nest To Invest In
Chicago Handyman already told you about Nest Thermostats. Well now, here’s another great Nest product:…
-
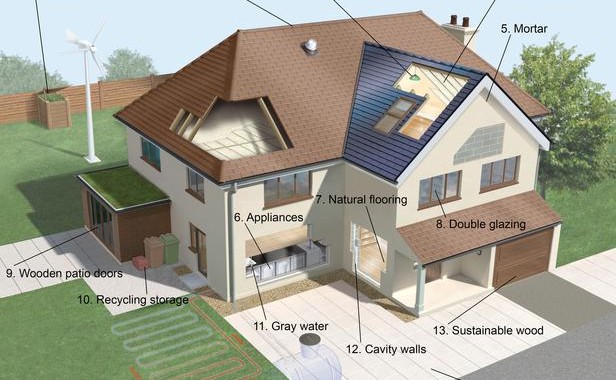
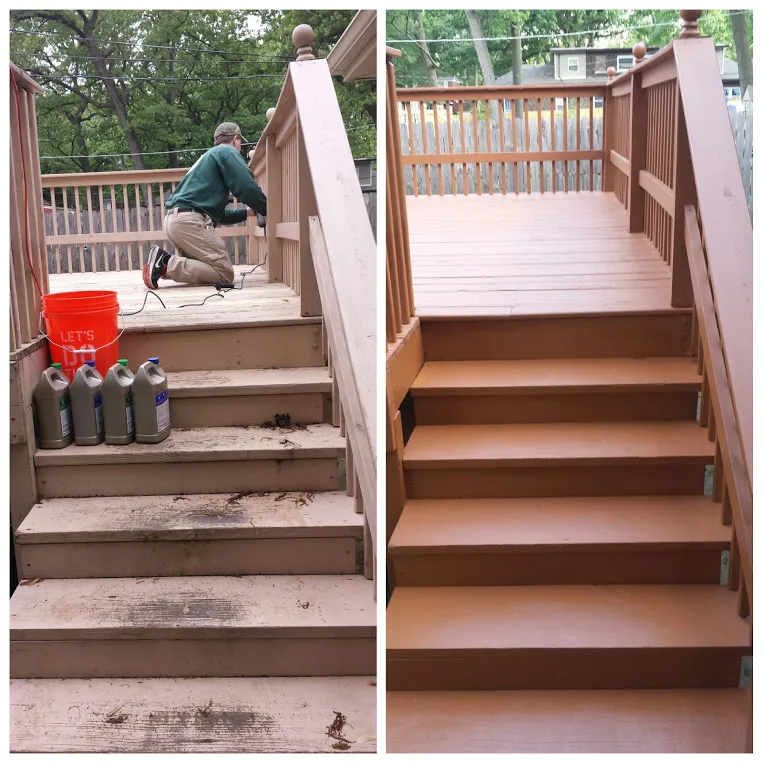
Handyman At Home: Top 5 Ways To Go Green At Home
Going green is not only great for the future of the earth, but also homeowners’…
1500 North Halsted Av Chicago, IL 60614
info@chicagohandyman.net
(773) 982 – 5500