-

Who Said Recycling Is Boring? Upcycle Two Broken Chairs Into A French-Style Bench!
Upcycling is becoming a trend among homeowners. Why? Because it’s a simple, affordable way to…
-
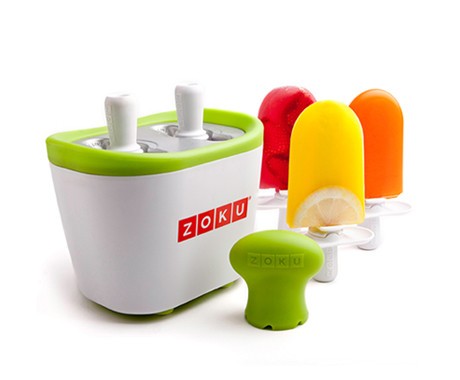
Get Ready For Summer With The Zoku Quick Pop Maker!
With spring swiftly ending and summer coming to a head, nothing will cool off those…
-
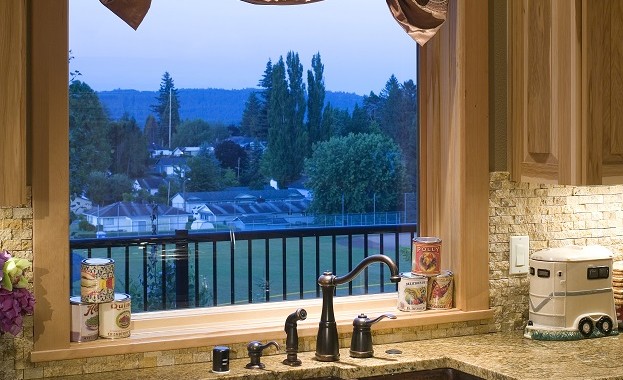
Top 3 Kitchen Backsplash Trends For 2015
Last week, Chicago Handyman posted about the latest wall trend: ombre wall paint! Now here…
-
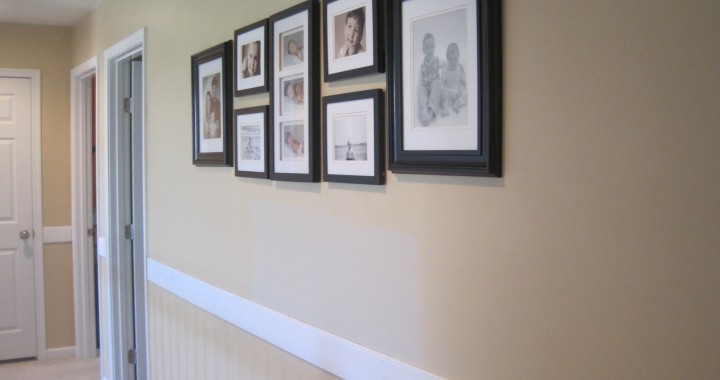
The Best Way To Add Vintage Flair To A New Home: Chair Railings
New homes, no matter how pristine or innovative, often miss that vintage charm. Well, look…
1500 North Halsted Av Chicago, IL 60614
info@chicagohandyman.net
(773) 982 – 5500