The Very Best Wall Improvement: A DIY Wall Niche

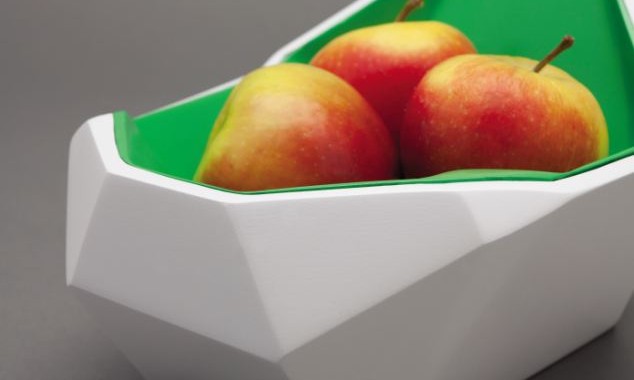
modern-wall-niche-model

Want to add texture to a wall? Don’t want to use simple wallpaper or paneling? Try embellishing with a wall niche. Display pictures, knick knacks, even the 3rd grade soccer trophy that never got thrown out.

Begin by choosing a wall for the niche, noting that the niche must be installed over one wall stud and between two other wall studs.

dttr205_4fa_lead

After marking out the area, utilize a hammer to knock out the drywall. Once the drywall is removed, level cut of all the wall studs and then nail 2X4 blocks on either side of where the niche box will be.

Now it’s time to create the box. Measure the dimensions of the wall cavity and length and width of where it will be installed. Secure the pieces together with wood glue, making sure to wipe away any remaining glue. After priming the box, paint it in the chosen color and caulk all the joints.

dttr205_4fb_lead

Place the box in the wall and then nail it into the wall with a nail gun. Once it is secure, attach trim and rosettes around the border of the niche. Finally cover up any cracks or joints with caulk.

dttr205_4fc_lead

When completed, this niche adds classic charm to any wall.


For more information on this project, check out DIY network.


Say Cheese! This QardioBase Will Bring A Smile To Your Face

No one likes getting on the scale. But sometimes, it’s necessary. Whether for health improvement or just to simply be aware of your body, a scale can help determine where your health goals should be.

QuardioBase is an innovative smart scale that smiles or frowns based on the weight on the scale. This scale not only determines weight but body, muscle, water retention and even body mass index (BMI).

This scale is not only intelligent but is easy on the eyes and won’t take up much space in the bathroom.

It may cost $149 but it definitely worth the cost. So get ready for spring with this new smart tool!

qardiobase4


Need To Change Up A Space? Try a $40 Interior Sliding Door!

52fd585fdbfa3f4ac0001e61._w.540_s.fit_

Whether it’s a loft, cramped rental or a home that’s in need of a unique look, an interior sliding door can add interest and value to a residence. And for just $40, the price for this life-changing (OK, maybe not that dramatic) project cannot be beat.

These are the required supplies:

  • 2 plumbing flanges
  • 1 (possibly 2) plumbing angle brackets
  • Length of plumbing pipe
  • 3 “hinged loops”
  • 2 full sheets of masonite
  • 1 bundle of 2×2’s
  • 2 small wheels
  • Assorted nails/brads
  • 20 wood screws
  • Nail gun or hammer
  • Screw driver
  • Level

Using the 2X2’s, create a wood frame matching the dimensions of the masonite that will function as the door.  Then nail the masonite to the frame, making sure the surface is firm.

51b6e94d74c5b6554d00008b._w.540_s.fit_

Following the door construction, add wheels to the bottom of it. The best type of wheels to utilize are ones that only work in one direction.

51b6e955fb04d60a5200006c._w.540_s.fit_

Next comes the top of the door function. Begin by screwing hinged loops to the top of the door with wood screws. Slide the pre-cut pipe into these hinged loops. Don’t forget to add any flanges or angled pieces necessary to the pipe.

51b6e95074c5b6556e000077._w.540_s.fit_

After leveling where the door will hang and marking the places for drill holes, attach the plumbing hardware to the wall.

51b6e94874c5b6553e000084._w.540_s.fit_

Test the door and if it slides cleanly, voila! This door will add value to the home and provide a modern touch to any home.

For more instructions, check out Apartment Therapy!


Want Protection For All Of Your Devices? Get 1Password Today!

1password4_master_password_screens

With all the recent news of hacking attacks and password vulnerability, it’s important now more than ever to keep all your devices safe. But who can remember a unique password for their every digital need?

1Password can!

This app from Agilebits is made for convenience and focused on productivity. To use, just enter in the passwords for as little or as many devices that you use. After that initial tapping, 1password allows you to create a master password that can then be used to access all your sites.

tumblr_nay5jgHZu61saa1x7o2_1280

Available for web browsers, tablets and smart phones, 1Passwords saves you time typing and gets you back to important business… or the best cat video of the day.

Completely free to download on Mac, Windows or Android platforms, this app is definitely worth checking out. If only so you never have to press that “Forgot Your Password?” ever again.


Don’t Buy A New Sink, Paint The Old!

Chicago Handyman has shared a fair share of bathroom remodeling ideas, but none as quite as simple as this one! With some simple paint and a few days of work, an 70’s sink nightmare can be brought into the 21st century.

Here’s the required materials:

  • Brush-on Epoxy Paint Kit
  • Top quality brush

To start this project, the sink will need more than a quick clean, it’ll require a full-on scrub down. In the paint kit, steel wool and a cleaner are usually provided. After making sure the sink is sparkling, it’s time to paint.

Screen Shot 2015-03-08 at 11.12.45 PM

Apply the first coat of epoxy paint. Use any brush strokes desired, just don’t leave drips! Wait 3 hours between coats, allowing the epoxy to set.

Screen Shot 2015-03-08 at 11.13.11 PM

Follow the first coat with a second, again allowing another 3 hours for the epoxy to set.

Screen Shot 2015-03-08 at 11.13.35 PM

If a third coat is necessary, another 72 hours has to elapse before it’s applied.

Once the coat dries, feel free to splash around in the sink! With no plumbing to refigure or vanity to install, an old fixture can revitalize a bathroom. No sweat equity necessary!

Screen Shot 2015-03-08 at 11.13.46 PM

For a step-by-step guide, check this out. And for a more extensive bathroom remodel, call Chicago Handyman today!