-
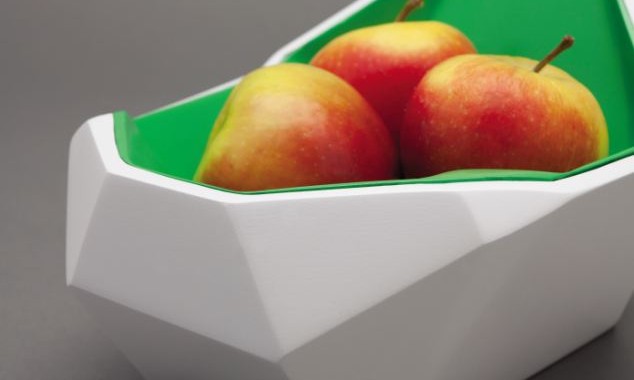
Don’t Let Fruit Go To Waste! Try Out This Mold-Detecting Fruit Bowl!
Everyone tries to get their daily fruit and veggies in. And nothing is more frustrating…
-
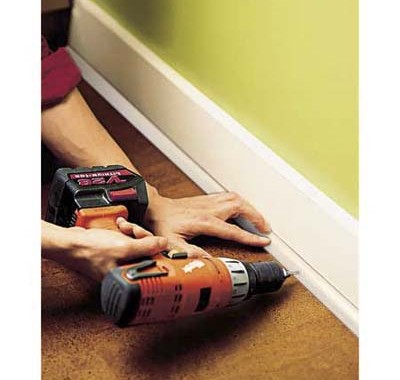
The Best Eco-Friendly Flooring: Cork
Hardwood floors are a staple in most home renovations nowadays. But this flooring can often…
-
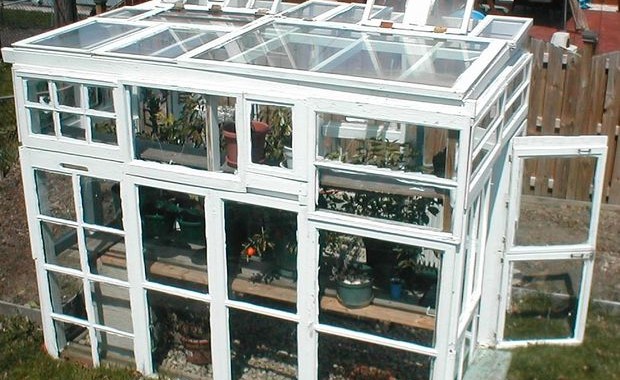
Add Green Style To A BackYard With A Window Frame Greenhouse
A greenhouse can be a great addition to any blank canvas of a backyard. But…
-

Need To Recharge? Check out this Hybrid Solar & Traditional Charging with Pulse
Dealing with the frustration of finding an outlet on-the-go? Tired of that “10% battery” warning?…
-
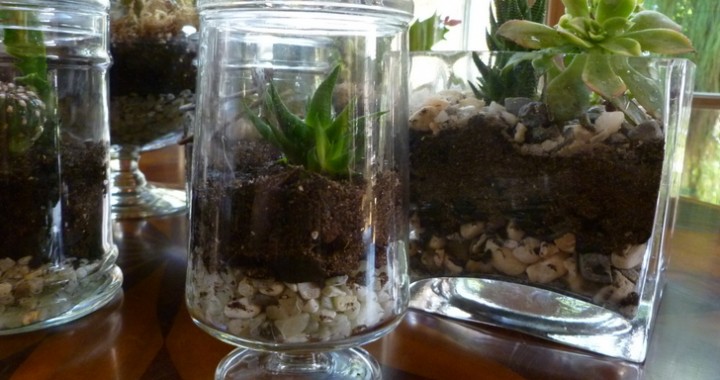
No Foolin’: Improve Indoor Air Quality With These Simple Terrariums
With spring finally finding its way to Chicago, many people are excited to tend to…
1500 North Halsted Av Chicago, IL 60614
info@chicagohandyman.net
(773) 982 – 5500