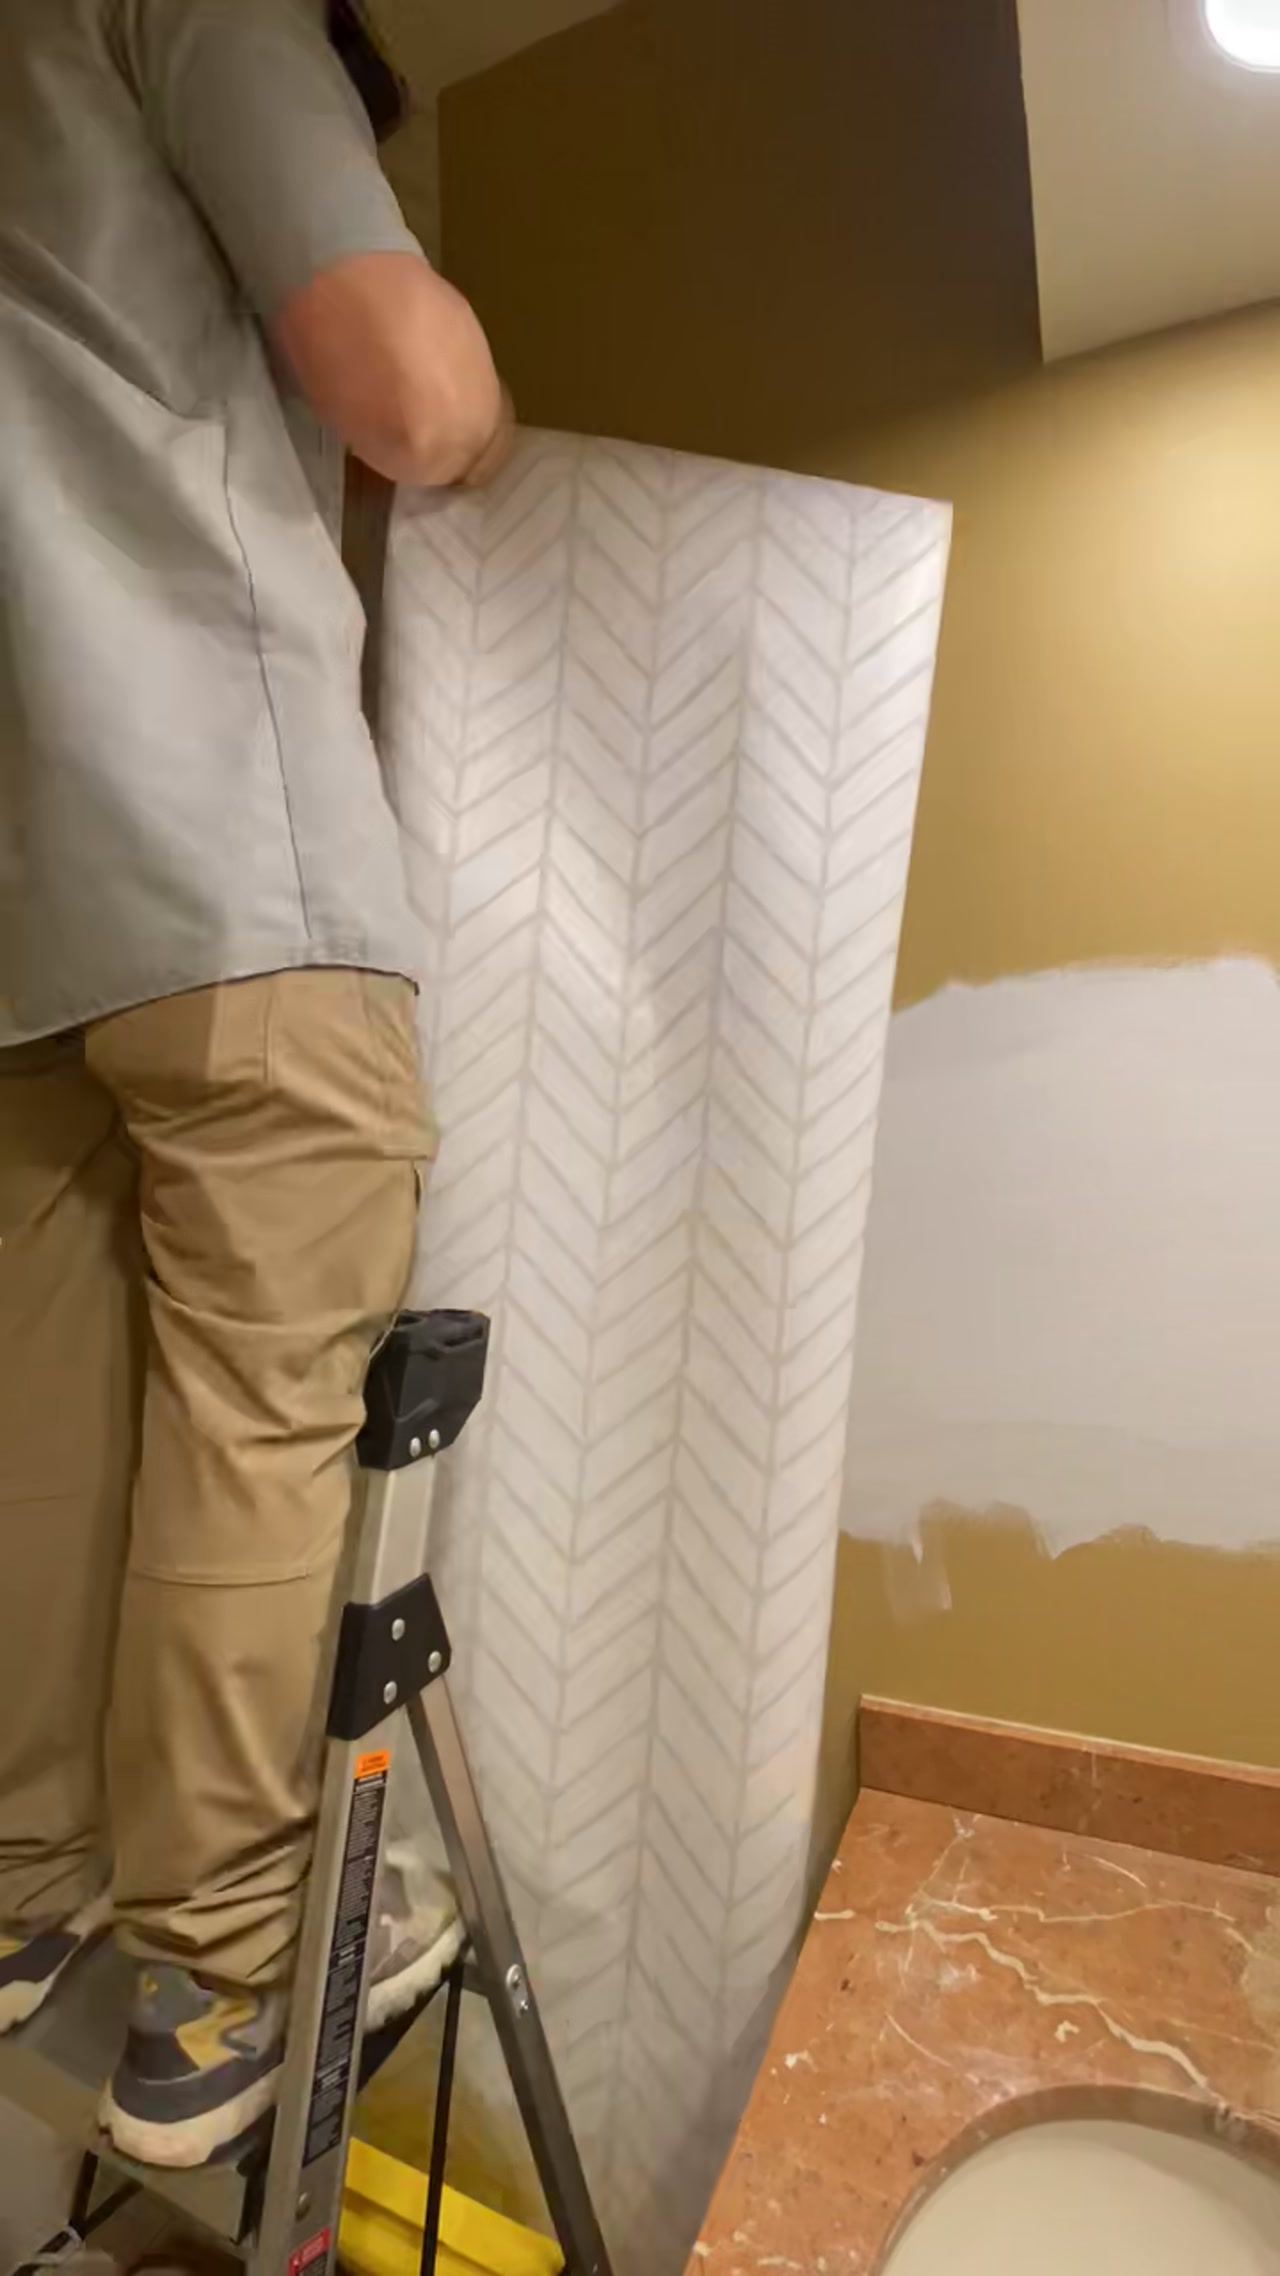
Ready For New Flooring? Look No Further Than This Floating Laminate Install Tutorial!

DSC_0108

There are many reasons why people are opting for laminate over hardwood flooring these days. Setting aside cost, laminate has more durability over most hardwood options. And it doesn’t hurt that laminate is as easy on the eyes as it is to install. And for the simplest installation of floating laminate flooring, look no further than this tutorial from One Project Closer.

Here’s what’s needed to get this project done:

  • Laminate flooring
  • Plastic Underlayment
  • Shoe molding
  • Molding adhesive
  • Thresholds
  • Miter saw
  • Table saw
  • Jig saw
  • Coping saw
  • Utility knife
  • Level
  • Hammer or rubber mallet
  • Pry bar
  • Multitool or flush-cut saw
  • Finish nail gun
  • Compressor

This may seem like a long list, but don’t let the length fool you, this project can be done by most novice home improvers. Let’s get started!

Begin by preparing the subfloor, making sure that the surface is level and acclimated to the climate of the room. Then plan out how the boards will lay in the room, making sure the planks will be uniform and equal.

DSC_0056Now it’s time to lay the plastic sheeting. These sheets should be running tight along the walls and secured with the adhesive on the bottom of each sheet.

Time to lay the boards! Make sure to leave a 1/4″ gap around the perimeter for any expanding or contracting that might occur in the wood. It’s important to have tools on hand to cut the pieces to size, especially when it comes to door jambs and doorways.

DSC_00631

DSC_00571

Once all the locking tongue and groove floor boards are in place, focus on the shoe molding and threshold pieces.

For the shoe moulding, use a nail gun, making sure to nail into the baseboard. For the threshold pieces, only gluing with molding adhesive is necessary.

DSC_0109

DSC_0117

When complete, marvel not only at the time and money saved, but the sophisticated look achieved!

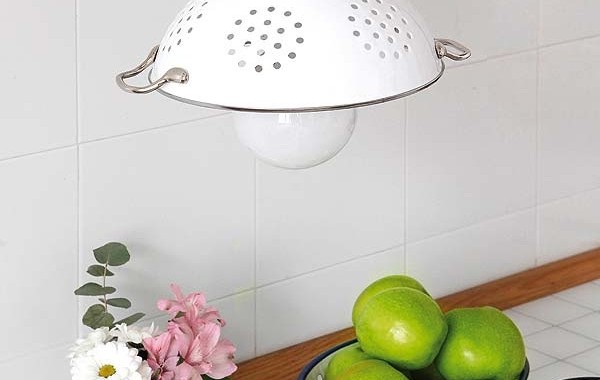
Transform Typical Cookware Into Unique Lighting

image

Let’s face it: there’s a lot of cookware in the house that is purely just taking up space. And unless a cookware collection is in a gourmet restaurant, chances are multiples are not necessary. One way to clear the clutter without adding to the garbage is by turning a simple kitchen colander into a beautiful pendant lamp. And thanks to Handimania, there’s now a step by step tutorial to achieve this unique colander lamp lighting.

Gather these supplies:

  • Drill
  • Cable with cap and top
  • Plastic clump
  • Screwdriver
  • Screw hook
  • Sharp knife
  • Light bulb

image

Start by drilling a hole in the bottom middle of the colander, preferably widening an existing hole. Next close the cup of the cable tightly and fit it through the widened colander hole created.

image

image

image

The trickiest part of this project is figuring out the wiring. Make sure to securely screw the hook into the ceiling and attach the wires from the lamp to the ceiling.

For an even more funky and adventurous look, hang multiple of these lights in the center of a room in many colors. Once in place, this lamp is ready to light up not just the room, but the style of an entire home.


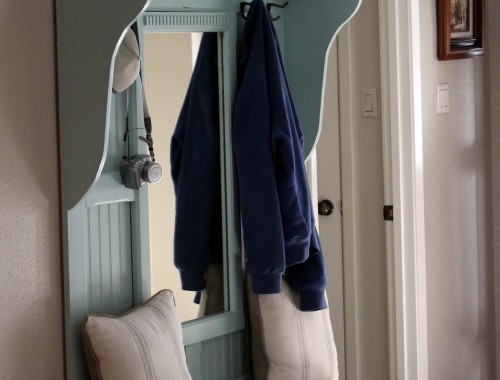
The Best Dresser To Mudroom Bench Transformation Ever!

1-img_1040

Dressers can be bulky and in this closet organization age, they’re pretty unnecessary. But don’t ditch the dresser in the alleyway wasteland! Instead, repurpose any dresser into a sleek, sophisticated mudroom bench for every household need following The Weekend Country Girl’s comprehensive guide. 

Here’s what’s needed:

  • Old Dresser
  • Plywood slabs
  • 2X4’s
  • Plywood box
  • Beadboard paneling
  • Paint
  • Cushion


100_05753Begin by taking apart the dresser. Remove all of the drawers, leaving only the two remaining bottom drawers. Attach a plywood top to create a surface for the bench. This structure will not only serve as seating, but storage for shoes and other household items.

100_05971

To create the top space for hanging jackets and stashing papers, reuse the remaining solid drawer fronts. Once adhered at the top, make sure to attach breadboard paneling for aesthetics and several 2X4’s and a plywood box for support. For an even more glamorous look, add a mirror to the center and add 2X4’s around it for support.

mudroom51

Finally, to connect the pieces, just insert some board-and-batten bead board to the wall for a fluid illusion. Then comes the fun part: paint it, add drawer knobs and install hooks. Make them whatever is consistent with the style of the home.

100_11031

When all is said and done, this project is not only really simple, but extremely environmentally and style friendly.


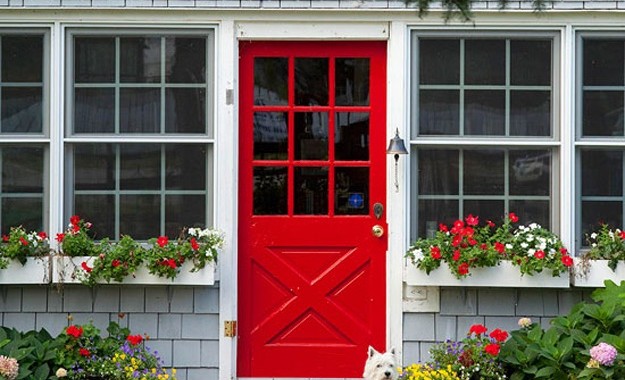
Top 3 Ways To Summer-ify Curb Appeal

Summer is finally here! And with that, many more people will be outside, looking at exterior of homes. To ensure a house is ready for gawking, check out DIY Ready’s tips on how to improve curb appeal on a budget:

1. Make A Concrete Walkway Shine

image


Bring a driveway or concrete walkway back to life by acid washing the surface and watch the summer sun bounce off this improvement.

2. Camouflage Bulky Outdoor Appliances

image

Hide the clunky electric boxes and pipes by simply painting the appliances the same color as a home’s siding and feel free to let guests walk around the perimeter of the home.

3. Splash Some Color On A Front Door

image

What an easy fix! Slap a primary color on a front door for an easy solution for dull winter curb appeal.

Now have at it & make summer beautiful!